14 Hidden Apple TV Features Everyone Should Use
 Credit: Tom Eversley / Shutterstock
Are you getting the most out of your Apple TV? Apple's little set-top box may have famously begun its life as a "hobby" for the company, but as we await the launch of Apple TV+ later this year, there's not much doubt that it's grown from those humble beginnings into a key pillar in Apple's new content and services strategy.
Although Apple will be offering its content on competing streaming boxes and smart TVs such as Roku and Samsung, we still suspect that Apple's own media box will provide the best user experience for Apple fans, as well as allowing you to take advantage of other upcoming services like Apple Arcade, and with the arrival of Apple's new TV app earlier this week, there's no better time than now to dive in and discover some of the lesser-known features of your Apple TV. Read on to discover some things you may not have known the little set-top box could do.
Use Your Old-School Remote
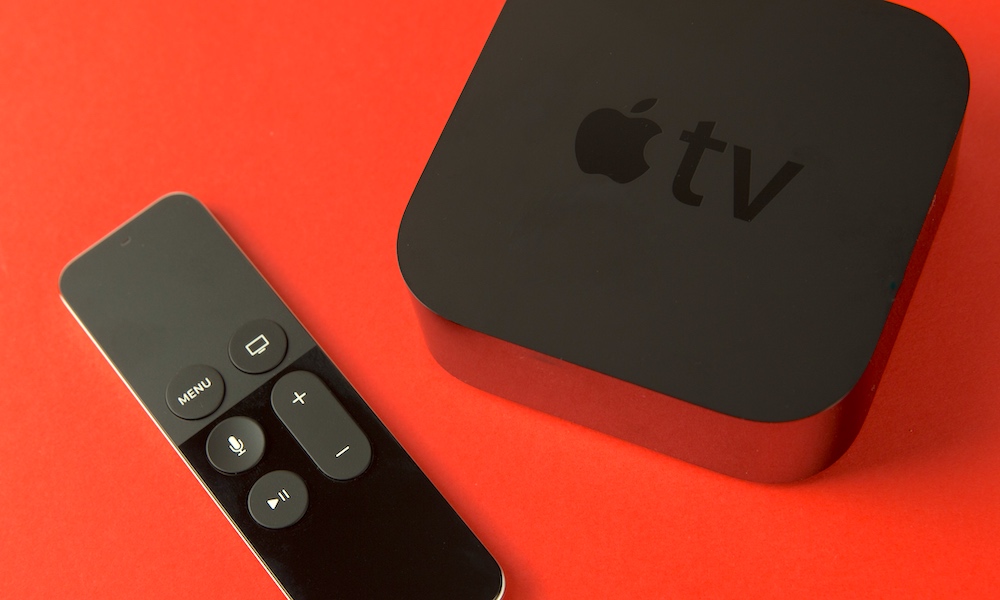
We're convinced that the Siri Remote is the best way to use the Apple TV, but if you've got a favourite old-school infrared remote, you can actually set up your Apple TV to respond to it as well. This can be especially useful if you prefer using more advanced multi-function IR remotes like Logitech's Harmony, but it will actually work with any old IR remote you have lying around, as long as it has enough buttons. To set up your old remote to work with your Apple TV:
- Make sure you have your old remote handy; if it's a multi-function remote, set it to an unused device (e.g. DVD player)
- Open the Settings app
- Select Remotes and Devices
- Select Learn Remote
- Follow the on-screen instructions to pair your remote
The Apple TV will take you through the process of pressing several buttons on your remote in order to assign them to the appropriate Apple TV functions. Keep in mind that just about any button should work, so even if you're using an older remote without arrow buttons, you can still assign any other appropriately-placed buttons to navigate your Apple TV — we've seen people use the number keys (2, 4, 6, 8) for example.
It's also worth mentioning that as of iOS 12 and tvOS 12, it's now possible to add supported remote controls directly to HomeKit, which can then be used to also control the Apple TV over your Wi-Fi network. However, we haven't yet seen any actual remotes that take advantage of this function, although Logitech is said to be working on it.
Control Your TV and Receiver with the Siri Remote
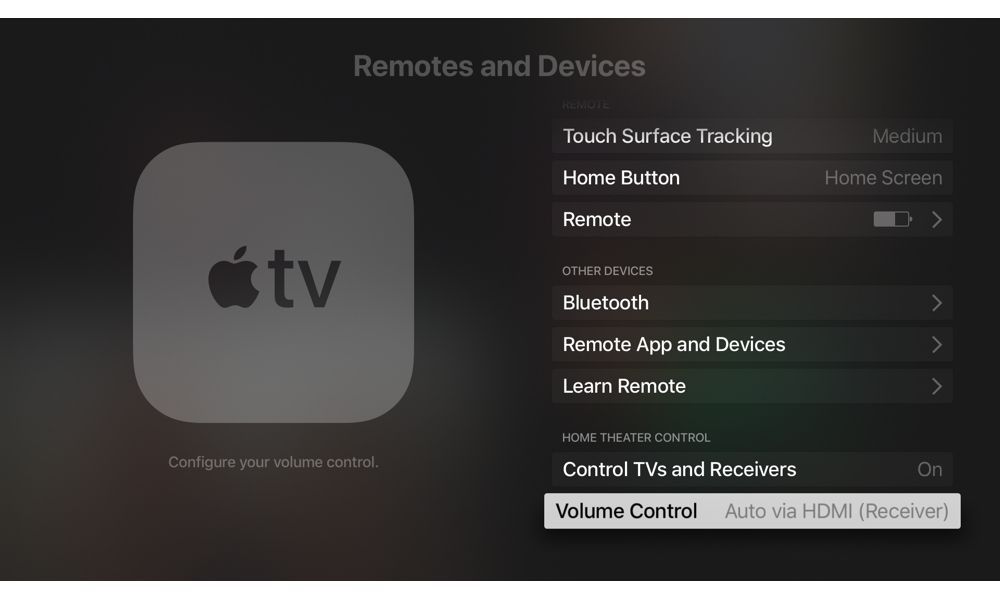
As we said earlier, we really prefer the Siri Remote, and if your Apple TV is your primary — or only — media device, then you may be able to use the Siri Remote exclusively, even to control the volume on your TV or receiver and turn everything on and off.
The easiest way to do this is through a protocol called HDMI-CEC (short for "Consumer Equipment Control"), which passes the necessary commands over your HDMI cables. If your TV and receiver support this feature, it should be enabled automatically on the Apple TV, although you may also have to enable it on your other devices.
Note that almost every manufacturer has their own brand name for HDMI-CEC, which makes it pretty confusing. For example, Samsung calls it "AnyNet+" while Sony calls it "Bravia Sync" and Mitsubishi uses the mouthful, "NetCommand for HDMI." So you may need to do a bit of research to figure out where to find it on your TV's settings, but generally if your manual says the feature allows for your TV to be controlled over HDMI, there's a very good chance it's actually talking about HDMI-CEC.
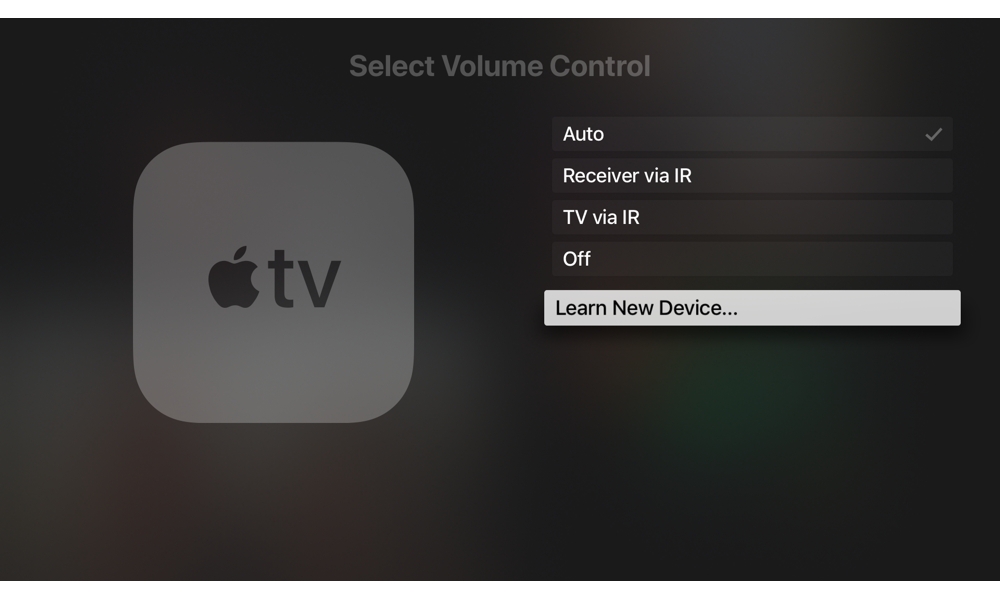
Alternatively, if your equipment doesn't support HDMI-CEC, or it doesn't work properly for you, you can also tell the Siri Remote to blast out standard IR signals to control your equipment (this is why the otherwise-Bluetooth-based Siri Remote has an IR transmitter on the front). This will take you through a learning and pairing process to identify your TV or Receiver to the Siri Remote, and of course you'll need to actually point it at your home entertainment system.
You can find all of the settings for this on your Apple TV in the tvOS Settings app under (you guessed it) Remotes and Devices. Apple has a more in-depth support article on how to set this all up.
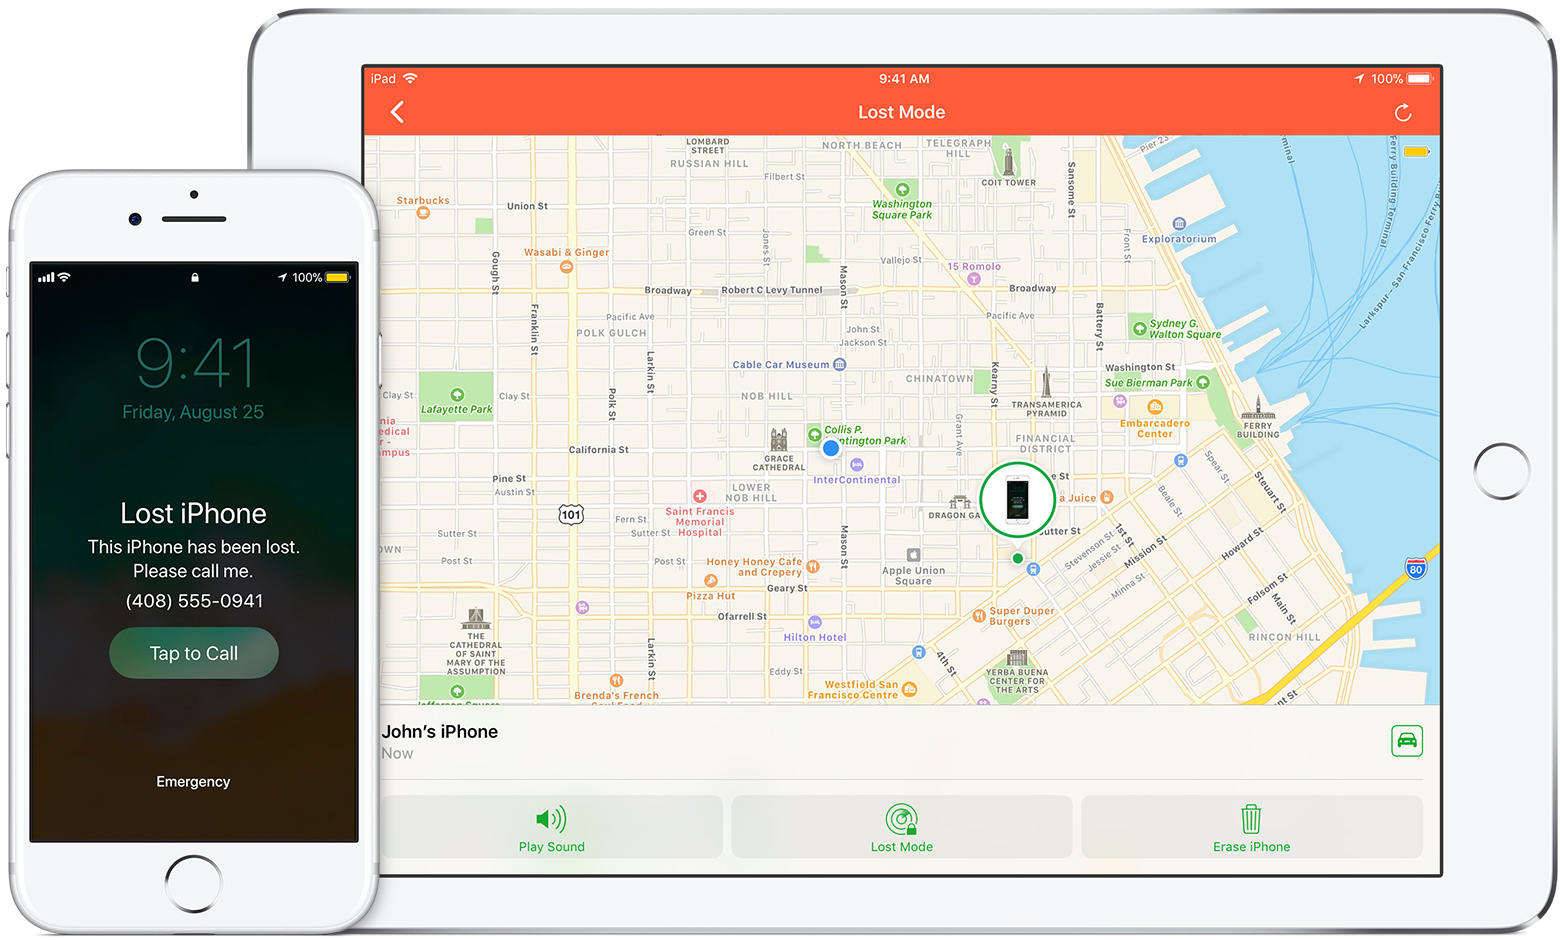
Ask Siri to Find Your iPhone
With tvOS 12 you can also now ask Siri to find any of your other Apple devices — your iPhone, iPad, Apple Watch, AirPods, or even your MacBook.
Simply ask Siri to "find" the appropriate device and it will send a ping via iCloud to cause it to sound an alert, so you can figure out whether it's slipped between the couch cushions or still sitting in your car.
See the Actual Time Your Current Program Will End

It's fairly common knowledge that tapping (not pressing) on the Siri Remote touchpad while you're watching a movie or TV show will bring up the standard progress bar, showing you how far along you are, and how many minutes are remaining in the current program.
However, if you tap on the touchpad a second time while the status bar is still showing, the numbers will switch from elapsed time and remaining time to the actual time and an ETA — the current time will be shown above the current position, and the right side of the bar will show the time that the show will end. It's a handy way to know if you actually have time to finish watching a show.
Note that for somewhat obvious reasons, this only works when a show is actually playing, not when it's paused, since there's no way of predicting the end time of a paused show. Further, while this works in Apple's own TV app and most other apps that use Apple's built-in video player, it won't work by default in apps like YouTube that have built their own players instead of using Apple's — unless the developer has specifically implemented it in their own media player, like Plex has.
Zoom in on Standard-Definition TV Shows and Ultra-Widescreen Movies

If you only watch current TV shows, you've probably never encountered this, but if you're watching older 4:3 content — that is to say, TV shows and movies that were recorded in standard definition, you'll end up seeing them "pillar-boxed" on your widescreen TV, with black bars on each side of the video.
The same problem applies if you're watching a "CinemaScope" widescreen movie — those that use a 2.35:1 (or greater) aspect ratio. These will be "letterboxed" on almost all HD TV screens, with black bars at the top and the bottom.
If you'd rather have the video take up your full TV screen, and are willing to cut off part of it, you can double-tap (not press) on the Siri Remote touchpad to zoom in on the content in order to make it take up your whole screen. Double-tapping again will return to the normal pillar-boxed or letterboxed view.

Of course, if you're already watching 16:9 content, double-tapping the touchpad won't do anything at all. As with the progress bar time trick, this also only works by default with Apple's built-in video player; it's up to other developers if they want to implement it in their own to remain consistent with the Apple TV experience.
Quickly Switch Apps
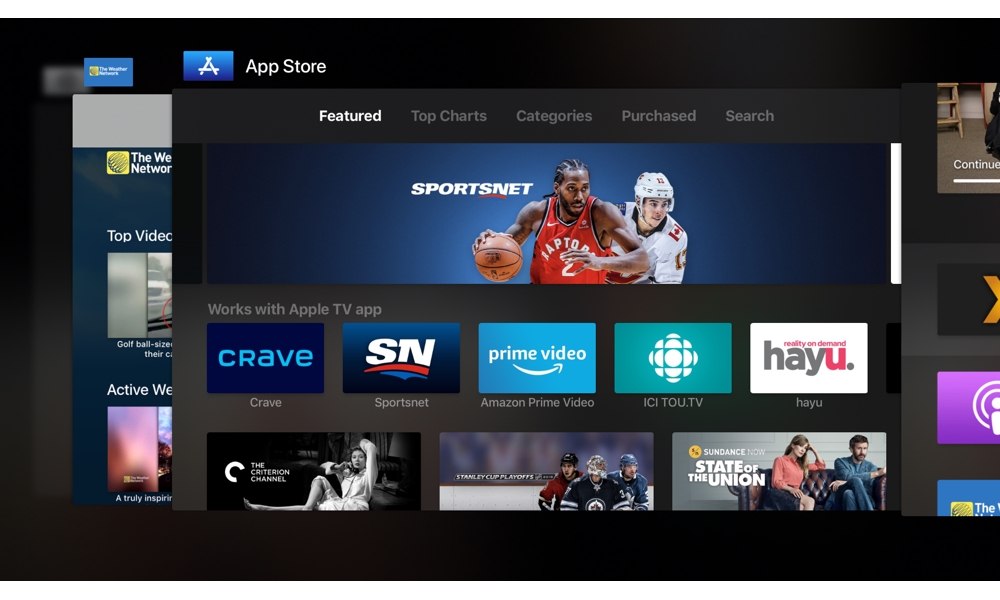
Like the iPhone and iPad, the Apple TV also includes a multitasking app switcher, and it's accessed in much the same way as on older iOS devices — by double-tapping the Home button on your Siri Remote.
This will bring up a side-by-side view of every running app, and you can swipe the touchpad to quickly switch between them. As on iOS, you can also swipe up if you need to force-close an app that's misbehaving.
Easily Bring Up Subtitles
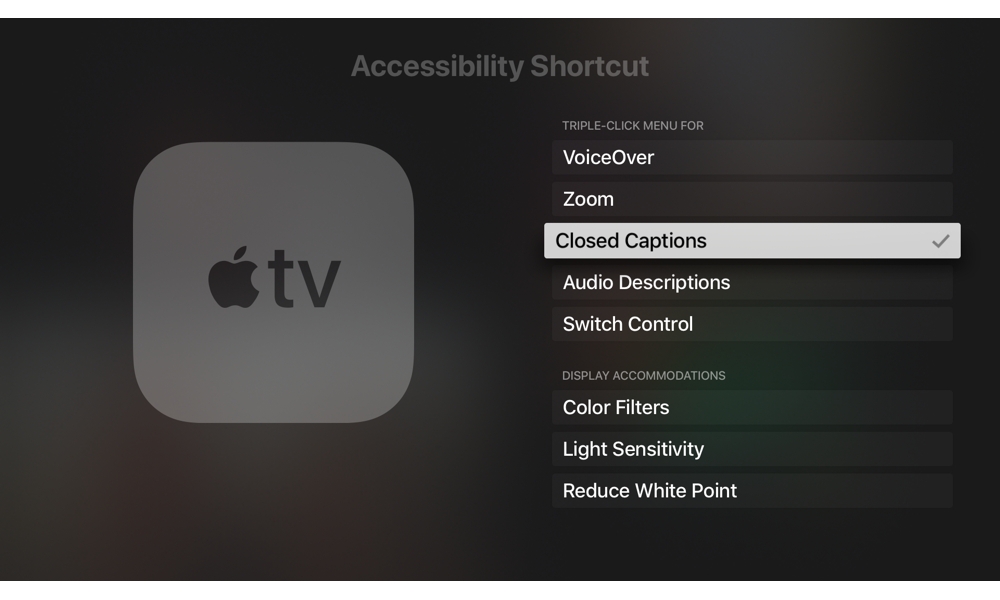
Sometimes even those of us with the best of ears can't make out what characters are trying to say. Subtitles and closed captions can be helpful in this case. While it's already fairly easy to turn these on from the normal menu — just swipe down to bring up the playback controls, choose Subtitles, and then your preferred language, there are easier ways.
If you simply want to quickly find out what was just said, you can use Siri — hold down the microphone button on your remote and ask "What did he (or she) say" and Siri will automatically jump back a few seconds and temporarily enable subtitles. This is a quick and handy feature, but you can actually enable an even easier way:
- Open the Apple TV Settings app
- Select General
- Select Accessibility
- Scroll to the bottom and select Accessibility Shortcut
- Select Closed Captions; ensure that none of the other options are checked
- Press the Home button to return to the home screen.
Once you've configured this, you will be able to triple-click the Menu button on your remote to quickly toggle subtitles on or off at any point in a program you're watching.
Note that at one point Apple also allowed you to do this by triple-tapping the touchpad on your Siri Remote, and in fact Apple's tvOS documentation still says that this is possible, but it seems to have gone away in tvOS 12. Regardless, we generally find the tactile menu button to be far easier to triple-click quickly than the touchpad, so we think the Accessibility Shortcut is a better option anyway.
Again, as with some of the other tips we've talked about, this only works in Apple's own apps and third-party apps that either use Apple's own video player or have implemented the accessibility features themselves. It should also go without saying that the program in question has to actually include closed captions; the Apple TV can't show you what's not already there.
Use Your iPhone or Apple Watch as a Remote
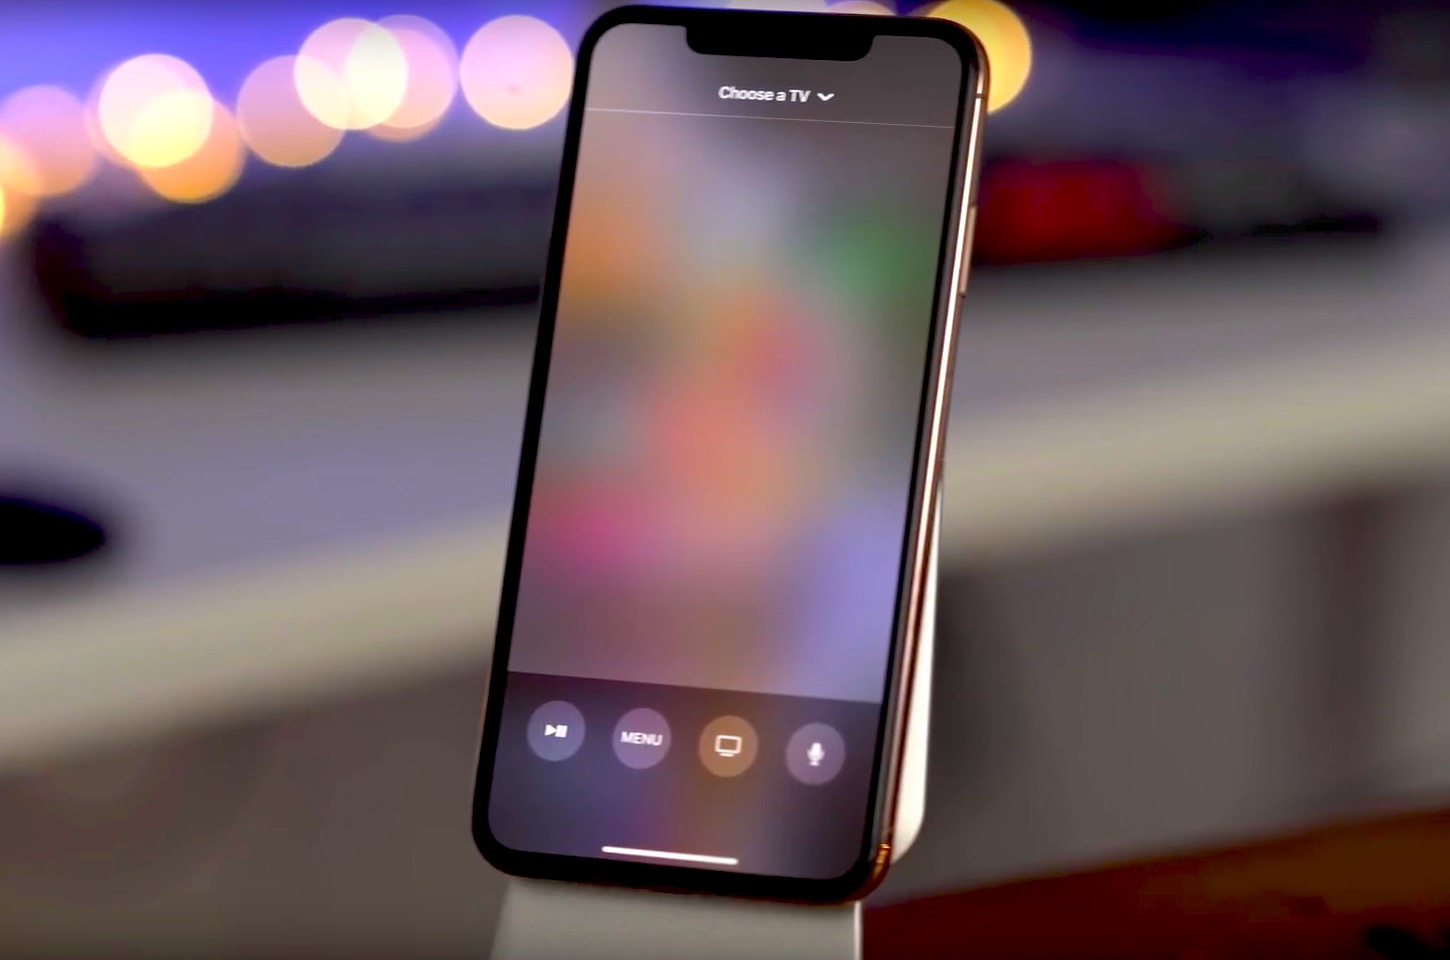
Apple has offered an Apple TV Remote on the App Store for a few years now, allowing you to control your Apple TV directly from your iPhone, but with iOS 12 the company has taken it up a couple of notches, baking an Apple TV app right into the Control Centre, and even providing quick access to it from the lock screen when there's content playing on your Apple TV.
If your iPhone and Apple TV are signed into the same iCloud account, you should automatically have access to the Apple TV Remote in Control Centre, however if it doesn't appear, you can still add it manually:
- Open your iPhone Settings app
- Tap Control Center
- Tap Customize Controls
- Scroll down to find Apple TV Remote
- Tap the green plus button to add it
- If desired, scroll back up and drag it to your preferred position in the Control Center.
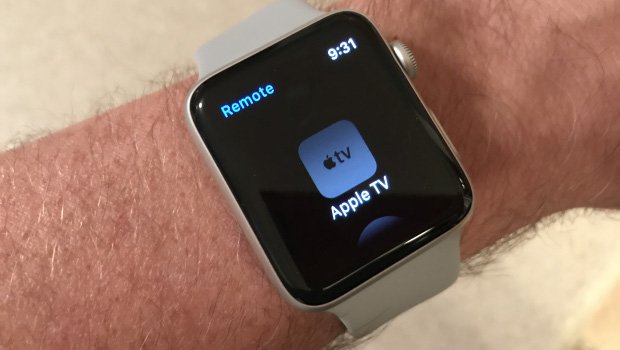
There are a lot of other advantages to using your iPhone with your Apple TV as well, and if you have an Apple Watch, you can even use that to control what's playing on your Apple TV — it should be available in the Now Playing applet in your Apple Watch, and if you're using the Siri watch face, it will often even appear as a card for quick access. It's a useful way to quickly pause a show you're watching without having to reach for the Siri Remote.
Use Wireless Headphones
If you want to watch TV without disturbing other family members, you can easily pair up a set of Bluetooth headphones. Apple's own AirPods and other H1/W1-equipped wireless headphones are especially great for this, but you can manually pair any set of Bluetooth headphones by taking a trip into the Apple TV Settings app:
- Open the Settings app
- Select Remotes and Devices
- Select Bluetooth
- Put your headphones into pairing mode; they should appear in the "Other Devices" section
- Select your wireless headphones and follow the instructions to complete the pairing
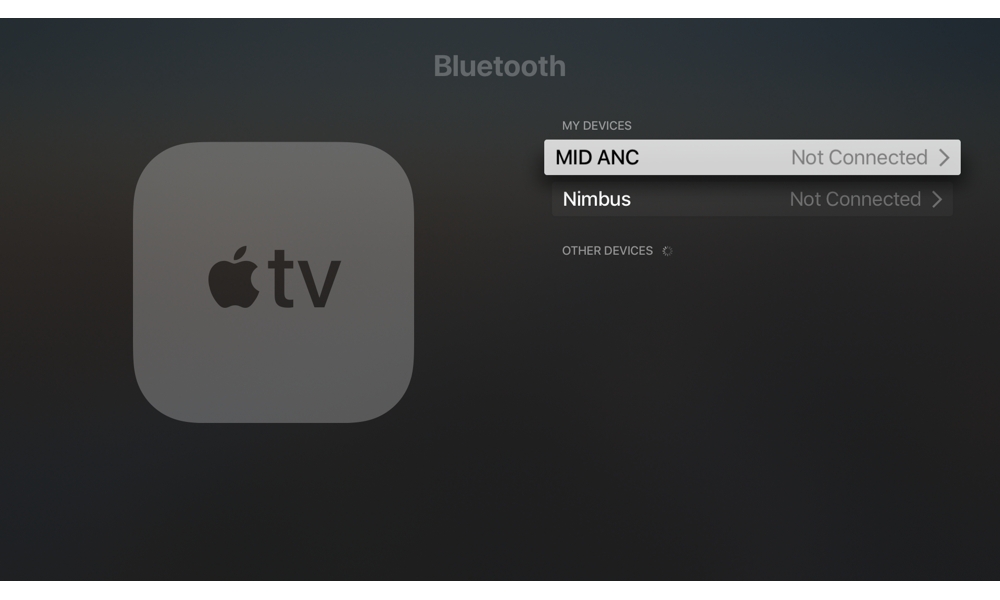
Once paired, your wireless headphones should automatically join up with your Apple TV whenever you turn them on, although if you also use them with your iPhone or another Bluetooth device you may need to revisit the Bluetooth menu to manually reconnect to them, since most Bluetooth headphones automatically link up to the last device they were used with.
Share Photos from Your Mac
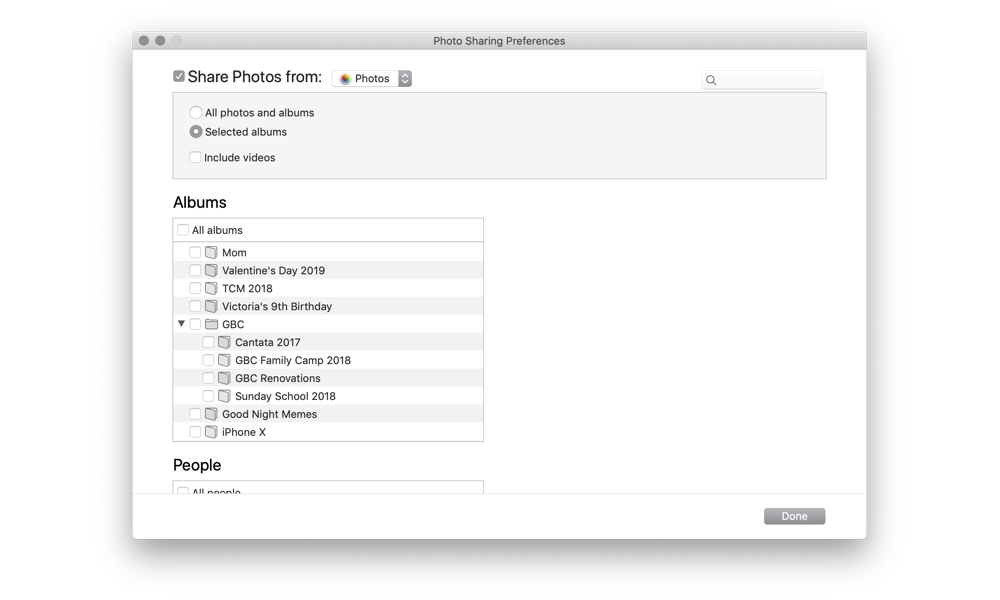
iCloud Photo Library is by far the easiest way to share photos to your Apple TV, but if you don't want to pay for iCloud Storage or simply prefer to keep your photos on your own computers, you can still display them on the Apple TV by sharing them from iTunes on your Mac:
- On your Mac, open iTunes
- From the File menu, choose Home Sharing
- Click Choose Photos to Share with Apple TV
- Click the checkbox beside Share Photos From
- Click the dropdown to choose Photos, iPhoto, or a folder as your source
- Choose whether you want to share All Photos or only selected albums.
- Choose whether or not you want to include videos
- If you've chosen only selected albums, you can then choose the individual albums, and (in the case of Photos), the People that you would like to share to your Apple TV.
- Click Done
- Click Apply in the confirmation dialog box that appears
- Your photos will appear on the Apple TV under the Computers app.
Note that this will not sync your photos to the Apple TV, merely make them available from your Mac, so it will have to be turned on with iTunes running in order to view your photos on the Apple TV, although you can assign a photo album from your Mac as a screen saver, in which case those photos will be cached on the Apple TV for that purpose.
Identify and Switch Locations in the Aerial Screen Saver

Apple introduced a very cool new aerial screen saver with the fourth-generation Apple TV, but one of the most common questions we'd always get from visiting friends was "Where is that?"
With tvOS 12, you can now get an answer. Simply tap (don't press) on your Siri Remote touchpad while the aerial screen saver is showing and you'll see the location information in the bottom left corner of the screen.
You can also now swipe left and right on the Siri Remote touchpad to easily switch between locations, although you'll be limited to whatever aerial displays have been downloaded for that day, week, or month (you can change how often the Aerial Screen saver downloads new content by going to Settings->General->Screen Saver).
Tell Siri Where to Play Your Videos and Music
If you have other AirPlay 2 devices in your home, such as Apple's HomePod, you can now dictate to Siri where content should be played. This is usually much easier than wandering through menus to select alternate playback destinations, especially on the Apple TV.
To begin playing something back on multiple speakers, simply issue a command to Siri like:
Play YYZ by Rush in the living room and dining room
If you've already got a track playing on your Apple TV, you can instead ask Siri to "play this" in another room, like so:
"Play this in the kitchen"
This will add the room to the whatever is currently playing. If you want to instead switch to another room, tell Siri to "move this" or "transfer this":
"Move this to the dining room"
This also works in the other direction. If you've got a HomePod, you can simply call out for Siri and tell it to start playing music on your Apple TV, either by naming the room it's in or using the specific device name.
Use your iPhone as a Game Controller
With Apple Arcade on the horizon, you may want to pick up a proper Bluetooth game controller for your Apple TV, but you may also find it useful to know that you can use your iPhone (or iPad) as a game controller also, via the Apple TV Remote app.
You'll need to download the actual Apple TV Remote app for this — the built-in Control Center version doesn't offer this capability — but once you've got it installed and setup, you'll see a game controller icon at the top of the screen when you're playing a game.
Tapping on this will put the remote into game mode, allowing you to hold it in landscape orientation and use the touch area and virtual buttons to play the game.
While we find this much more comfortable than using the Siri Remote, it's not a replacement for a full-on game controller, and there are definitely tvOS games out there that already work better with real controllers. It remains to be seen how many Apple Arcade games will fall into this category, however, since those particular titles are supposed to be playable on the iPhone, iPad, and Mac as well.
Let the Whole Family Add Photos to Your Screen Saver
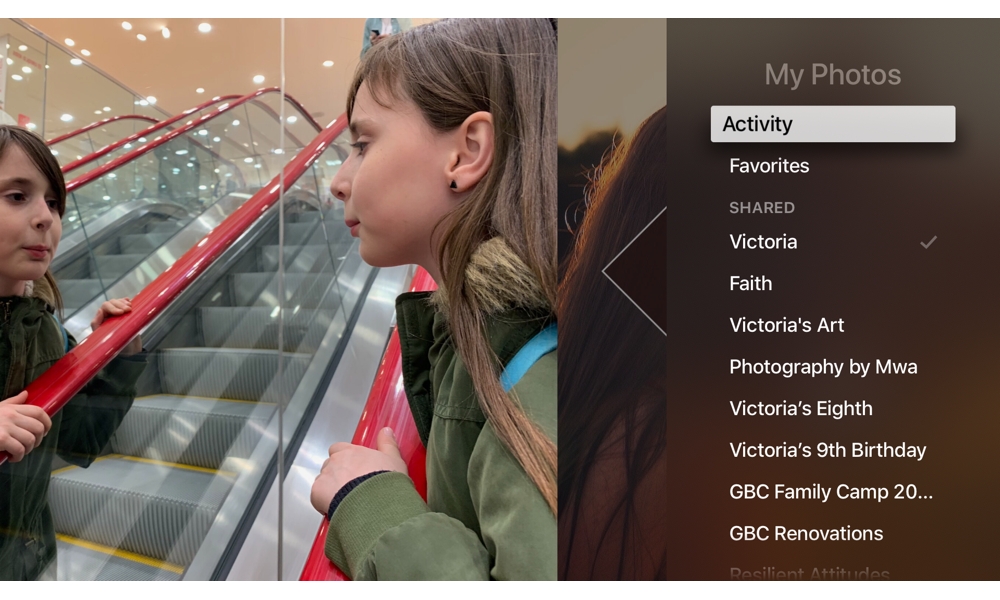
If you like using family photos as your Apple TV screen saver, there's one really useful trick you can use with iCloud Photo Sharing — and it doesn't even require you to pay for iCloud storage.
As long as you're signed into your iCloud account, you can choose to use any iCloud Shared Album as the content for the screen saver for your Apple TV, with whatever style of screen saver you choose to use. This is a very easy way to add new photos to your screen saver, but if you also share this album with your whole family, they'll be able to add their favourite pictures too. To set this up:
On your iPhone or iPad:
- Open the Settings app
- Select your name from the top of the screen
- Tap iCloud
- Tap Photos
- Ensure Shared Albums is enabled (note that iCloud Photo Library is not required for this)
- Open the Photos app
- Tap the Albums tab at the bottom
- Tap the plus sign in the top left corner
- Tap New Shared Album
- Enter a name for the album and tap Next
- Add family members by typing in their names to search them out in your contact list, or email addresses or phone numbers to add them directly. Family members must have an iCloud account. You can also tap the plus button in the top-right corner to bring up your contacts list.
- Tap Create
- The new album should appear at the top of your shared albums list. Others you've invited will be able to add photos by default.
- Tap on the album to go into it.
- Tap on the plus button in the top-left corner to select and add some photos to the album. Just a few is fine to start with; you can add more later.
On your Apple TV:
- On your Apple TV, to into the Settings app
- Select General -> Screen Saver
- Select Type
- Select My Photos
- Choose the shared album that you've just created on your iPhone
- Press the Menu button twice to return to the main screen saver settings
- Choose your preferred transition effect
- Adjust any other settings as desired.
- Select Preview to see what your screen saver will look like.
Once this is configured, your screen saver will be dynamically updated as new photos are added to the selected photo album, regardless of who adds them. This is a great way of turning your TV into a virtual family photo collage, and while you can use any existing shared photo album, we've found it's more fun to create one specifically for the Apple TV, allowing for more creative mixing and matching of family photos rather than simply focusing on a specific event or topic.


