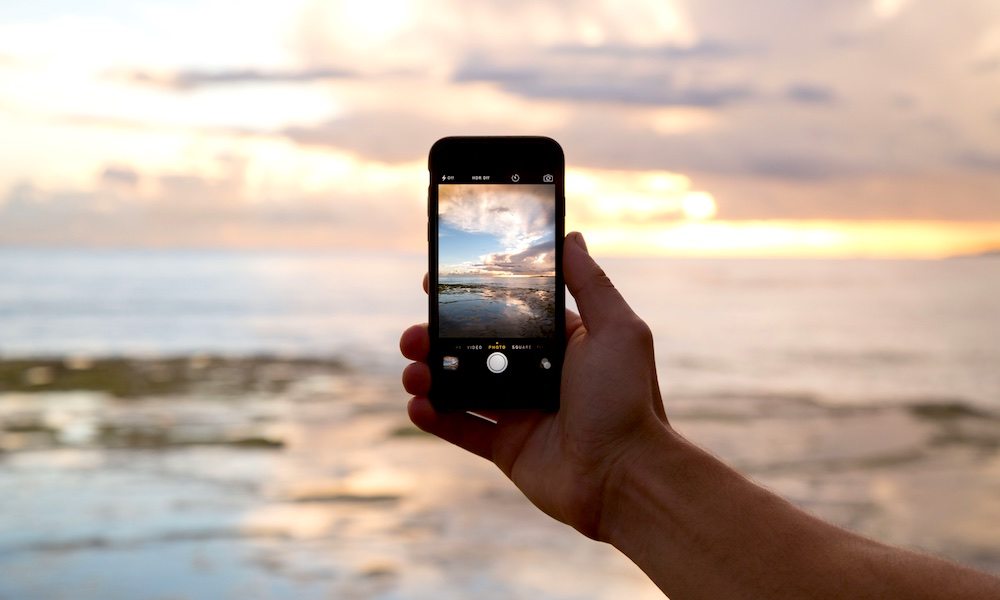
Learn How to Manually Set Exposure, Shoot Bursts of Photos, and Take Better Pictures Using Your iPhone

Toggle Dark Mode
Photographers have a saying: the best camera is the one that you have with you. With the advent of camera-bearing smartphones, we’ve all become capable of taking awesome pictures, and in honor of photography’s 177th birthday, here are some iPhone camera tips and tricks to help you make the most of your smartphone photos.
Set exposure and focus
You’ve probably noticed that tapping on the screen when you have the camera app open focuses the shot. But did you know that you can actually lock the focus on your shots, and even manually adjust the exposure?
- Tap and hold on particular parts of the screen to focus the iPhone’s camera.
- To lock the camera’s focus on one object, tap and hold on the spot you want. This is great because it’ll stop the phone from trying to refocus in the middle of snapping a picture.
- To change the exposure, just tap on the screen. You can now drag the little sun on the right side of the picture to brighten or darken the shot — this is perfect for shooting in too-bright or too-dark environments.
Shoot a burst of photos
One of the reasons photographers can take such great shots is burst mode. In theory, the more pictures you take, the greater the chance there will be a winner among them. Luckily, the iPhone’s camera app has a burst mode built into it — but it’s a bit hidden.
- Open the camera app.
- Point at whatever you want to take a picture of, and hold down the shutter button.
- The camera will continue taking pictures until you release the shutter.
- All of the burst shots will be contained in one “photo” on your camera roll.
- To sort through them, just hit Select. You can then pick the ones you want.
- Once you’re done selecting the best shots, just tap Done, and you’ll be given a choice to save all the photos or just the ones you selected.
Use HDR to take better-looking photos
High Dynamic Range, or HDR, is a great little feature built into the camera app that takes two photos in quick succession at different exposures. HDR mode then merges them into one, ostensibly creating a better image.
- To turn HDR mode on, tap on HDR in the camera app.
- You’ll be given three options, Auto, On, or Off. Tap the option you want.
- You’ll know HDR is on by the HDR box that appears in the app.
- Auto uses sensor information to determine whether you actually need HDR in a particular setting. This is great because it keeps you from using HDR when it’s not necessary, since HDR mode saves two versions of your photos, taking up more space.
Bonus Tips
1. Use the rule of thirds to help you line up better shots — you can use the Camera’s grid feature to help do this. To turn it on, go into Settings > Photos & Camera, and turn Grid mode on.
2. To switch directions in panorama mode, just tap and hold on the opposite side of the pano slider.
3. Of course, it’s probably pretty common knowledge by now, but you can use the iPhone’s volume buttons as a shutter — keeping you from moving your hand to hit the actual camera button in the app.


