
Create a Backup Library on Your Mac
Not everyone has abundant storage on their Mac to store a full copy of their iCloud Photos library. Instead, those folks with limited storage likely use “Optimize Mac Storage” to keep their photos in the cloud and only download thumbnails.
However, even when living with storage limitations, it’s still possible to create a backup. You only need an external drive and some know-how on which Photos settings to change.
- Start by opening the Photos app on your Mac
- Go to Photos > Settings.
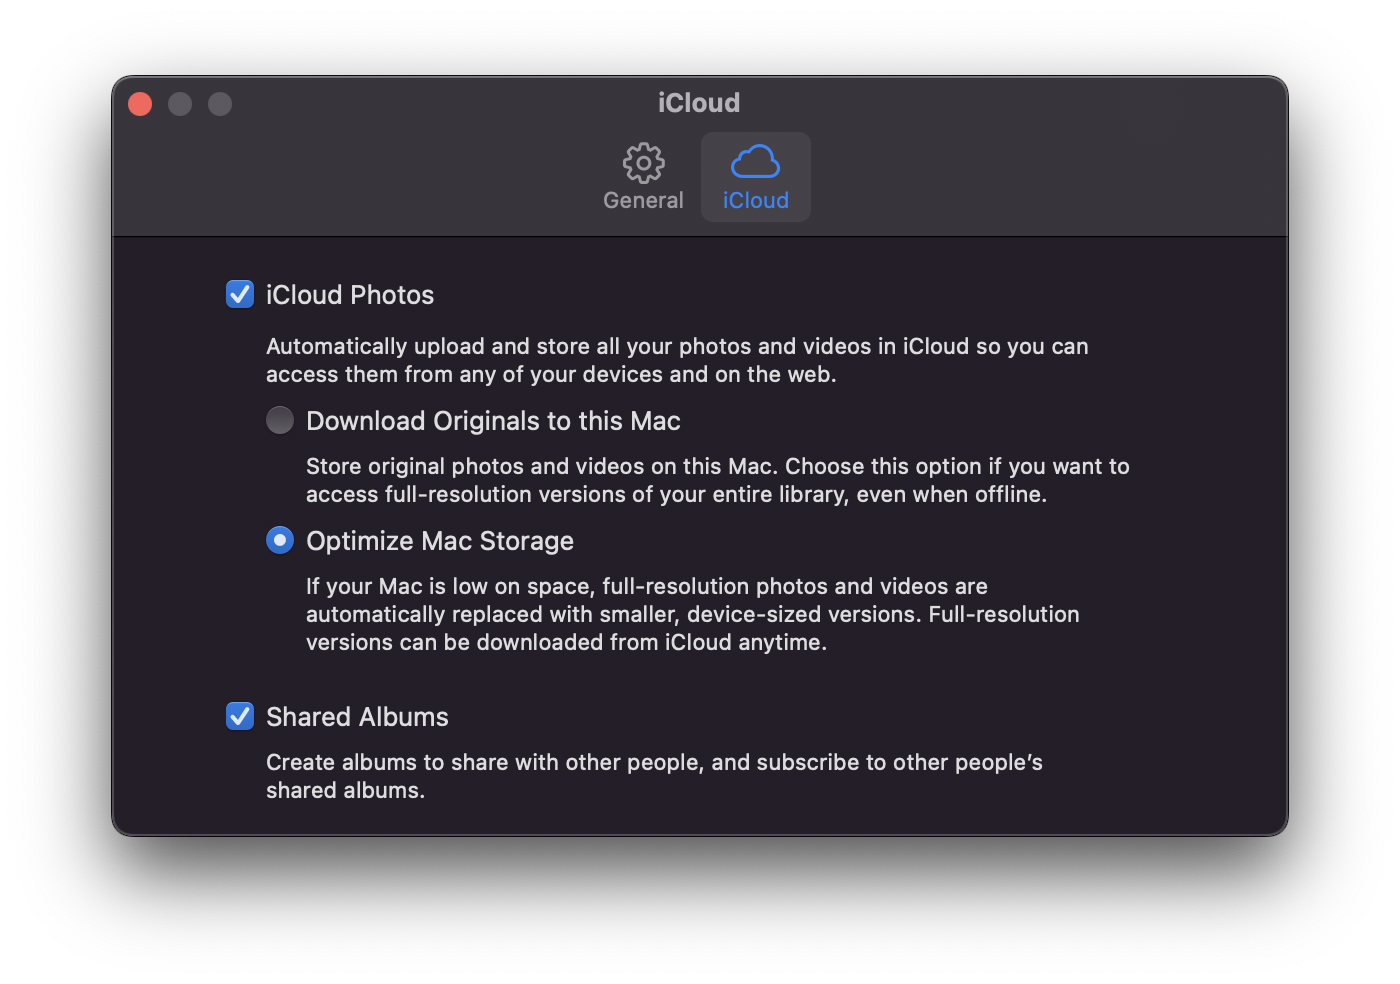
- Select the iCloud tab.
- Make sure that Optimize Mac Storage is selected, as shown above.
- Quit the Photos app to save this setting.
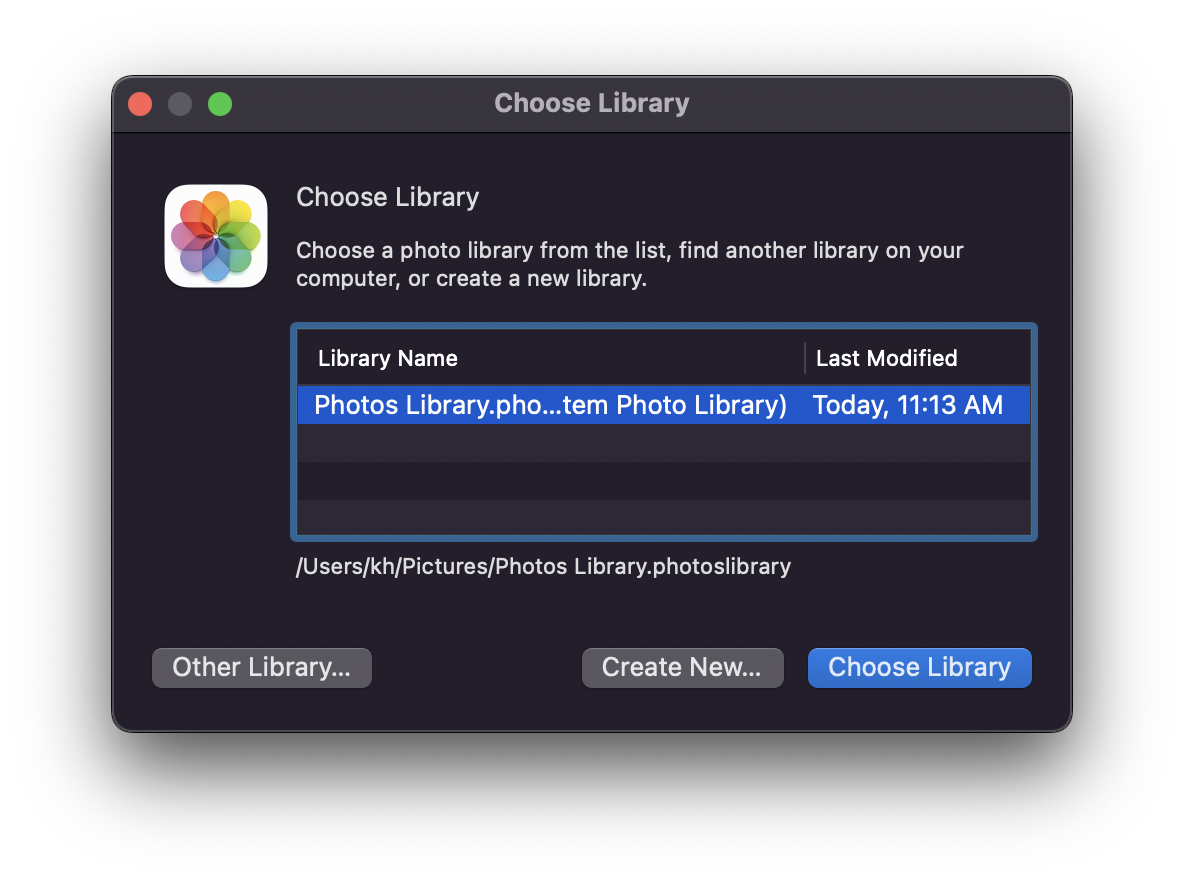
- Now open the Photos app again, but this time hold down the Option key while you open the app.
- This will show you a “Choose Library” dialog box that lets you choose an existing library or create a new one.
- In this scenario, you want to create a new library, so click Create New…
- Name the library something meaningful like “backup,” and select your external hard drive for its location.
Now that you have a backup library, you can populate it with your photos.
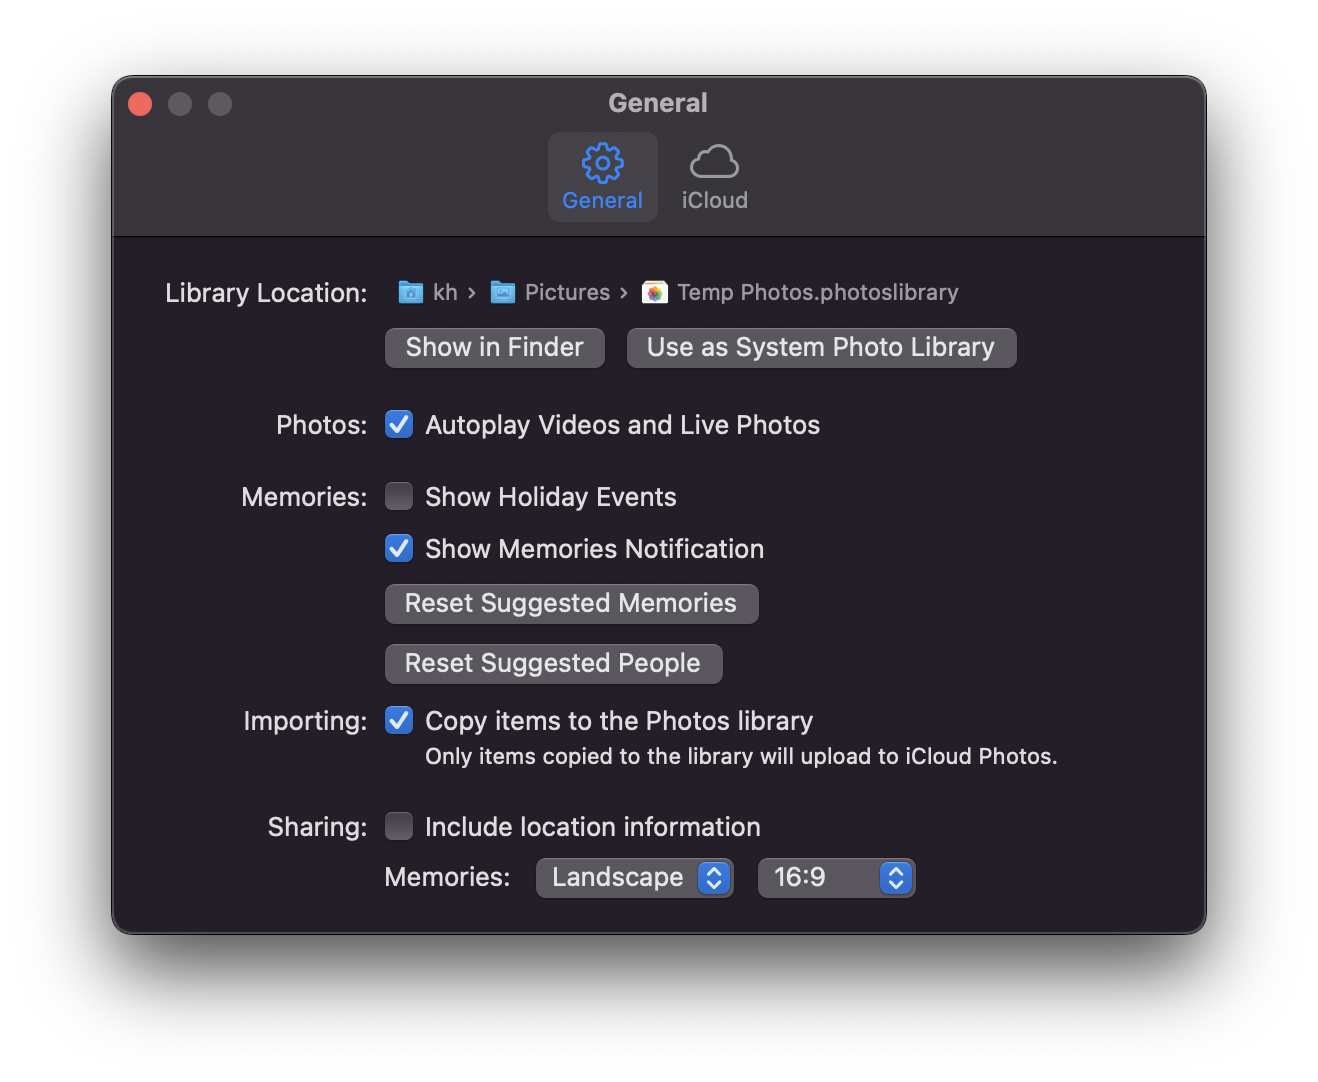
- Open the Photos app’s preferences again by selecting Photos > Settings from the menu
- Select the General icon.
- Click the Use as System Photo Library button to make your new backup library the primary library for iCloud Photos.
- Click OK to confirm. This will turn off syncing with your main photo library for now, but that’s okay.
The last step is to turn on the iCloud Photo Library settings again to download all of your photos to the new backup library.
- Select the iCloud tab in the preferences window.
- Check the circle next to Download Originals to this Mac.
This will initiate a download of all your photos into your backup library. Once all your images have finished downloading, you can reset the default photo library by repeating the steps above, opening the Photos app while holding the Option key to select your original Photos Library, going into Settings > General to designate it as the system photo library and then to the iCloud tab to ensure iCloud Photos is properly enabled