
12 Things You Didn’t Know Your Mac Could Do
 Norwood Themes / Unsplash
If you have a Mac, you know how powerful and useful it can be. Right from the moment you take it out of its box and set it up, your Mac will be ready to do anything you want.
From the most intensive workload, like editing a video or a photo, to the easiest tasks, like watching a movie or browsing the web, you know your Mac will not break a sweat when you use it.
But that's not all; Apple keeps improving it every year with new and useful features you can use whenever you want. With so many features available, chances are you haven't tried everything your Mac has to offer. In fact, there's just too much you can do with your Mac that we can't fit it all in one place; however, we've gathered some of the best. Read on for 12 things you probably didn't know your Mac could do.
Your Mac Can Do Math for You
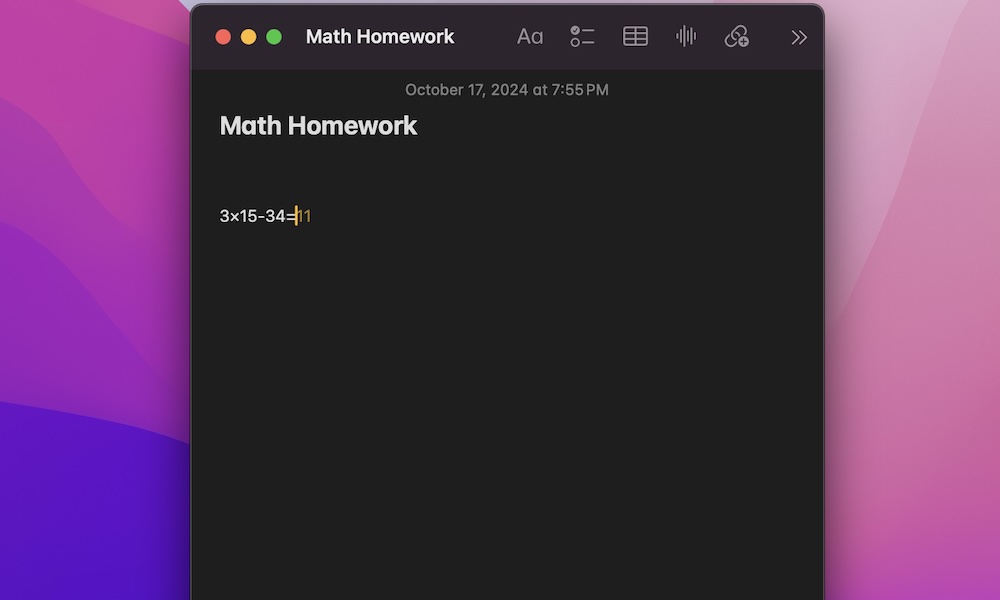
Apple recently added the ability to solve math equations or calculations instantly on the Mac and other Apple devices.
This feature is called Math Notes, and it's meant to do the heavy lifting for you. All you need to do is open a new note in the Notes app and write any calculation.
For instance, you can write something like "(3x4)-12=," and right after you enter the equals sign, your Mac will automatically give you the answer in bright yellow.
This works with everything from basic calculations to complex equations, so it'll be a great way to solve your math problems quickly.
Add Extra Shortcuts to Your Mac's Corners
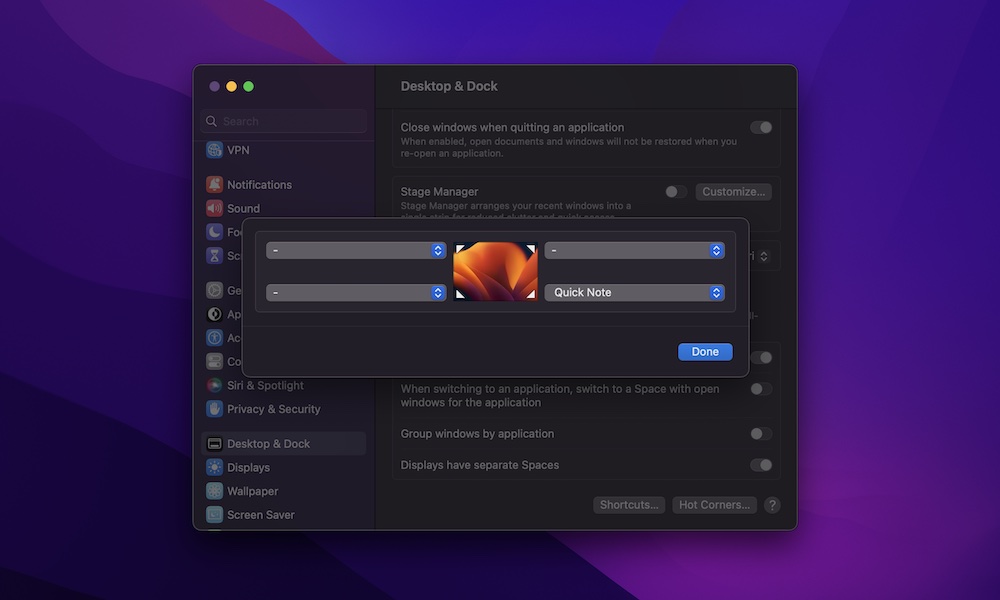
A really cool feature that not everyone knows about is the ability to add a few extra buttons to the corners of your Mac. Yes, we're talking about the corners of the screen.
This is thanks to a feature called Hot Corners. Once you set it up, you can access specific apps or actions by moving your mouse pointer into one of the corners.
For instance, you can hover your mouse over the bottom right corner to access a Quick Note. Or hover your mouse over the top right corner to lock your Mac instantly.
It's a really useful feature. Here's how you can set it up:
- Click on the Apple menu (the one that looks like the Apple logo) in the top left corner of the screen.
- Go to System Settings.
- Scroll down on the left sidebar and click on Desktop & Dock.
- Scroll down to the bottom and click on Hot Corners.
- Click the corner you want to customize and then select the action you want to take.
- Next, click on Done.
Now, hover your mouse over the selected corner, and you'll notice how it works immediately.
Use Emojis in Any App
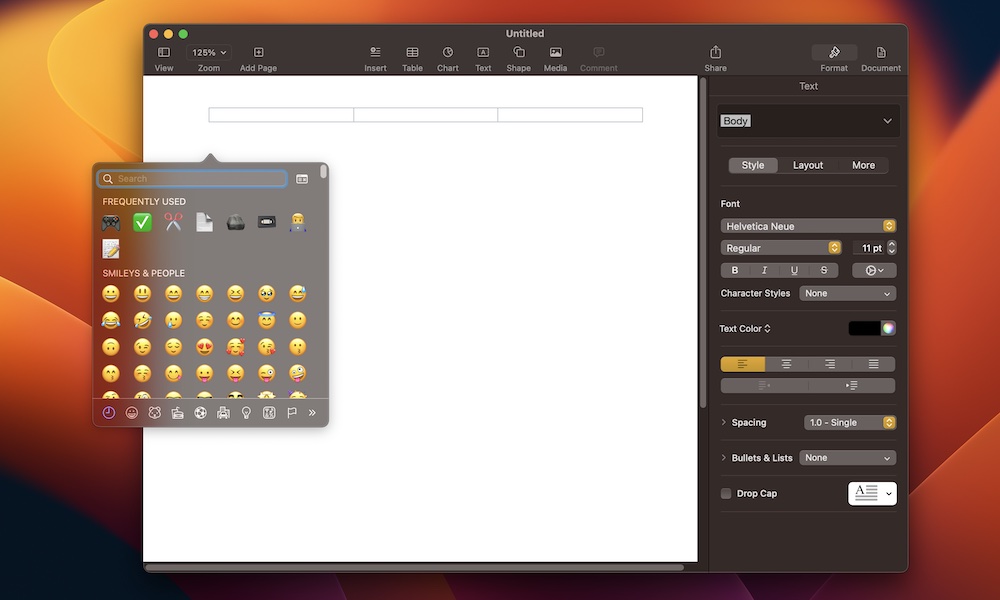
Not many people know that your Mac has a feature that lets you add an emoji wherever you need it. This feature has all the emojis you can find on any Apple device, and you can use it pretty much anywhere.
For instance, you can pull up your favorite emojis and use them in your emails, social media comments, or even a Word document.
To use your go-to emojis anywhere, open the app where you want to insert one and click the Edit button at the top of your screen.
Next, click on Emoji & Symbols, and your Mac will reveal all the emojis you can use at a moment's notice. Of course, if you like keyboard shortcuts, you can simply click on fn (or the globe key) + E, and the emojis will appear wherever your cursor is located.
Access Your iPhone Remotely

A new feature you probably haven't used yet is the ability to access and control your iPhone directly from your Mac.
To use this feature, you need to install macOS Sequoia on your Mac, be logged in to the same Apple Account (Apple ID) on both your Mac and iPhone, and have your iPhone locked and near the Mac.
After you install the software update, you'll see a new iPhone Mirroring app in your Dock. Click on it, and give your Mac a couple of seconds to get everything ready. Once it's done, you can control everything on your iPhone. You can check your notifications, open apps, and even interact with them.
Get iPhone Notifications on Mac
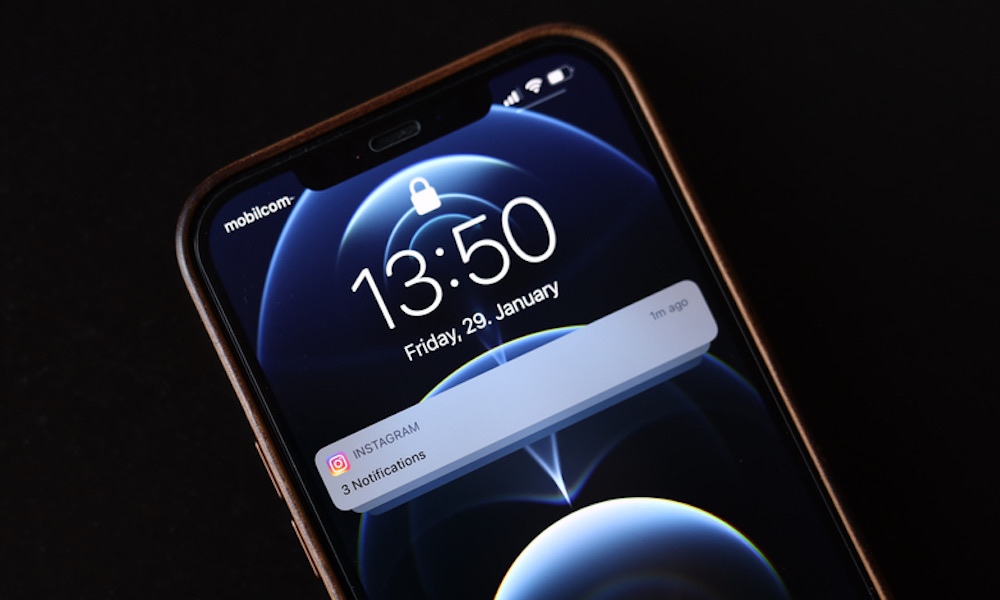
Not only can you control your iPhone from your Mac, but you can also receive all its notifications on your Mac desktop.
This will help you stop looking at your iPhone so much when you need to get something done. Be careful, though, as iPhone notifications on your Mac can be pretty annoying.
To enable or disable this feature, you'll need to do the following:
- Click on the Apple menu in the top left corner of your screen (the button with the Apple logo).
- Go to System Settings.
- On the left sidebar, scroll down and go to Notifications.
- Click on Allow notifications from iPhone.
- Turn on Allow notifications from iPhone.
And that's it. Now, you'll receive all your iPhone notifications on your Mac and iPhone simultaneously. Remember that for this to work, both devices must use the same Apple Account (Apple ID).
You can also use the settings window to choose which notifications you want to receive on your Mac. That way, you won't go crazy getting all your notifications when you're supposed to be working or studying.
Adjust Your Volume or Brightness in Smaller Increments
MacBook users probably already know that they can quickly increase or decrease the brightness and volume by pressing F1, F2, F11, and F12.
But there's another tip for adjusting volume or brightness. With a keyboard combination, you can increase or decrease them in smaller increments than usual. So, for instance, instead of increasing the volume by 1, you would adjust it by 0.5 or 0.25.
To do this, press and hold the option + shift keys and then press one of the F keys to raise or lower your volume. You'll notice that it goes up or down in a smaller increment than before. It even works on older MacBooks with the Touch Bar.
Record Your Notes
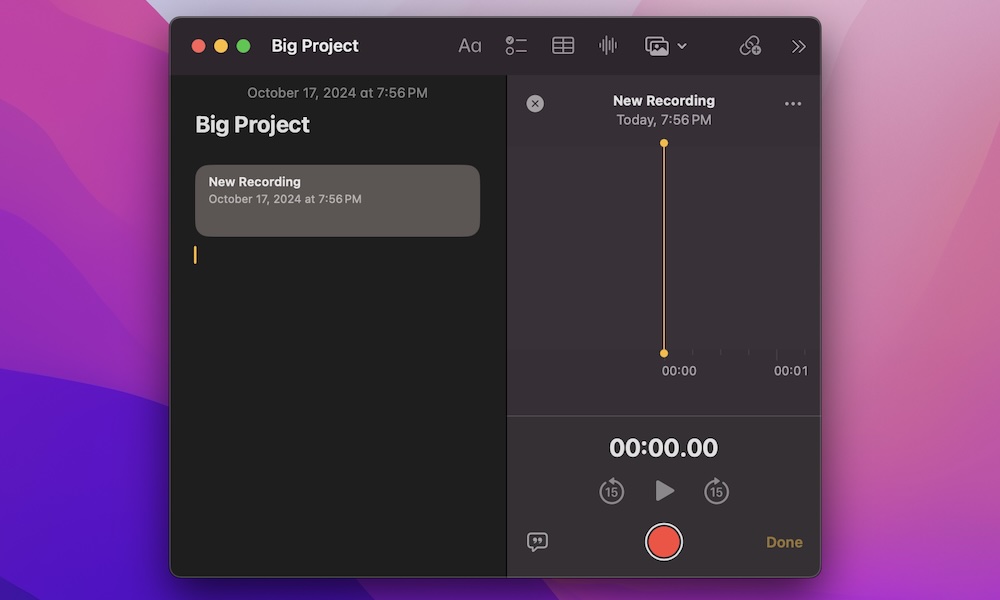
Another new feature in macOS Sequoia is the ability to record your voice in the Notes app.
With this feature, you can record a person's voice and have the Notes app automatically transcribe it so it's easier for you to read and find the part you're interested in.
Here's how to get started recording your voice in your notes:
- Open the Notes app.
- Open a new note.
- Click the Record audio button at the top (the one that looks like a sound wave).
- Click the record button at the bottom of the window and then start recording yourself.
- You can pause and resume the recording if you want everything to be in the same recording, or click on Done to finish the recording.
Once you're done, you'll notice the new recording in your note. You can also click on it to see the complete transcription.
Convert Units With Spotlight
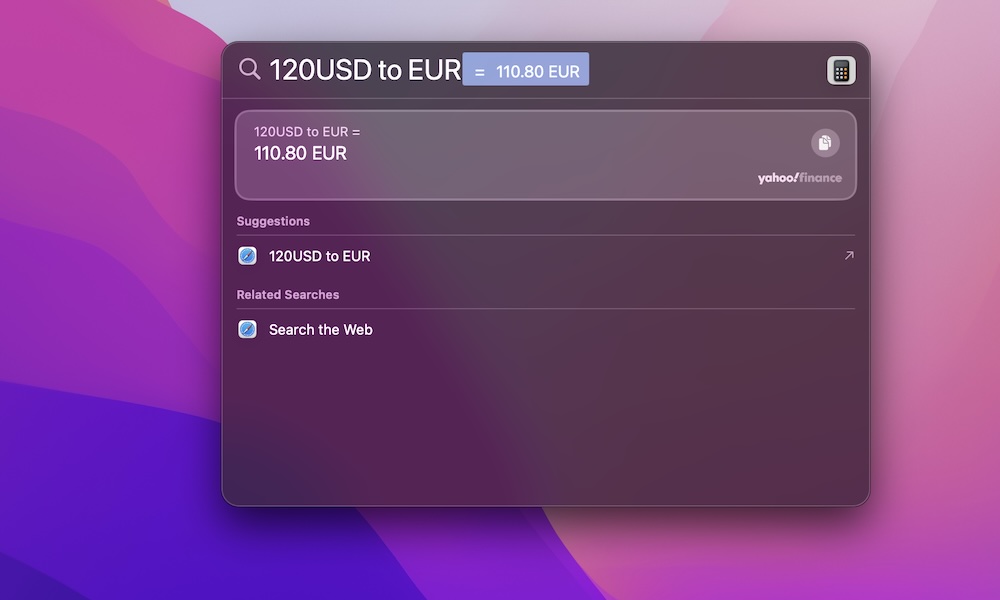
When we need to convert something, we usually turn to Google for help, but you don't have to do that with your Mac.
Your Mac's Spotlight Search comes with a built-in feature that lets you make conversions instantly.
You can convert almost anything, from USD to Euros, pounds to grams, and centimeters to inches.
All you need to do is open Spotlight Search — the fastest way to do this is by pressing Command + spacebar — and then type the numbers followed by the unit you want to convert. For instance, you can enter "1000 grams to pounds," and your Mac will instantly show you the result next to what you just wrote.
Preview Any File Without Opening It
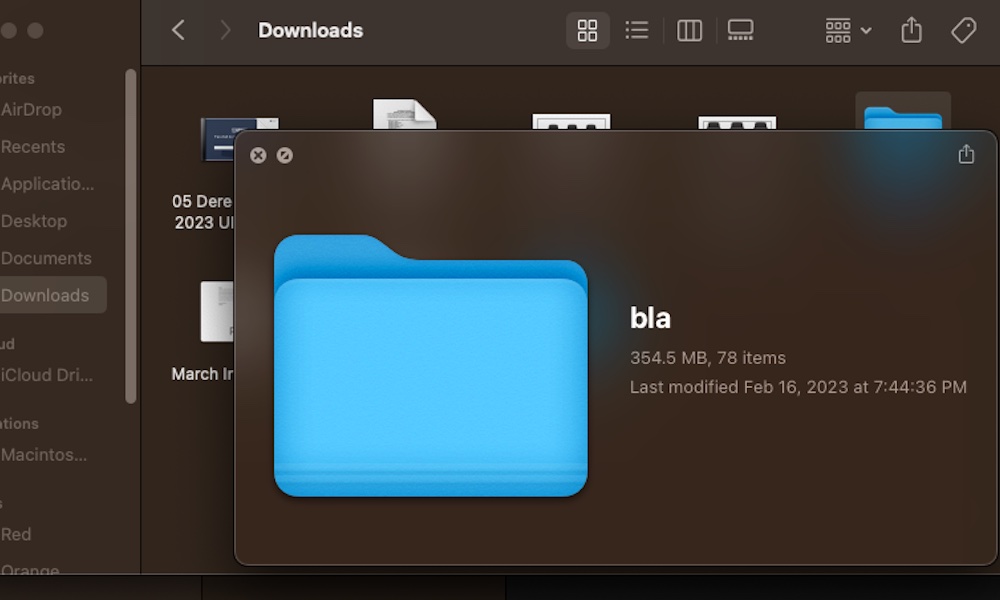
A great feature of your Mac is the ability to preview any file instantly. That way, instead of opening the file to see if it's the one you want, you can simply peek at what's inside without opening an app.
The best part is that it's pretty straightforward. To preview any file, go to your Finder, click the file you want to preview. Next, press the space bar.
And that's it. A preview window will pop up. You can scroll down or up to see the complete document, and if you want to open it, simply click on Open with, followed by the name of an app.
Unlock Your Mac With Your Apple Watch
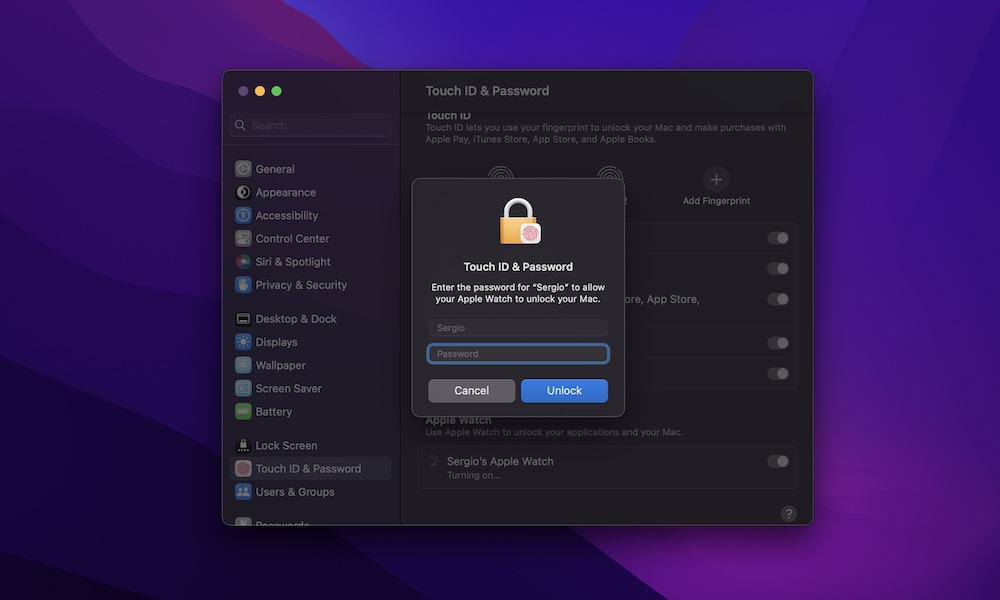
This is a useful alternative to entering your password to unlock your Mac all the time. If you have an Apple Watch, you can instantly unlock your Mac whenever you're wearing it.
Additionally, you can use your Apple Watch to authorize Apple Pay transactions and other in-app purchases and download apps from the App Store. Here's how to set it up:
- On your Mac, click the Apple menu in the top left corner of your screen.
- Go to System Settings.
- On the left sidebar, scroll down and click on Touch ID & Password.
- Under Apple Watch, enable your Apple Watch's name to use it to unlock your Mac.
Keep in mind that for this to work, both your Mac and your iPhone need to be logged in to the same Apple Account (Apple ID). Also, your Apple Watch must have a passcode with Wrist Detection enabled and be unlocked.
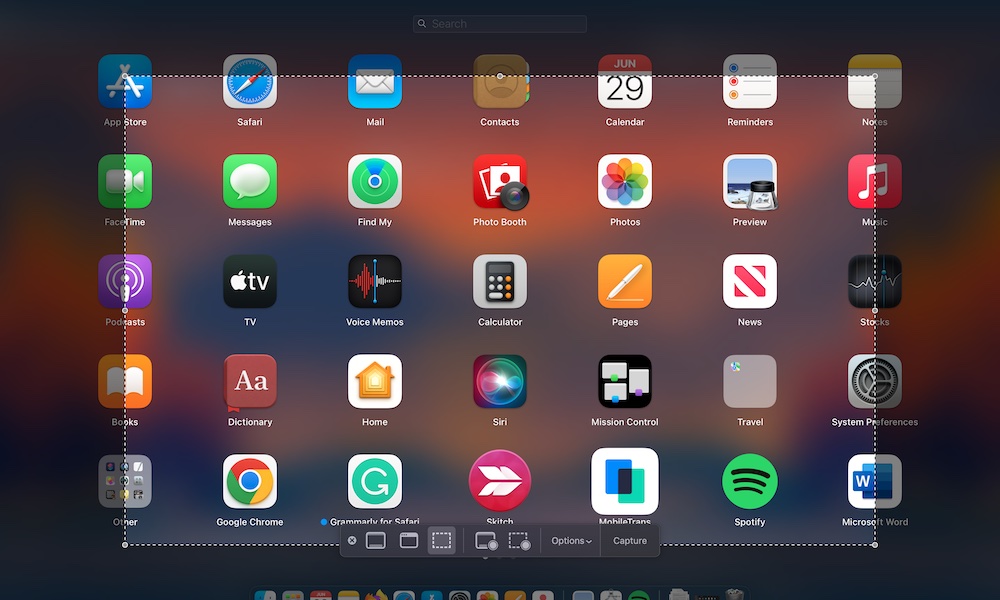
Screenshot or Record Specific Parts of Your Screen
Taking screenshots on your Mac is extremely easy, but you probably aren't taking advantage of everything it can do.
As you probably know, you can take a screenshot by pressing the Command + Shift + 3 key combinations on your keyboard. However, this will take a screenshot of your whole screen. But what if you just want to screenshot a small portion of your screen? Well, your Mac can do that, too.
Simply press Command + Shift + 4, and you can now use your cursor to mark the screenshot section. Simply click and hold your mouse and then drag it across the section you want to screenshot. When you release the mouse, the Mac will screenshot the selected area.
You can also capture a single window or dialog box more easily by hovering your mouse over it and pressing the spacebar. The window will highlight, and when you click the mouse button, you'll get a screenshot of only that window — complete with its drop shadow.
You can also press Command + Shift + 5 to see a menu at the bottom of the screen that lets you access the options and do even more, like recording a video of your complete screen.
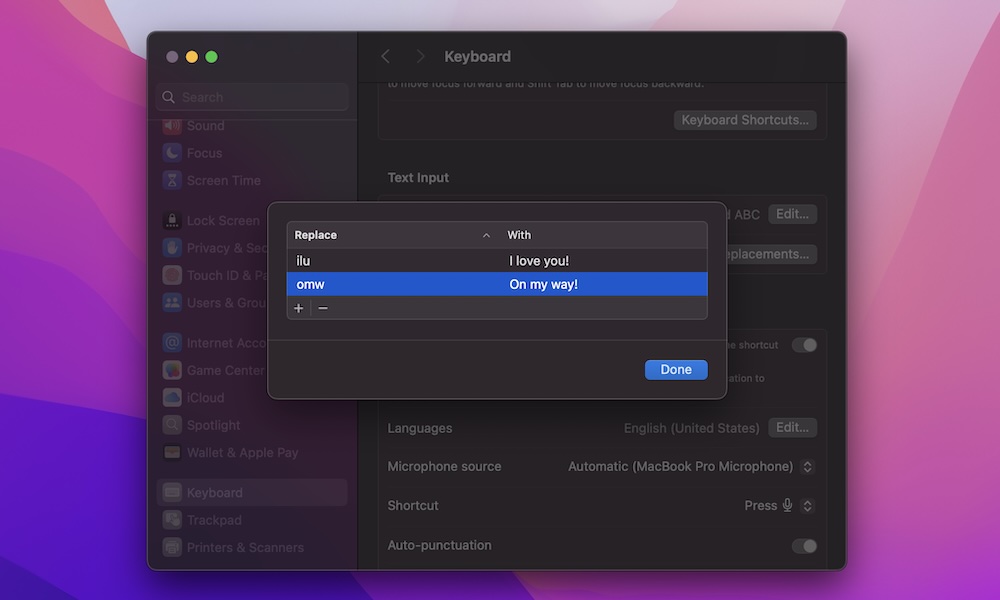
Use Text Replacement to Write Faster
Many of us are slow typers, which means it takes a while to write everything we need. Fortunately, your Mac has a useful feature that might help you out with that.
This feature is called Text Replacement, and as you can guess by its name, it replaces some text you just wrote and writes a word or phrase that you set up before.
For instance, you could just write "BRB" on your keyboard, and when you press the space bar, your Mac will change it to "be right back." This can be very useful for long words or phrases that you constantly use, and this is how you can set it up.
- Open the Apple menu in the top left corner of your screen.
- Go to System Settings.
- On the left sidebar, scroll down to the bottom and click on Keyboard.
- Under Text Input, click on Text Replacement.
- Click the plus button near the bottom left to add a new word.
- Next to Relpace, write the short version you want to use.
- Next to With, write the complete word or phrase you want your Mac to replace the text with.
- Click on Add.
- Click on Done.
Now you can give it a try. Write the short text anywhere on your Mac, and then press the space bar. Your Mac will do the rest.