Large Apps Can Be Auto-Installed to an External Drive in macOS Sequoia
 Credit: Jay Wennington
Toggle Dark Mode
Among several exciting new features in macOS Sequoia, Apple has rolled out some small but significant improvements to the Mac App Store’s functionality that will help folks save some storage space on their internal SSDs.
While iPhone Mirroring, Math Notes, and an improved Game Mode are undeniably cool user-facing features, Mac gaming fans may also benefit from new tweaks that will require less space to install apps and even automatically install the largest of these on an external hard drive.
As anyone who’s ever downloaded a game from the Mac App Store knows, these can be staggeringly massive. For example, Resident Evil Village weighs in at just over 34 GB, and Resident Evil 4 leaves that in the dust at 64 GB. If that’s not huge enough for you, Death Stranding Director’s Cut comes in at nearly 77 GB, and game developers already have others in the works, such as Assasin’s Creed: Shadows.

While those AAA console titles are outliers, it’s still not uncommon for Apple Arcade and Mac App Store games to be multi-gigabyte downloads, and a few of those will quickly overwhelm an entry-level MacBook Air with a 256GB SSD.
To add insult to injury, macOS has traditionally required double the storage space to install the app. That means if you wanted to download and install Death Stranding on your Mac, you needed over 150 GB of free space — 77 GB for the app and another 77 GB to install it.
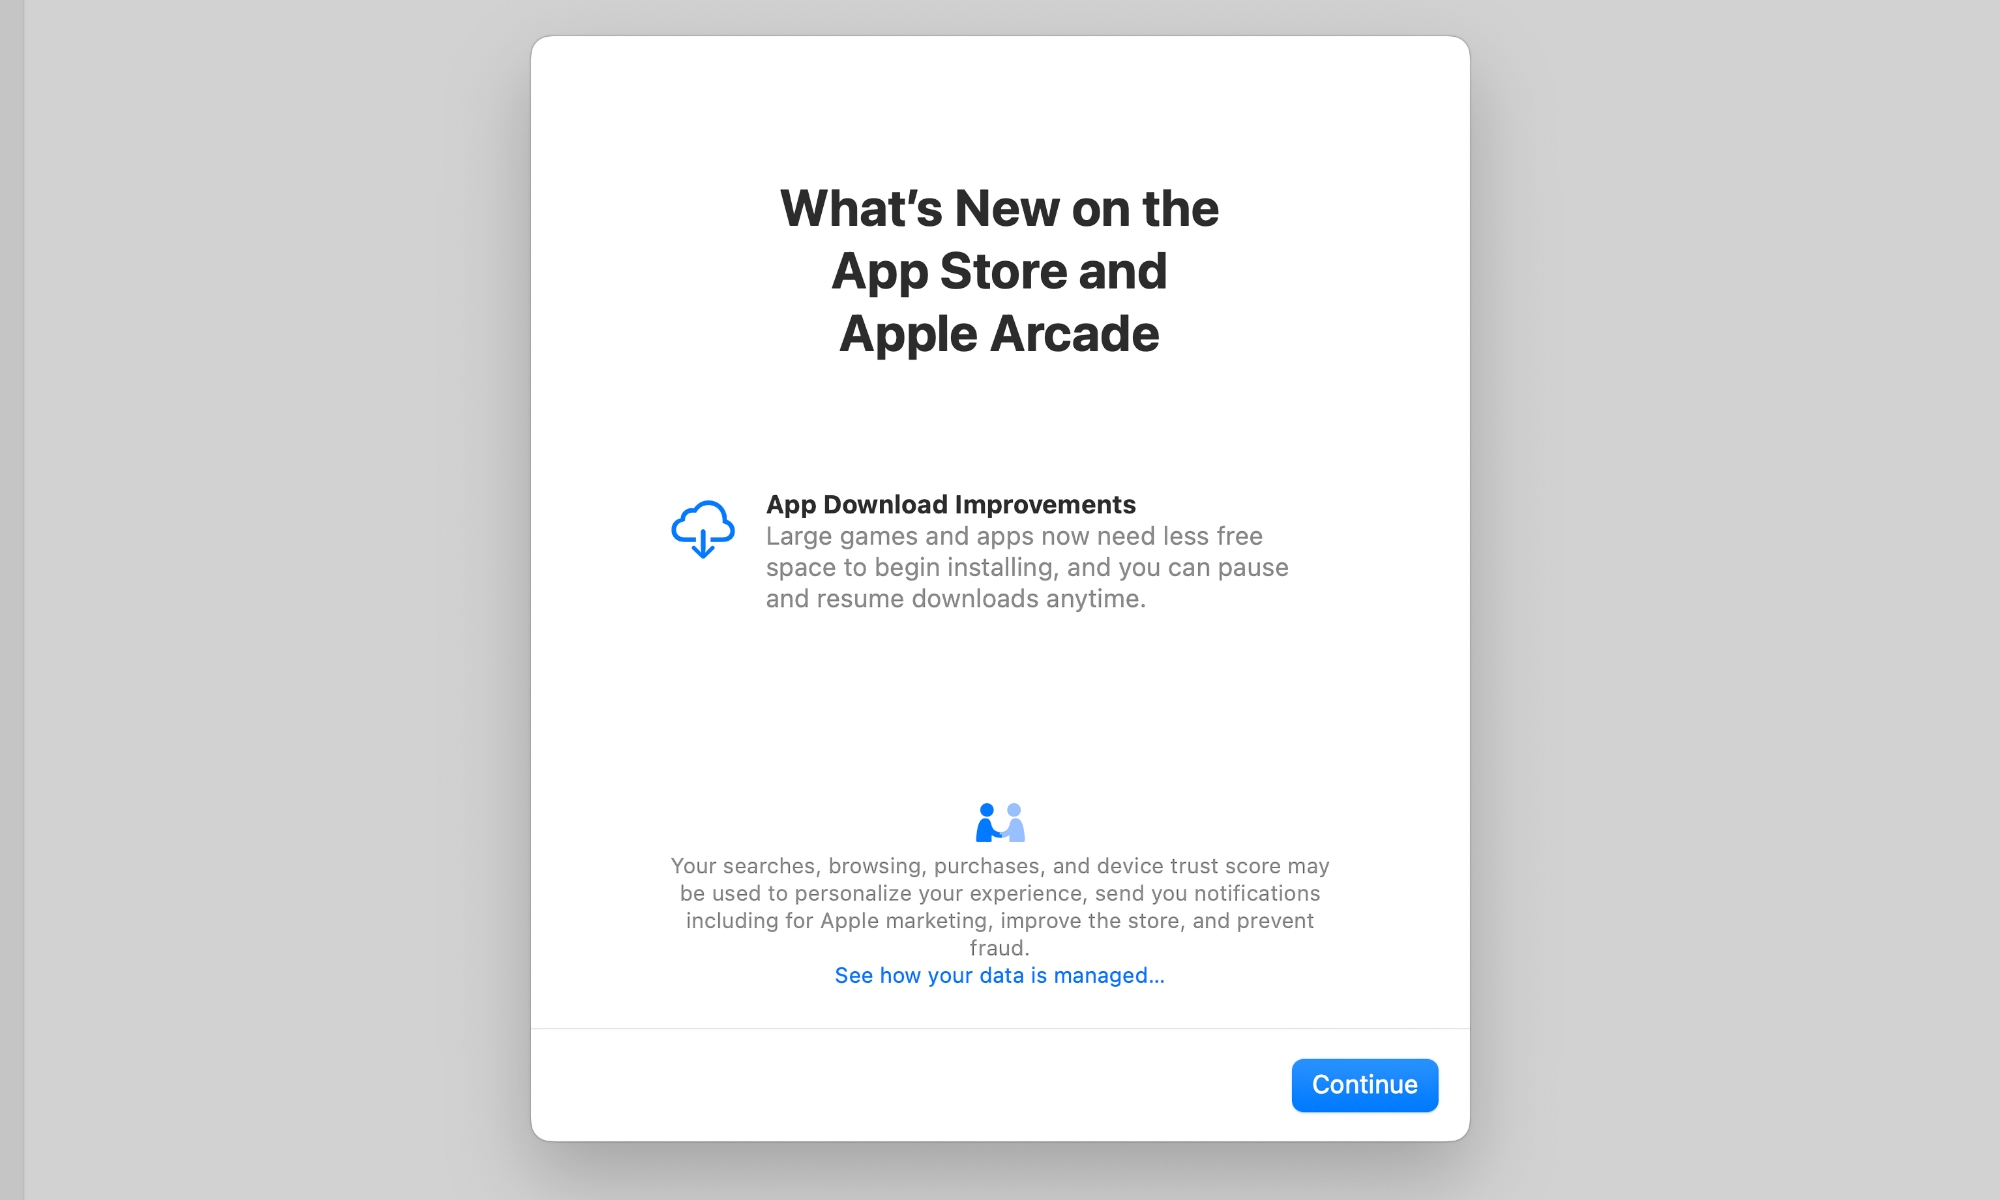
Thankfully, Apple fixed this in the first macOS Sequoia beta in June while also adding the ability to pause and resume app downloads at any time, so you aren’t forced to start over if you run out of space or decide you need to pick up your MacBook and hit the road in the middle of a large download.
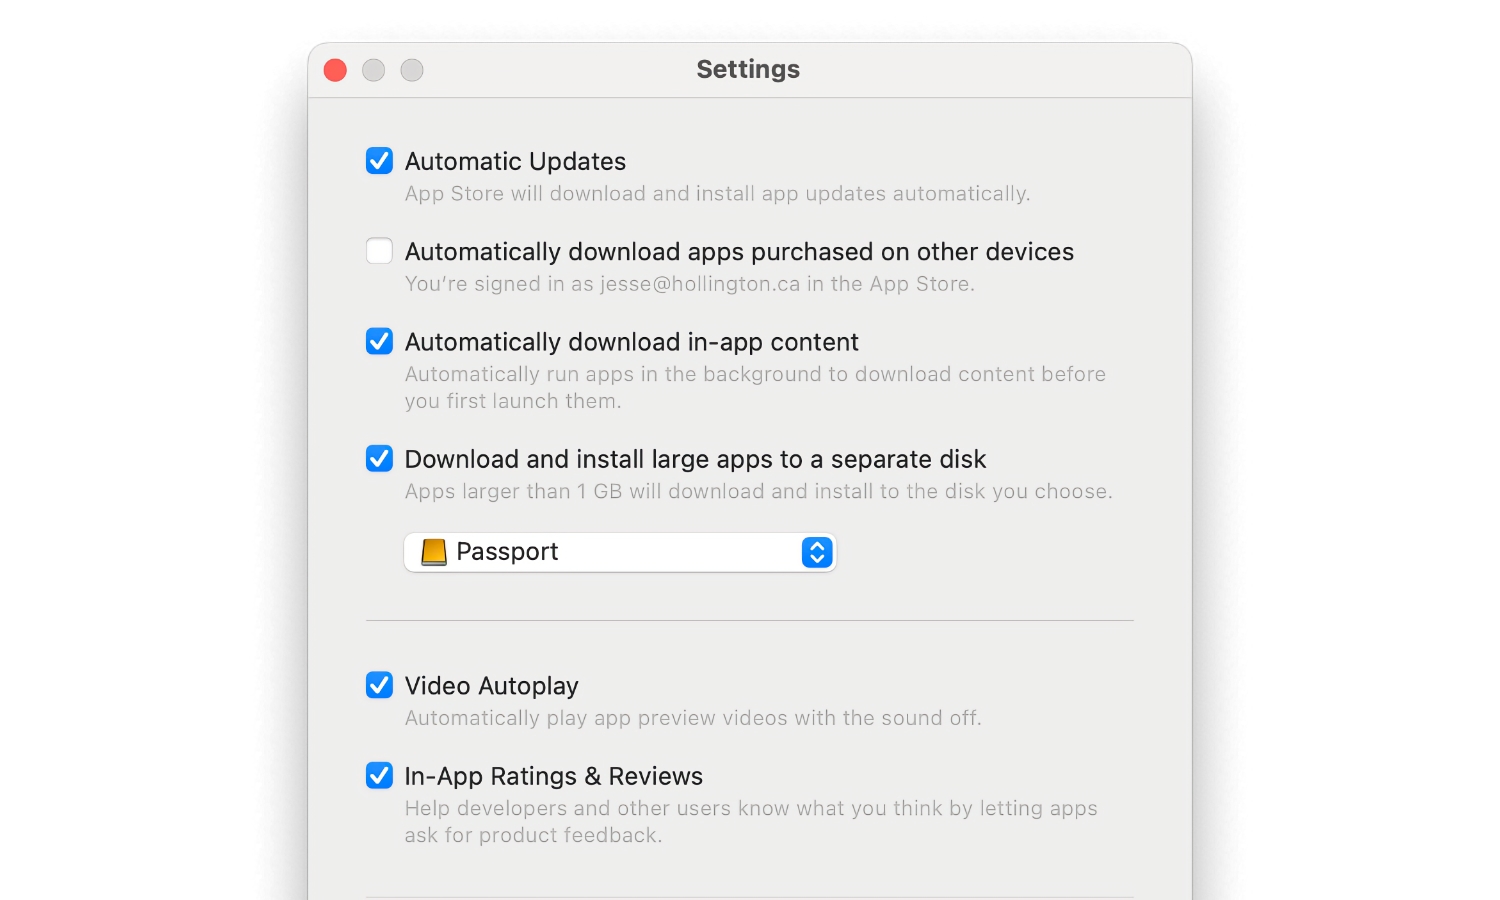
Now, the latest beta of macOS Sequoia adds another very helpful trick. A new option in the App Store settings lets you automatically install larger apps to an external hard drive of your choice.
The new option is labelled “Download and install page apps to a separate disk,” and can be easily found in the relatively sparse Mac App Store settings screen. There’s no way to set a specific threshold for what constitutes a “large” app; instead, Apple has decided that it will apply to “apps larger than 1 GB.”
You need to choose a destination for these apps, so the option is off by default — it won’t automatically select a disk for you, even if it’s the only one connected. However, once you’ve enabled it, a new Applications folder will be created at the root of your external drive as soon as you download the first app that is larger than 1 GB.
Of course, you’ll need to have the external drive connected to run the app, but you can also manually move it over to your main Applications folder if you have the space and want to take it on the go without toting your external hard drive along for the ride.
While it’s always been possible to manually relocate apps to an external drive — even Apple Arcade titles and others from the Mac App Store — they still need to be installed in your main SSD’s Applications folder first, which can be tricky when space is limited. This new option solves that by bypassing the internal SSD entirely and downloading the app directly onto external storage.
This will be especially beneficial for folks who either already have smaller SSDs — it wasn’t that long ago that base-model Macs only came with a paltry 128 GB of internal storage — but it’s also helpful if you want to save some money on your next Mac, as you may be able to get away with investing in less SSD storage, which tends to be pricey compared to the cost of even external SSDs, much less traditional hard drives.


