
How to Use Your iPhone’s Diagnostic Tool in iOS 17
 Jesse Hollington / iDrop News
Toggle Dark Mode
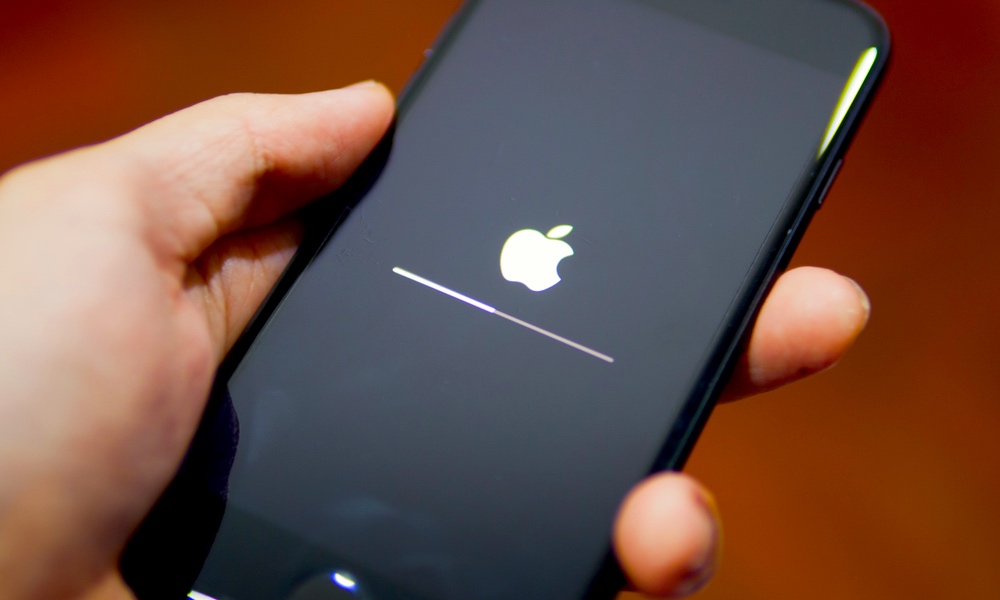
For most people, our iPhones work flawlessly every day. We may encounter a few bugs here and there, but there is nothing to really be worried about.
Not only that but if you do have an issue with your iPhone, it usually fixes itself as soon as you restart it.

With that said, this will only fix any software issues your iPhone might have. But what happens when you’re facing hardware problems? Well, if you aren’t sure what part of your iPhone is acting up, you can use the new Diagnostic Tool that Apple implemented in iOS 17.
This feature will let you test your iPhone’s hardware to determine what the issue with it is. Here’s everything you need to know to find and use this handy tool.
What Is the iPhone’s Diagnostics & Repair Feature?
As you can guess from its name, Diagnostics & Repair is an iPhone feature that lets you test your iPhone’s hardware to determine whether it has any issues. This feature can also detect software problems.
The diagnostics tool lets you run several different tests to check your iPhone’s display, speakers, multi-touch features, and much more.
With the diagnostics, you’ll understand what’s wrong with your iPhone before even talking to tech support, making it easier to know if something is actually wrong before asking for help.
Although Diagnostics & Repair can be initiated on any iPhone running iOS 17, the Apple Diagnostics for Self Service Repair tool needed to view that diagnostic information yourself is only available in those countries where Apple’s Self Service Repair program is available, as it’s intended to help do-it-yourselfers conducting repairs on their own iPhones. It launched in the US late last year, and will be rolling out in Europe in the coming months.
What You Need to Use Diagnostics & Repair on iPhone
Before you grab your iPhone and start using Diagnostics & Repair, you’ll need to make sure you’re ready.
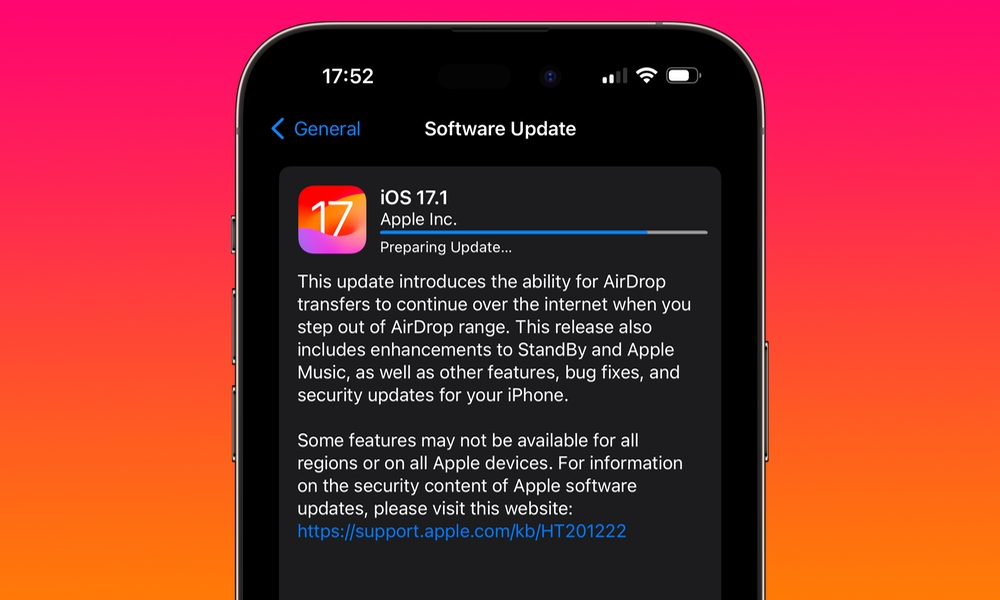
For starters, you need to have at least iOS 17 installed on your iPhone. Previous versions will not work. You can check your current iOS version or install iOS 17 by going to Settings > General > Software Update and then tapping on Install Now if there’s an update available.
Also, for this feature to work you’ll need to have a release version of iOS 17 installed, not a developer or public beta version.
You’ll also need a separate device. Unfortunately, your iPhone alone will not work. The good news is that you should be able to use any other device with access to Wi-Fi and a browser. That means you can use another iPhone, an Android device, or even a Windows computer.
Speaking of Wi-Fi, you’ll need to have a Wi-Fi network nearby that you can use. Your iPhone won’t be able to use its own data, but you should be able to use a hotspot if you need to. Just remember to keep the password nearby, too. Even if you have the network already saved on your iPhone, you’ll need to manually connect to it to use this feature.
Last but not least, you’ll need to have your charger and charging cable at the ready. Diagnostics & Repair only works when your iPhone is charging.
Once you have everything lined up, it’s time to start using Diagnostic & Repair.
How to Use Diagnostic & Repair on Your iPhone

Using the iPhone’s Diagnostic & Repair is kind of tricky since Apple hid it pretty well. Luckily, it’s easy to access once you know the steps to follow.
However, keep in mind that you won’t be able to use your iPhone normally until you exit the Diagnostic & Repair screen. Not only that, but it’s going to take you quite a few steps to start using it, so make sure to do this when you have enough time. Here’s what you need to do:
- Turn off your iPhone. To do this, simply press and hold the side button and one of the volume buttons until the slider appears and swipe the slider at the top of the screen to the right.
- Now, press and hold both the volume up and the volume down buttons at the same time.
- Wait around 30 seconds.
- While still pressing both volume buttons, plug your iPhone to start charging it.
- Keep pressing both volume buttons until you see the Apple logo on your screen.
- After a few seconds, you should see the Diagnostics & Repair page.
- Once the page appears, tap on Start Session.
- Select your preferred Wi-Fi network and enter your Wi-Fi password when prompted.
Once your iPhone is connected to Wi-Fi, go to Apple’s Self Service Diagnostics website using a web browser on another device, and follow these steps:
- Scroll down and click or tap on Continue.
- Select iPhone.
- Enter your iPhone’s serial number. If you don’t have it with you, simply go back to your iPhone and tap the i icon located in the bottom right corner of your screen.
- After entering the serial number on the other device, tap or click on Start Session.
- This will connect your other device to your iPhone via Apple’s servers so you can run tests.
- Once it’s connected, go back to your iPhone, read Apple’s Terms and Conditions, and then tap on Agree in the bottom right corner.
- Wait for a few moments, and then go back to your other device. In it, you should see all the options you can choose to test.
- Scroll down, find the test you want to make, and then click or tap on Begin Diagnostic. Depending on the diagnostic you choose, you might need to do something specific with your iPhone, like removing its case. So follow the instructions on your screen and then wait until the diagnostics finish.
- Once it’s done, you’ll see a list of all the things your iPhone just checked. If you scroll down to the bottom, you’ll have the option to print those diagnostics or Choose another diagnostic suite.
And that’s it. You can run as many diagnostics as you need to.
How to Exit Diagnostics & Repair on Your iPhone
After you’re done testing your iPhone, you’ll want to exit the Diagnostics & Repair page to go back to using it. Luckily, this is much easier than accessing Diagnostics & Repair, and this is what you need to do:
- Press and hold the side button until you see a menu pop up.
- Tap on Exit.
- To confirm your decision, tap on Exit again.
- Wait a few moments until your iPhone turns itself back on.
- After you save the diagnostics on the other device, feel free to close Apple’s web page.
Keep Your iPhone Healthy
And that’s it! This is the easiest way to diagnose your own iPhone without even talking to Apple. You can use the Diagnostics & Repair feature as much as you want and then save the results so you can then talk to Apple support and get a quicker fix for your iPhone.


