How to Protect Your Apple ID with a Security Key
Toggle Dark Mode
By itself, your Apple ID is already protected by Apple from most cyber attacks. Thanks to Apple’s secure encryption, most of us are safe with just using features like two-factor authentication for our Apple ID.
But that’s not all you can do. If you want, Apple lets you take your security to the next level. This is thanks to the fact that you can now add a security key to your Apple ID.
Think of this as an even more secure two-factor authentication for your iCloud account. While having a physical key might present its own risks, this is definitely the best way to make sure you’re the only one with access to your Apple ID.
Keep reading to learn everything you need to know to set up a security key for your Apple ID.
What Is a Security Key?
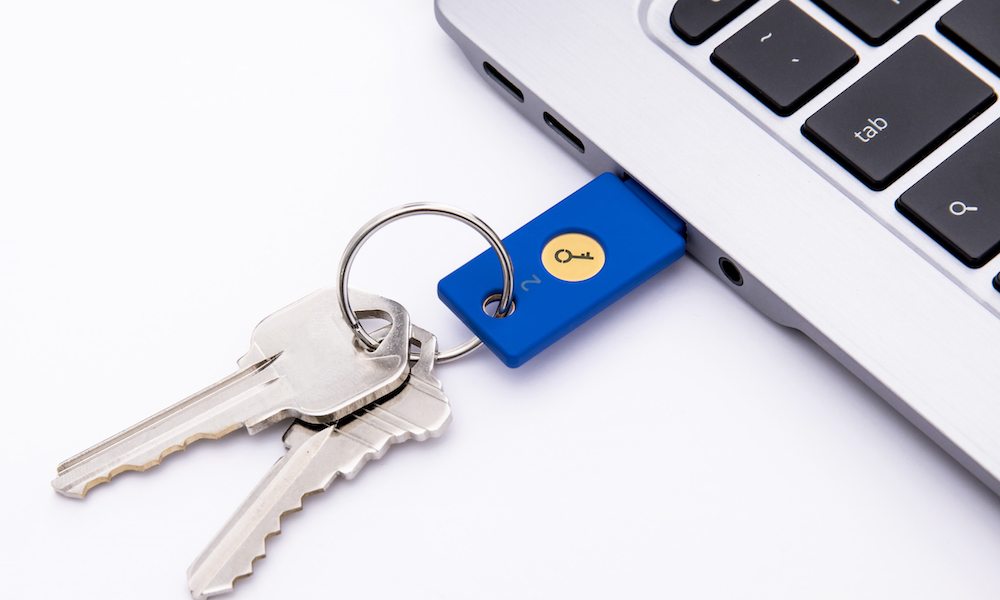
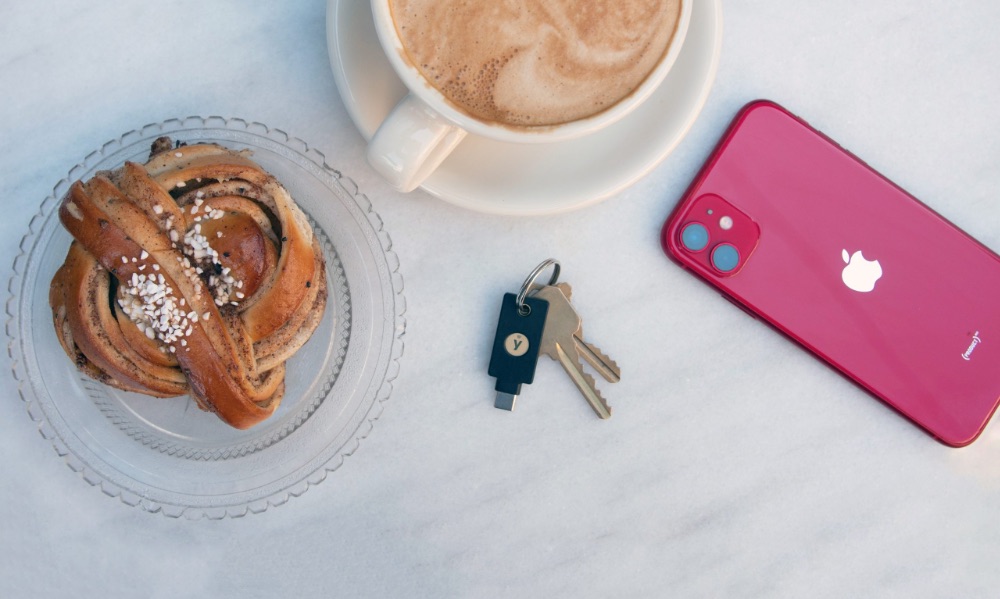
A security key is an external physical device that you connect to your iPhone, iPad, or Mac, to use as the second part of the two-factor authentication process to log in to your Apple ID.
The purpose of using a security key is to make sure you’re the only one that can access your Apple ID account, making it more secure against cyber attacks like phishing or other scams.
How Using a Security Key Works
When you set a security key for your Apple ID, you’ll still log in to your account as you normally would. That means you’ll enter your Apple ID and password normally.
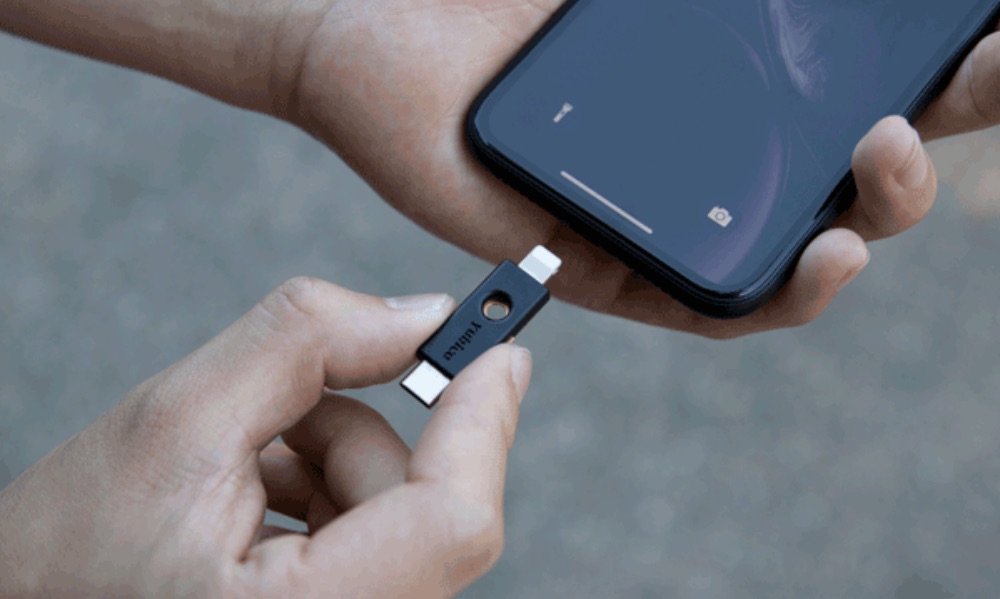
However, once you’ve done that, instead of your iPhone asking for a six-digit number, you’ll insert or tap your physical security key instead.
This makes it harder for cybercriminals to break into your Apple account since they can’t just try to intercept a six-digit code to pretend they’re you — they would need physical possession of your security key.
What You Need to Begin Using Security Keys With Your Apple ID
Apple has a few requirements before you start setting up your security keys, so be sure you have everything before starting.
1. At Least two FIDO-Certified Security Keys
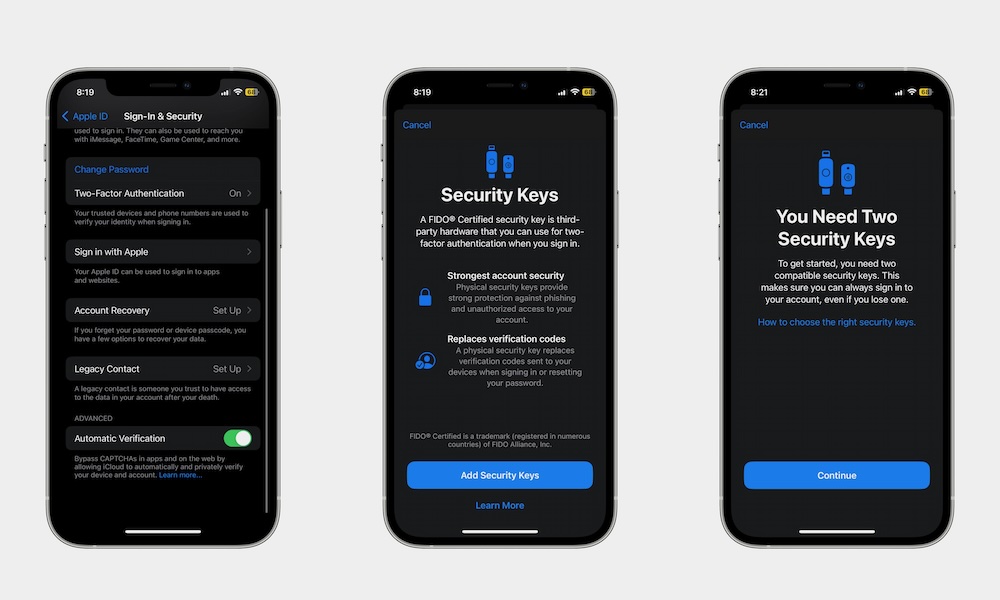
Apple requires you to register at least two security keys with your Apple ID to make sure you have a backup in case one gets lost or damaged, although you can register up to six keys if you want.
These keys must be certified by the FIDO Alliance. That’s an industry standards group that ensures the security key is compatible and has been fully tested to meet the basic security requirements to be considered a secure key.
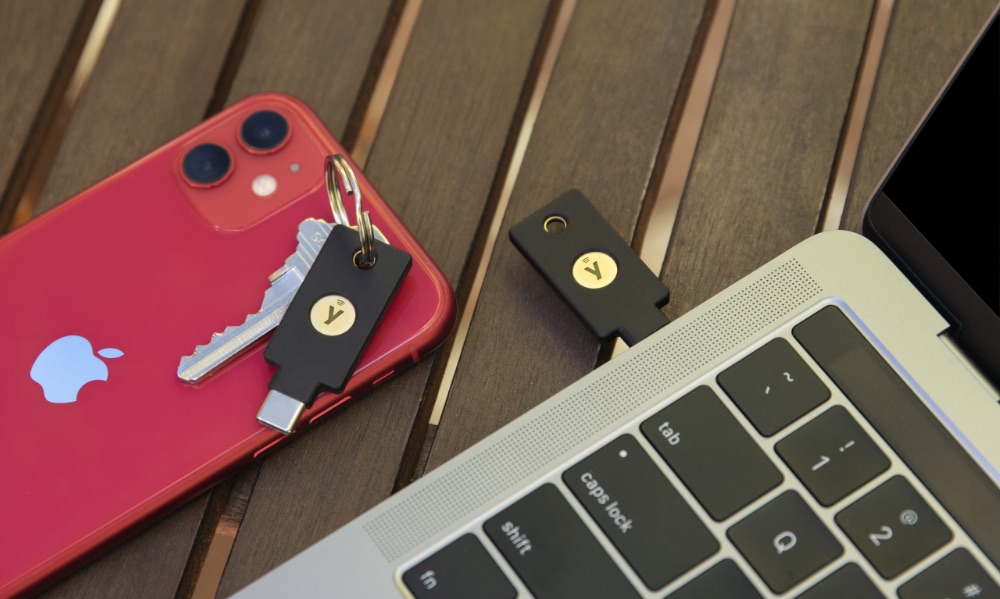
You can go to Amazon and find FIDO-certified keys yourself, or you can choose one of the security keys that Apple suggests:
- YubiKey 5C NFC/USB-C Security Key
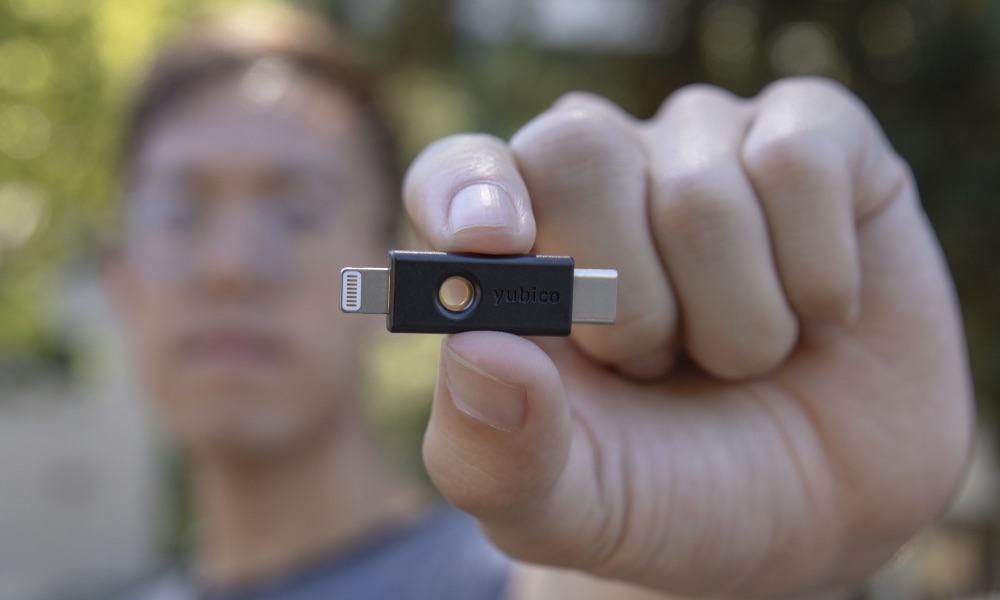
- YubiKey 5Ci USB-C/Lightning Security Key
- FEITIAN ePass K9 NFC/USB-A Security Key
- FEITIAN ePass K40 NFC/USB-C Security Key
These are also the security keys we use here at iDrop News, so we can vouch for all of them.
You can also go to FIDO’s website and check the security lists it suggests. You can also buy another key for yourself, but be sure that they’re FIDO-certified and that they work with your iPhone or Mac. An NFC key can be used with any modern iPhone, but if you plan to use it with a Mac or iPad you’ll need to ensure it also has the appropriate USB-C or Lightning connector. USB-A keys can be useful if you have an older Mac or need to log in from older PCs from time to time.
2. You Need the Right Apple Device
In order to set up your security keys, you’ll need an iPhone, an iPad, or a Mac with you.
Your iPad and iPhone need to have at least iPadOS 16.3 and iOS 16.3, respectively. Your Mac will need to have at least macOS Ventura 13.2 installed. And, of course, you’ll need to be logged in to your Apple ID.
3. You Need Two-Factor Authentication Set Up for Your Apple ID
You’ll need to enable two-factor authentication beforehand, but this is pretty easy to do. Just do the following:
- Open the Settings app.
- Tap on your Apple ID. That is your name at the top of the settings app.
- Go to Sign-In & Security.
- Tap on Turn On Two-Factor Authentication.
- Select Continue and follow the instructions on your screen.
Besides two-factor authentication, you also need to have a passcode or password on your device. To add a passcode to your iPhone, you need to go to Settings > Face ID & Passcode and tap on turn on your passcode.
How to Add Security Keys to Your Apple ID Account
As we mentioned before, you can set up your security keys on your iPhone, iPad, or Mac. We’ll show you how to get started on all of these devices.
How to Add Security Keys on iPhone or iPad
- Open the Settings app.
- Tap on your Apple ID at the top of the settings app.
- Go to Password & Security.
- Go to Two-Factor Authentication.
- Select Security Keys.
- Tap on Add Security Keys.
- Tap on Continue.
- Enter your passcode.
- Connect your security keys to your iPhone and follow the instructions on the screen.
How to Add Security Keys on Mac
- Click the Apple menu in the top left corner of your screen.
- Go to System Settings.
- Click on your Apple ID in the top left corner of the window.
- Select Sign-In & Security.
- Click on Two-Factor-Authentication.
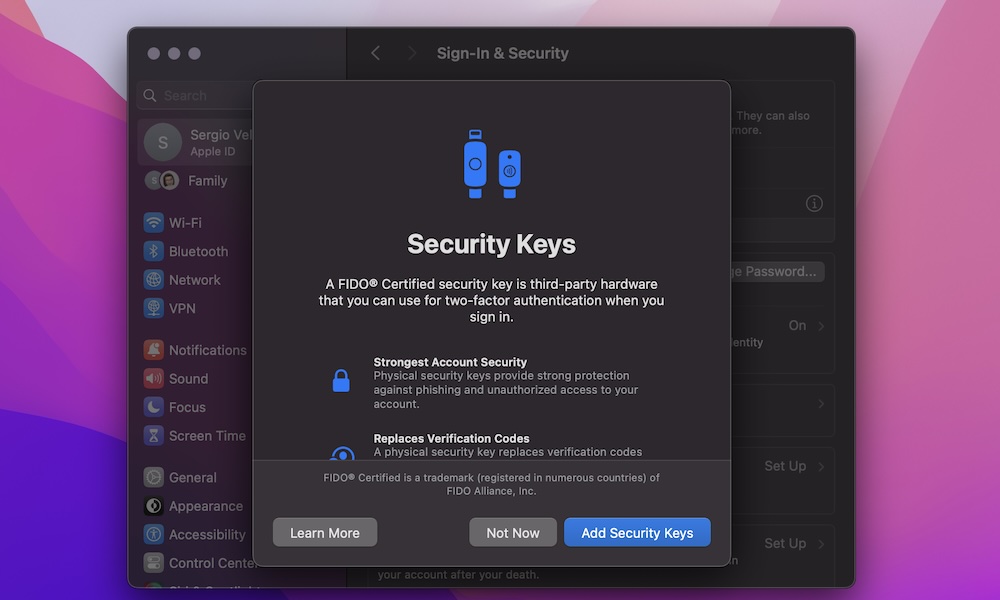
- Go to Security Keys.
- Click Add Security Keys.
- Click Continue.
- Enter your password.
- Connect your security keys and follow the instructions on your screen.
And that’s it. If you follow everything correctly, you’ll have your security keys added to your Apple ID account. If you decide you don’t want to use this anymore, you can follow the same steps on your iPhone, iPad, or Mac and then select Remove All Security Keys.
What Happens if You Lose Your Security Keys?
Needless to say, you need to make sure you keep track of all your security keys. Losing your security keys means you might even lose your account forever. In the very least, you’ll need to go through a more complicated process to convince Apple you really are who you say you are before they let you back in, which can take a few days.
That’s right; if you don’t have your security keys and you don’t have any of your trusted devices with you, you might not be able to log in to your account again.
If a cybercriminal gets their hands on one of your security keys, they could get access to your account, although they’d still have to know your Apple ID and password. Needless to say, you should write any identifying information on your security keys.
Be sure to keep track of your security keys and add at least three security keys to make sure you have backups. It’s a good idea to keep one with you and stash one in a safe place at home. If you do lose or misplace a security key, you can always follow the instructions above to remove it from your account; if it turns up later, you can add it back in just as easily.
Keep Your Apple ID Safe
While most people will have more than enough security with regular two-factor authentication, you can always go the extra mile.
If you’re someone with a high profile or you’re worried that someone might access your data, using an external security key will give you that extra layer of protection that you need.
Be sure to use it responsibly and to keep track of your security keys at all times.


