
Fully Customize Your MacBook’s Touch Bar with These 5 Tricks
 ChicagoStockPhotography / Shutterstock
Toggle Dark Mode
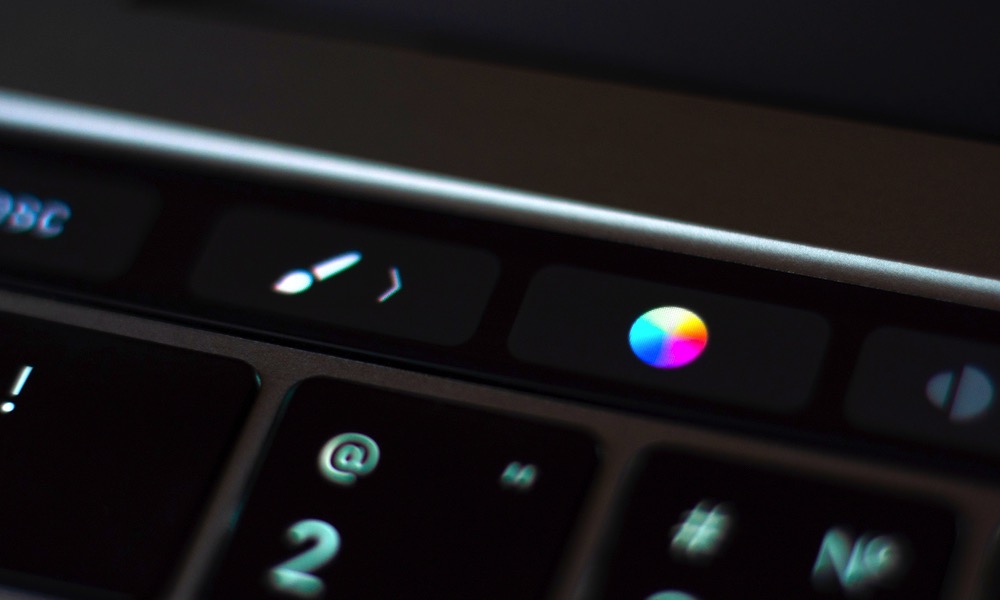
One of the most polarizing features on the most recent MacBook Pro models has to be the Touch Bar. To this day some people still dislike the idea of losing the function keys and needing to use a small touch screen instead. While they might have a point, there’s no denying that the Touch Bar offers a bunch of cool and useful functions and shortcuts that you couldn’t get with a regular keyboard.
Whether you like it or not, there’s one thing for sure: the Touch Bar is here to stay. So you better make good use of it.
The Touch Bar on your MacBook Pro is really helpful. You can customize it to have your favorite shortcuts right at your fingertips.
If you don’t even know where to begin, here are the best tips and tricks to master the Touch Bar on your MacBook Pro.
Add or Remove Shortcuts in Different Apps
The Touch Bar has a bunch of different shortcuts based on which App you currently working on. The best part is that you can customize it to adjust to your preferences. Here’s how
- Open the app of your choice, in the menu bar click View.
- Click on Customize Touch Bar.
- The items on your Touch Bar will begin to jiggle. Use your Cursor to rearrange the items to your liking.
- You can also drag icons from your screen and drop them your Touch Bar.
- To remove items from your Touch Bar, all you need to do is drag them up and out of the Touch Bar.
- Click on Done on your MacBook when you finish.
Customize Your Control Strip

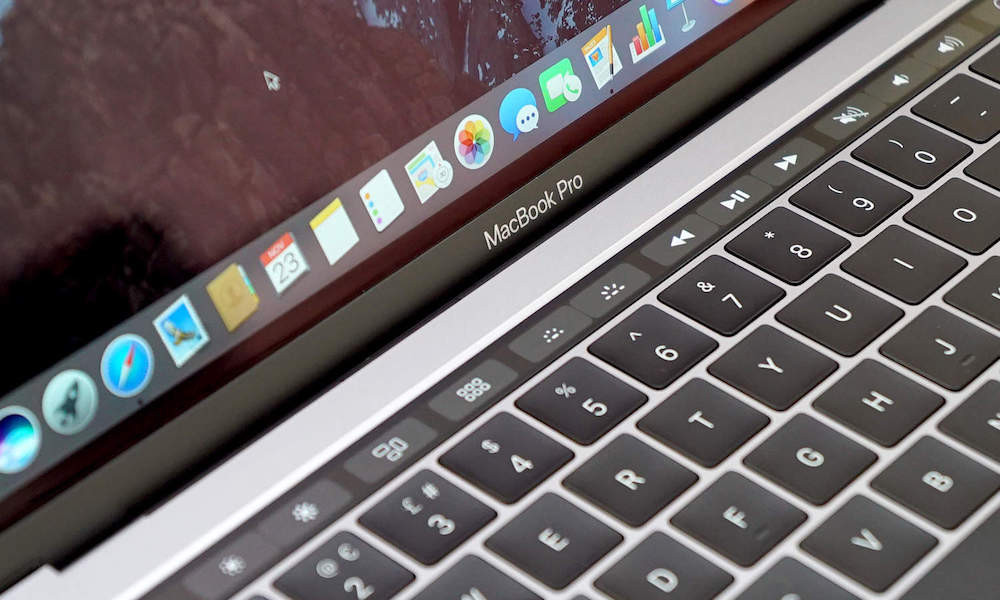
Just like the Touch Bar, you can also customize your Control Strip. If you’ve had your MacBook Pro for a while, you probably already know what the Control Strip is.
But in case you’re new to the MacBook Pro, the Control Strip is a small section with three to four buttons on the right side of the Touch Bar.
By default, the first buttons you see are usually Siri, the volume and brightness buttons. However, you can also expand the Control Strip and you’ll see other useful shortcuts you can use.
If you’re using the default items on your Control Strip, you can customize it and add some new, more useful ones. Here’s what you need to do.
- In the menu bar, click on View.
- Select Customize Touch Bar
- Touch the Control Strip on your Touch Bar to select it.
- Once the items on the Control Strip are jiggling, you can start rearranging them, adding new ones, and deleting the items you don’t use or need.
- Once you’re finished, click on Done on your MacBook.
Always Show the Function Keys (or Control Strip)
Some people didn’t like the fact that Apple ditched the function keys to add the Touch Bar. And while it’s true that the function keys are helpful, you can still have them on your Touch Bar.
To show the function keys once on the Touch Bar, all you have to do is press and hold the Function Key (fn), and the function keys will pop up on your Touch Bar.
That’s a neat little trick, but if you want, you can also customize your Touch Bar to always show the Function Keys or even the expanded Control Strip. It takes a few extra steps, but here’s how you do it.
- Go to System Preferences.
- Select Keyboard.
- Make sure you’re on the Keyboard tab.
- Go to Touch Bar Shows and select F1, F2, etc. keys.
- On Press Fn key to section, select Show Control Strip.
Display Function Keys on a Specific App
What if you only want to have the Function Keys on a single App? Well, you can also customize which apps will always display the Function Keys and will only show the Control Strip when you press the function (fn) key.
- Go to System Preferences.
- Select Keyboard.
- Click on the Shortcuts tab.
- On the box on the left, click on Function Keys.
- Now click on the “+” button.
- A new window will pop up with all of your installed apps. Select the apps you want.
- Click on Add.
- Now, every time you open the selected app, the Function Keys will appear automatically.
Quick and Easy Screenshots
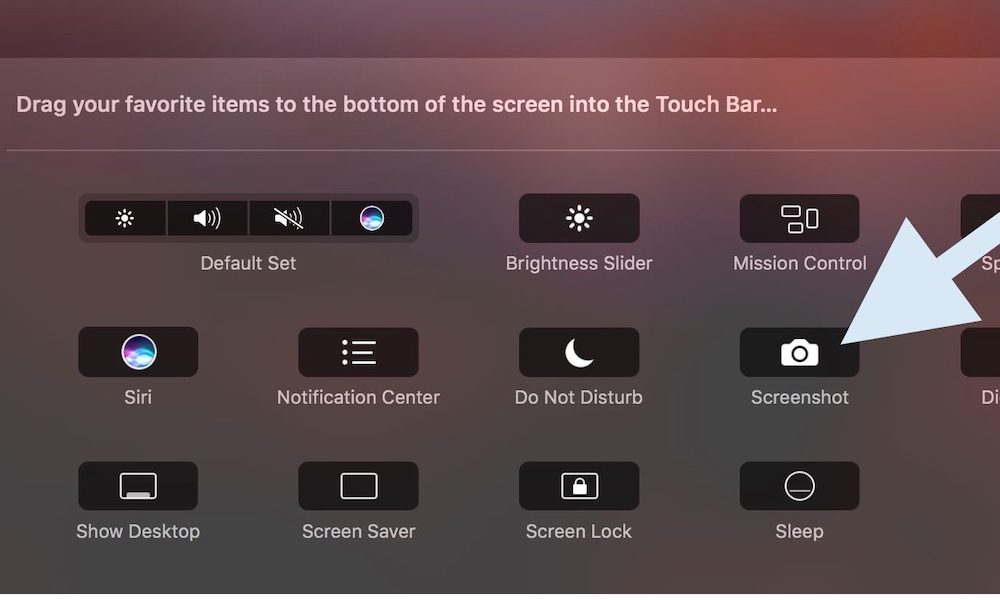
You probably already know how to take screenshots with your MacBook, but you probably don’t have the screenshot button on your Touch Bar. If you don’t, make sure to add it using the method we showed you before.
What’s great about using the screenshot button on your Touch Bar is that you can choose the type of screenshot you want to take. You can choose to take a screenshot of a specific window, a selected area, or the whole screen.
Not only that but you can also select in which folder you want to save your screenshot right from the Touch Bar. It’s a really nice trick that lets you keep your screenshots organized and in the same folder right from the start.
Bonus Tip: Screenshot the Touch Bar
There’s also a neat little trick that lets you take a screenshot of your Touch Bar. It’s really useful when trying to share your setup with somebody else.
Taking a Touch Bar screenshot is extremely easy. All you have to do is press Shift, Command, and 6 (⇧⌘6) and it’ll automatically take the screenshot of whatever is on your Touch Bar.
Plus, if you want to copy the screenshot of your Touch Bar to paste it somewhere else, you just need to press Control, Shift, Command, and 6 (⌃⇧⌘6). That’ll save your screenshot right on your clipboard.


