5 Tricks to Make Your iPhone’s Display Easier to Read in iOS 10.3

Toggle Dark Mode
Apple’s iPhone has always been a cut above the rest — but especially when it comes to its laundry list of useful accessibility features, which can not only make your device easier to read, but also to help navigate and perform certain tasks.
With the release of iOS 10, Apple has baked in a slew of accessibility features that are geared towards those who either have a hard time reading text or deciphering objects on their display, or who simply want to avoid having to strain their eyes, holding the device just a few inches away from their face in order to interpret the on-screen content. And so we present to you an exclusive, updated tips and tricks guide that’s meant to help you get the most — err, see the most — of your iOS 10-powered iPhone.
How to Increase Your iPhone’s Font Size
A sure-fire way to make fonts easier to read within select iOS system apps such as Mail, Messages, Notes — is to increase the font size. Here’s how to do it.

- Tap Settings.
- Tap General.
- Tap Accessibility.
- Select Larger Text.
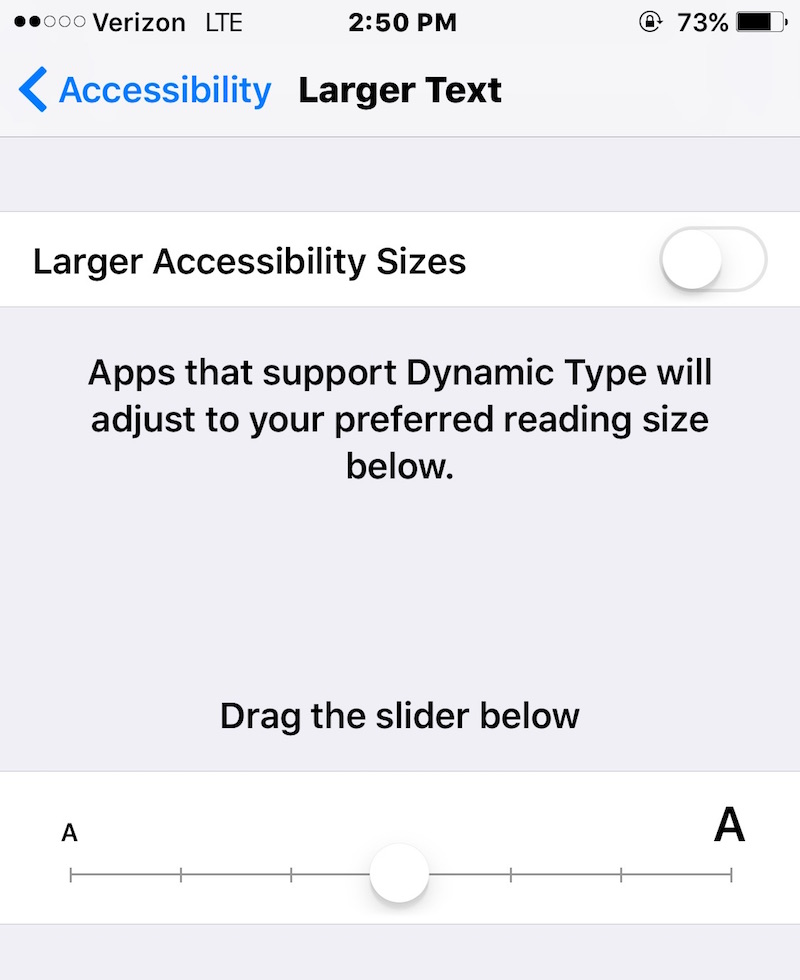
- From this menu, you’ll be able to slide your finger along the sizing bar and choose the font size that’s most comfortable for you.
- To select an even larger font, you can also toggle the Larger Accessibility Sizes option to on, as shown below, and choose from even bigger sizes.
How to Bold Your iPhone’s Font
You can also make the text on screen appear in Bold-type, which will apply to all system fonts and certain 3rd party apps. Here’s how to do it.
- Tap Settings.
- Tap Display & Brightness.
- Toggle the Bold Text option to On.
- Tap Continue. (Note: doing this will require that your device automatically reboots, which should take about a minute or so to get back up and running.)
How to Use Screen Zoom
You can also Zoom in on either the entire screen, or certain parts of it (via a dedicated window), depending on your personal preferences. To enable Zoom..
- Navigate to Settings.
- Tap General.
- Tap Accessibility.
- Select the Zoom option under Vision.
- Find Zoom and use the toggle to turn the feature on.
This will bring up a sub-menu consisting of a number of different choices, including the type of Zoom (Fullscreen or Window View), and how much you’d like to Zoom in or out by default.
Once enabled, simply double-tap anywhere on the display using 3 fingers; pan by tapping once and moving the same 3 fingers towards the various edges of the display to navigate Zoom view.
To return to the normal display view, simply double-tap with 3 fingers once again.
How to Turn on Display Zoom
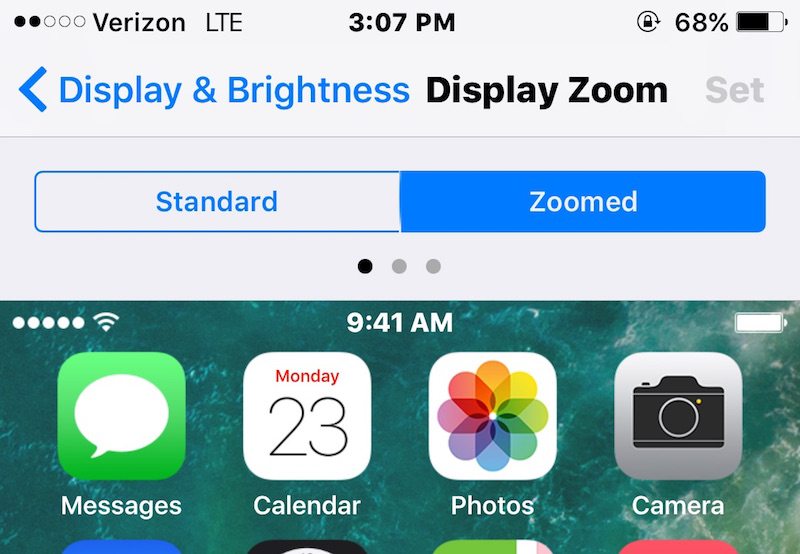
Display Zoom is a brand-new feature in iOS 10, which will essentially magnify the entire display — and all the content thereon — by default. While a Zoomed display will typically show less content, depending on what you’re looking at, the items that appear will be larger and more pronounced. These include app icons, fonts, menus, and more.

- Open Settings
- Tap Display & Brightness
- Scroll down to Display Zoom and select the View option.
- Tap Zoomed.
- Tap Set.
How to Use Magnifier
For those who want to easily read printed text, or simply zoom in on an object at up to 5x digital magnification, Apple has baked a super-intuitive and easily-accessible Magnifier utility into iOS 10. Here’s how to enable it.
- Open Settings
- Tap General
- Tap Accessibility
- Then select Magnifier under the Vision sub-menu.
- Once the option is toggled to On, return to the home screen and rapidly triple-click the home button (or triple-press on iPhone 7 and iPhone 7 Plus), which will bring up the magnifier window by default.
You’ll see the slider bar, as shown below, which will allow for easy zooming in or out on everything from text to objects, and more. You’ll also be able to turn on flash to illuminate the text or object you’re trying to view.


