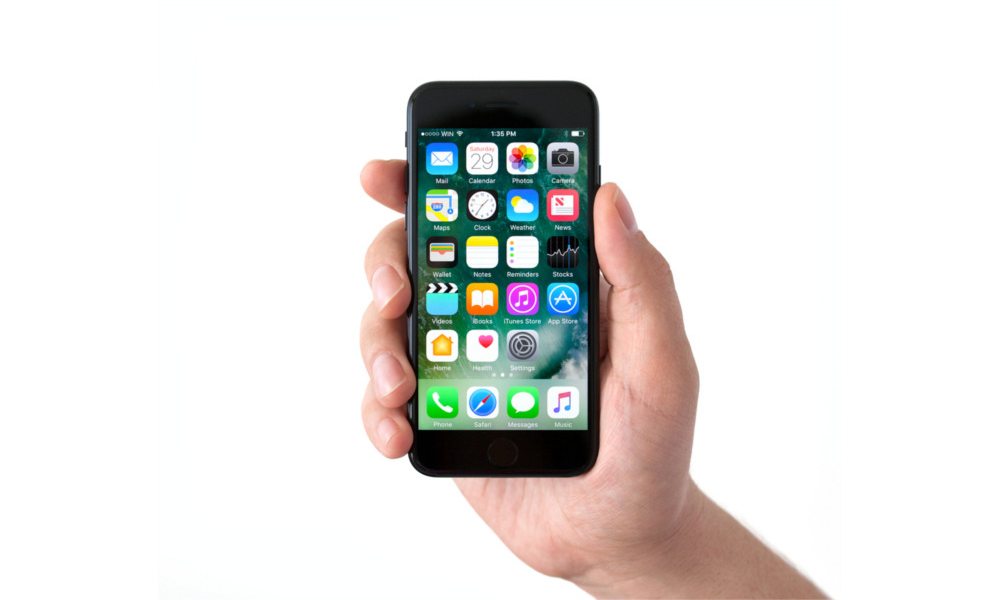
8 Important iOS Security Settings Every iPhone or iPad Owner Should Know

Toggle Dark Mode
Apple’s mobile devices are among the most secure that money can buy. Indeed, the company behind the iPhone places a great importance on the concept of security and user privacy — always seeking to ensure that every iPhone, iPad, or iPod Touch owner has access to the most advanced settings and features to help them maintain their privacy and stay safe, free from the myriad of cyber adversaries and their attacks, while using your iPhone or iPad. Yet even Apple, despite all of its high-security, user-privacy talk, is somewhat of a nosy body, in itself, particularly when it comes to sharing certain aspects of your iPhone’s location, for instance, with 3rd party vendors who’re looking to mosey their way on into your life.
And while iPhones, by default, are definitely much safer than their Android-running counterparts, we think it’s still important for every iOS user to know these 8 crucial iOS security features.
1. Change Lock Screen Notification Settings
If you’re a private person, or you know that incoming messages or emails might contain sensitive information, perhaps you’d like to conceal these pop-up notifications from unauthorized eyes? Fortunately, you can tweak what notifications are shown on your iOS lock screen by going to Settings > Notifications > and then selecting the app you want to control notifications for. In the subsequent menu, you’ll then be given several options. To privatize your messages and emails, for instance, you’ll want to toggle the Show Previews option to Off, which will hide any of the content from that message or email from showing up in your notifications.
2. Use a Unique, Alphanumeric Passcode
Want to beef up your iPhone’s security, even beyond the standard 4- or 6-digit passcode? Now you can create your own, custom passcode to unlock your device — inclusive of numbers, letters, or other special characters. To set one up on your device, simply go to Settings > Touch ID & Passcode. From there, select Change Passcode > enter your current passcode > select change passcode options > and finally, select Create Alphanumeric Code.
3. Tweak Lock Screen Access Settings
From the same Touch ID & Passcode settings menu mentioned above, you can also control what apps or services you’re able to access while your iPhone is locked. For instance, under the Allow Access When Locked section you can choose which options and services — such as Siri, responding to a message, or accessing the camera — can be accessed from the lock screen, by toggling them on or off.
4. Lock Your Notes
With iOS 9.3, Apple introduced the ability to lock individual notes in iOS’ proprietary Notes app. So, feel free to jot down your passwords, or pour your heart out, and, once you’re ready to keep the note private, simply tap on the Share button within your note > and then select the Lock Note option. You’ll either be able to manually enter a password, or use Touch ID, to unlock that note moving forward.
5. Set Up Two-Factor Authentication
If you have only one Apple ID that you use to access multiple Apple devices, consider enabling the Two-Factor Authentication feature. Doing so will heighten your security substantially, as Apple will only allow you to set up and log into new iOS or Mac devices by entering a six-digit passcode sent to your other Apple devices.
This will ensure that you, and only you, have access to your Apple ID, only on the devices within your possession. To set this up, you’ll have to visit Apple’s website > log in with your Apple ID > and then select Two Step Verification to set the feature up.
6. Privately Browse Safari
To browse the web using Apple’s Safari browser just became a whole lot safer. Now, by selecting the Tabs icon from your current webpage > Enabling Private, you’ll be able to browse the web on your iPhone or iPad without leaving behind of trail of the sites you visit, or any record of logins on sites visited, either.
7. Turn Off Location Tracking
By going into Settings > Privacy > and selecting Location Services, you’ll be able to manage apps, and to what extent they track your every move, on an individual basis. Simply select an app from the list, such as Facebook, for example, and then you’ll be given options on whether you want to allow the app to track your location only when you’re using it, or never. By selecting Never for apps that you don’t use very often, you’ll not only save precious battery life, but you’ll keep your whereabouts private knowledge.
8. Tweak Ad Tracking Settings in Safari
If you’ve ever felt like someone was watching you as you browse the web on your iPhone, since, you know, the advertisements that show up always seem so specific, in that they’re tailored to show you what you’ve already been looking at – that’s because of Apple’s default Ad Tracking settings in Safari. This feature is employed to ensure that you’re only seeing ads that Safari, by default, determines are most relevant to you. However, maybe you don’t want to be so closely monitored. Fortunately, you can tweak Safari’s Ad Tracker settings by going to Settings > Privacy > scroll down to the bottom of the list and select Advertising > and finally, toggle the Limit Ad Tracking option to ON.
What settings do you use to keep private on iOS? Let us know in the comments!


