
New to Mac? Here Are 5 Tips to Manage Your Apps the Right Way
 Jesse33 / Shutterstock
Toggle Dark Mode
Managing your apps or programs feels different when you jump from using a Windows computer to a Mac. While it’s not rocket science, you do need to adjust to the new operating system and learn a few differences as well.
It’s just a matter of knowing where to look. So if you’re just starting out in the Mac world, or you just want to maybe learn something new, here’s everything you need to know about app management on your Mac.
How to Install Apps on Your Mac
One of the best things about having a Mac is that you can get most of the applications you need from the App Store. Just like getting apps for your iPhone, you’ll need to go to the App Store. Chances are, there’s an app there that will meet your needs!
However, you can also download all kinds of programs from the web. All you need to do is download the program from a secure website, and then install it.
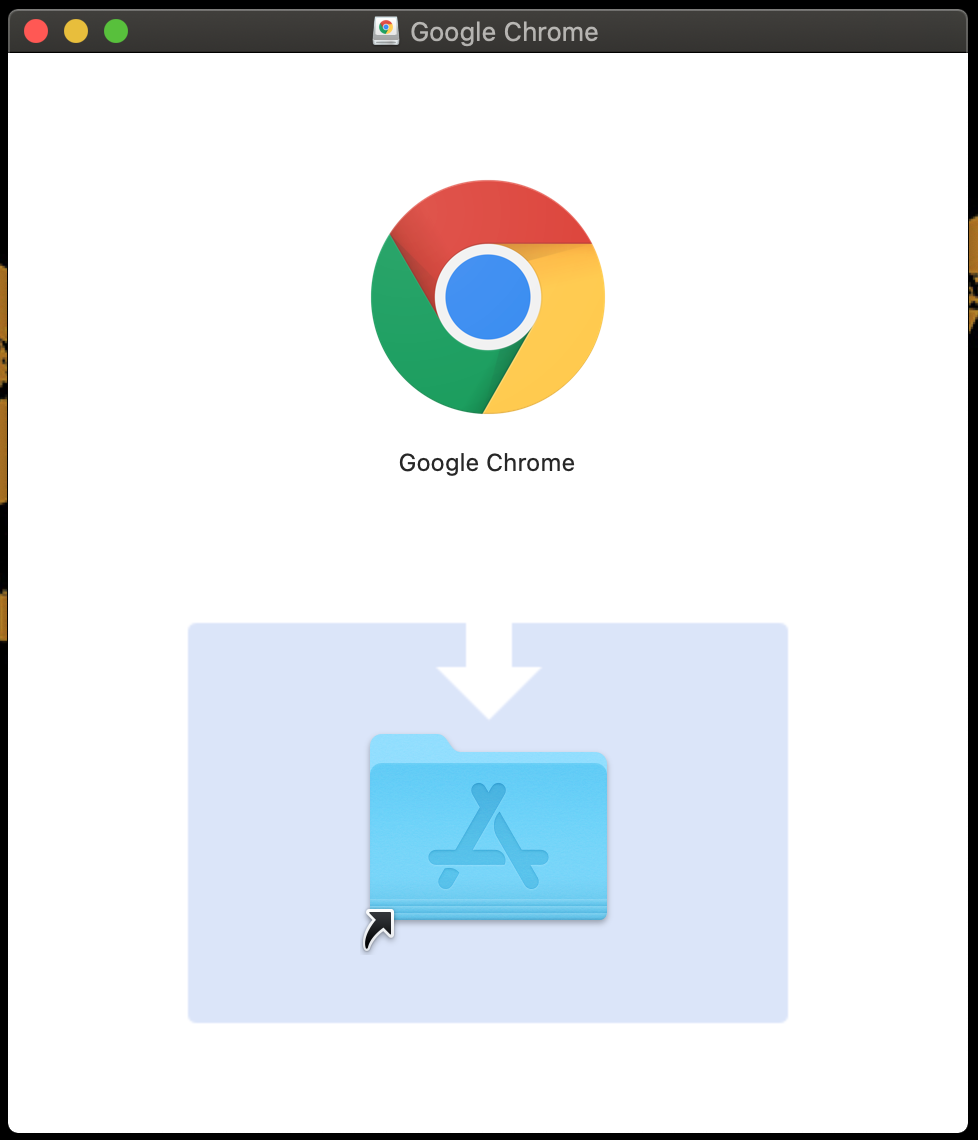
Once the installer starts running, a window will show up, similar to the one above. All you need to do is drag the program’s icon into the folder to start the installation process.
How to Uninstall Apps on your Mac
Uninstalling apps takes a few more steps to complete, but it’s still as easy as installing them. Here are the steps to uninstall an application:
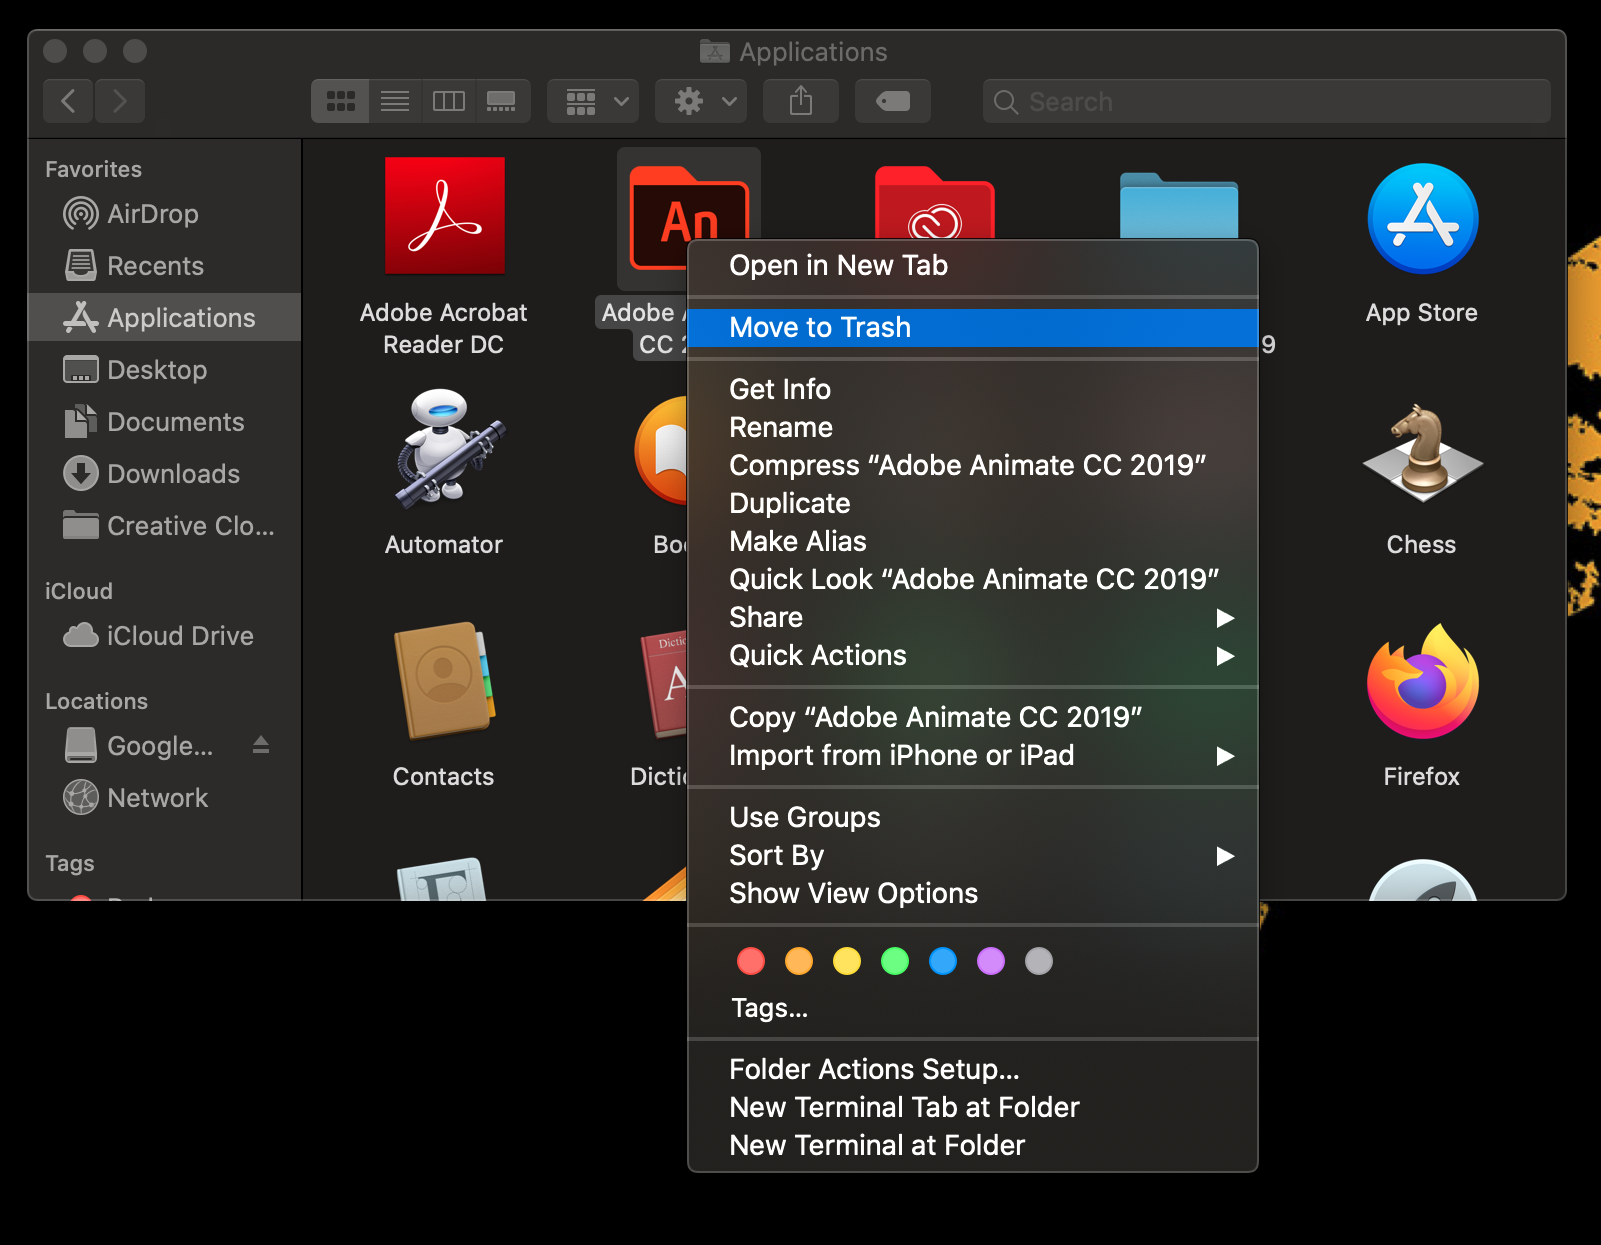
- Click on Finder. It’s usually located on your Dock, at the bottom of the screen.
- That will open up a folder, use the left-side panel to navigate to the “Applications” folder.
- Search the app you want to uninstall and right-click it.
- Select the option “Move to Trash” and it will ask you for your confirmation to move it there. After you do that the app will be uninstalled from your Mac.
How to Organize the Apps in the Dock
The Dock is a useful little bar that’s usually located at the bottom of the screen. It’s a perfect way for you to get your most-used apps, as well as recently used ones in one place.
That’s why you’d want to have your Dock organized in your own personalized way.
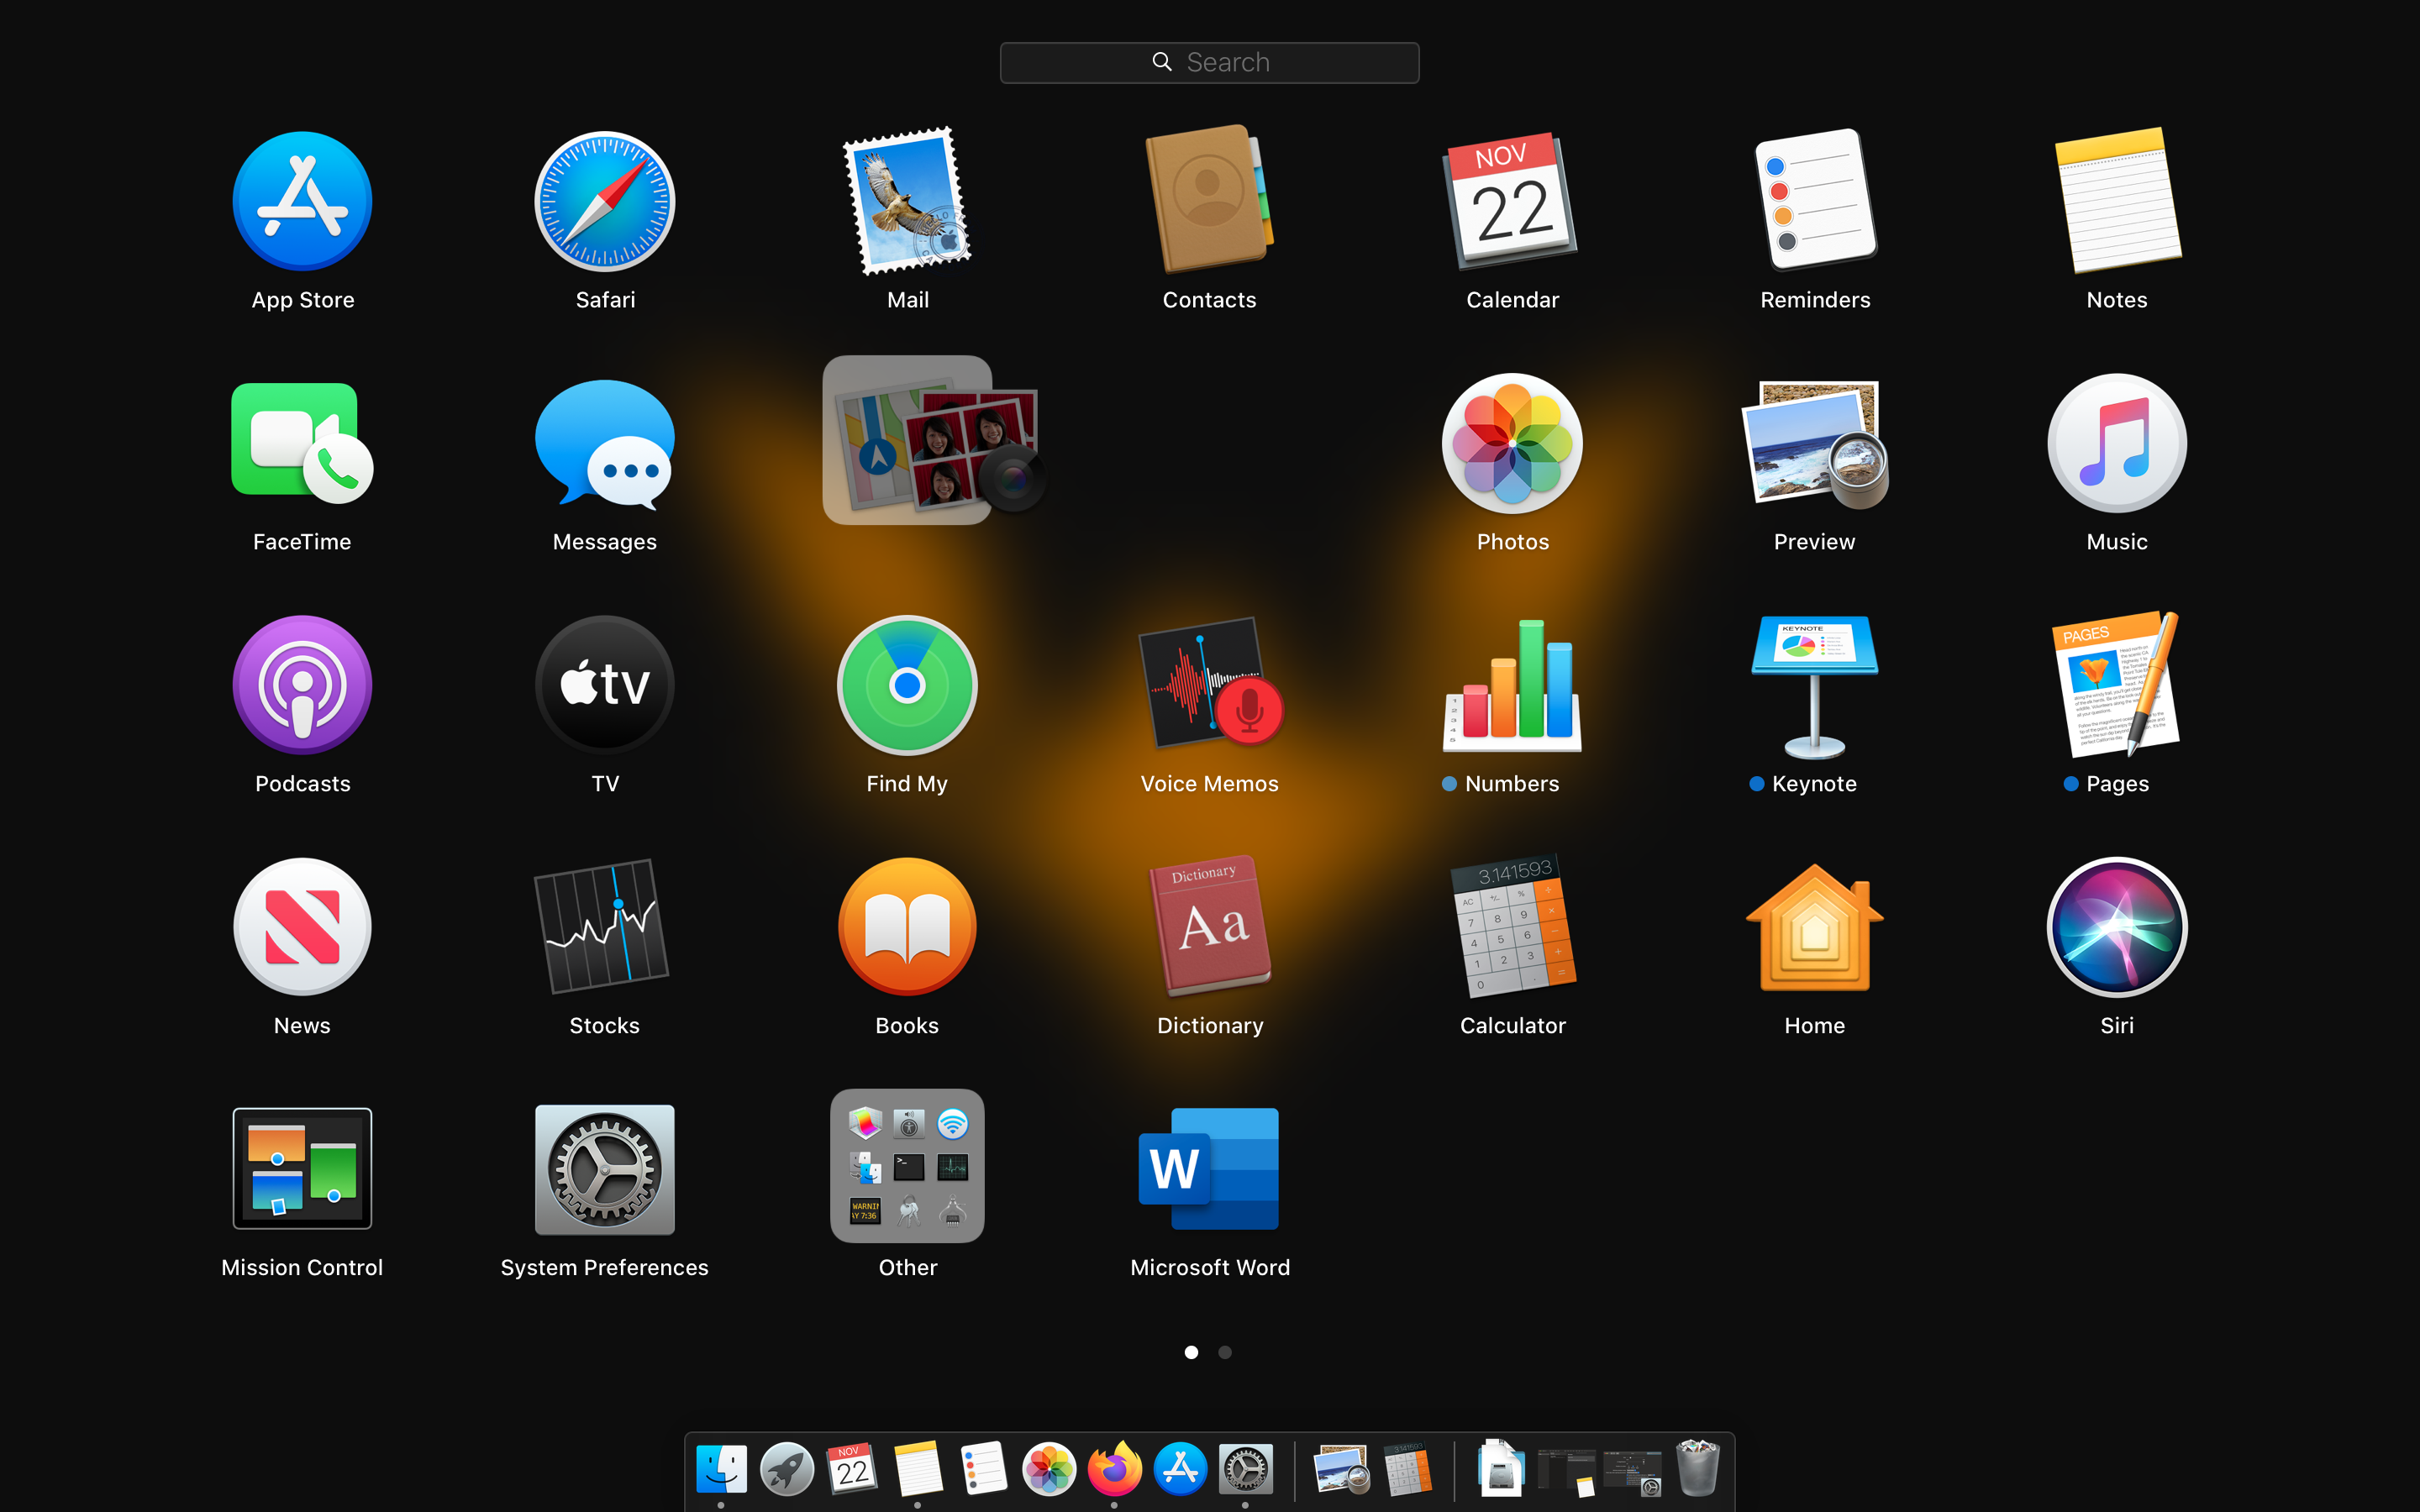
To add apps to the Dock you need to go to the Launchpad. You do this by clicking the rocket icon on the Dock, or by pressing the F4 Key. This opens up a list of all the apps installed on your Mac.
Now, all you need to do is click and drag the app to the Dock. It will be added to the Dock in the place you dropped it.
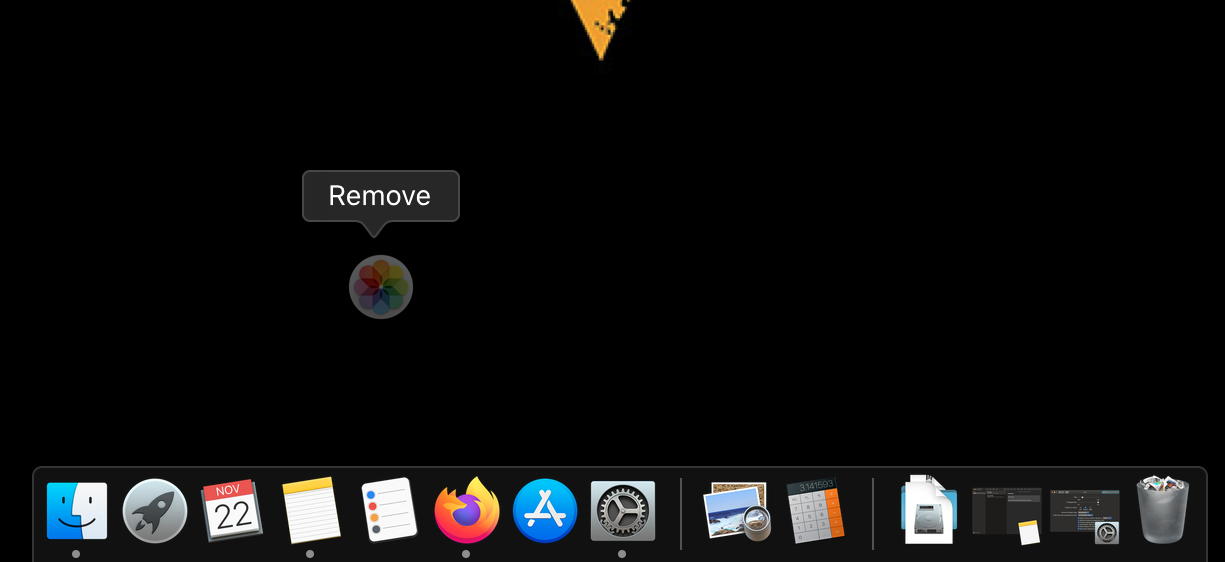
Similarly, you can remove an app from the Dock by dragging it out of the dock and holding it until the word Remove comes up. You can also right-click the app, then go to options and select remove from Dock.
How to Organize the Apps in Your Launchpad
As mentioned before, the Launchpad is the place you can see all the apps and programs that are installed on your Mac. Just like the Dock, you can also move your apps around to personalize your Launchpad.
To arrange your Launchpad you need to click and drag an app to the place you desire. This will move the other apps to the side so the selected app can be dropped.
You can also create new folders like you would on your iPhone. All you have to do is drag an app and hover it on top of another one.
How to Enable/Disable Startup Apps on Your Mac
Sometimes, when you download a new app, it will automatically set itself to start as soon as you turn your Mac on. While you might want to have some apps running from the moment you start your Mac, others might seem useless and may drain your battery.
If you want to take control of these apps you have to follow these steps:
- Click on the Apple logo on the top left corner of your screen.
- Click on System Preferences and then click on Users & Groups.
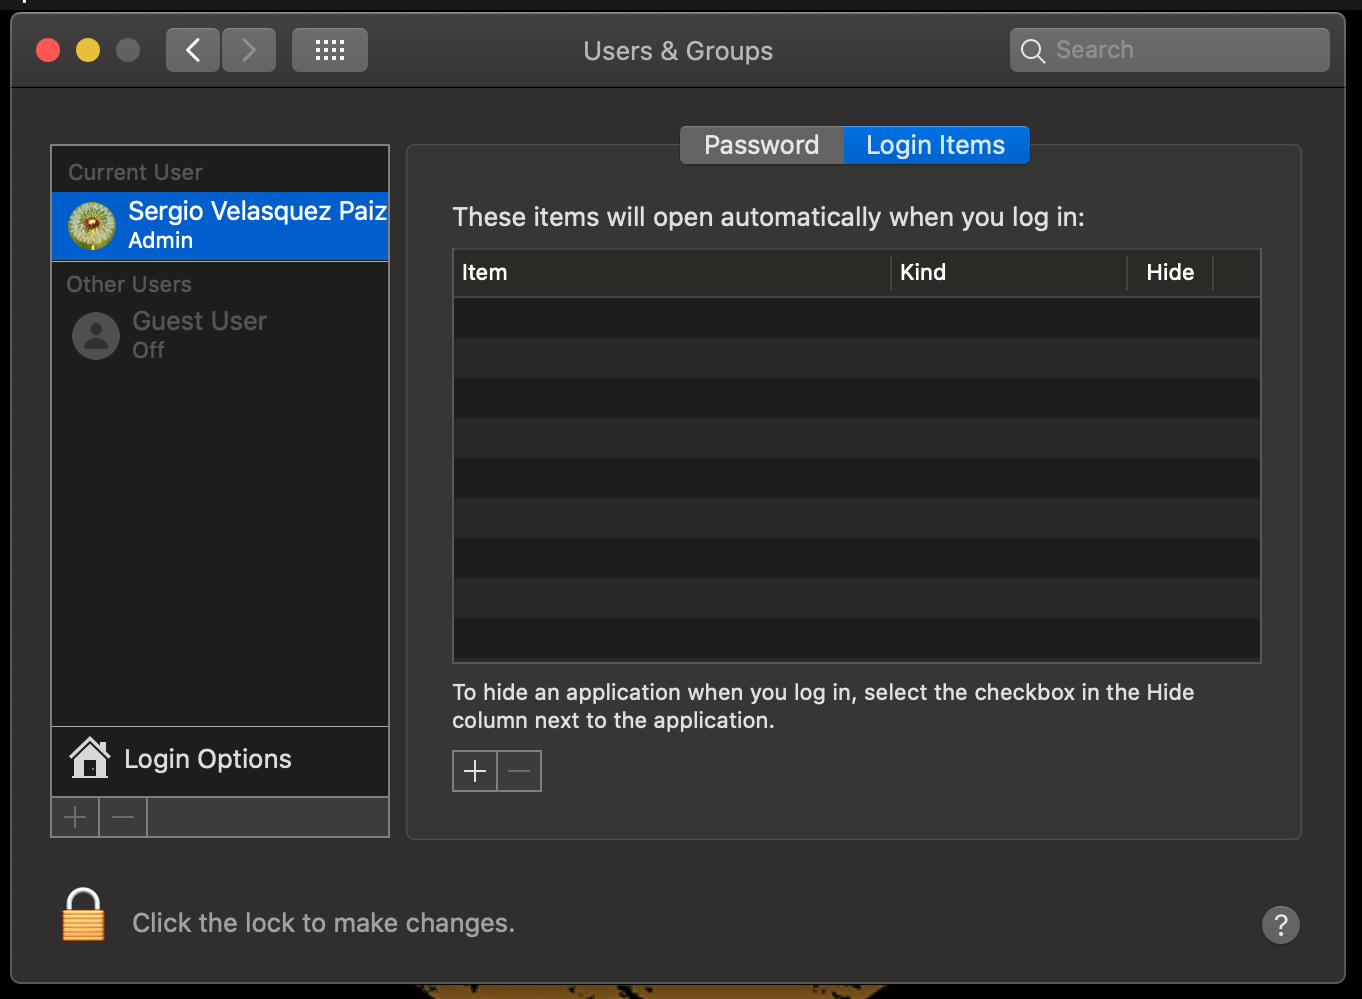
- Click on the tab at the top of the window that says Login Items.
- You can see the list of apps that start when you start up your Mac.
- To remove an app select the app and then click on the “-” button below the list.
- Just like removing apps, to make apps start when you turn your Mac on just click on the “+” button. This will open the Finder folder. Select Applications on the right side of the window and then select the app you want to add. Click on Add to add it to the list.


