
How to Take Live Photos on FaceTime | iPhone + Mac
 Wachiwit / Shutterstock
Toggle Dark Mode
FaceTime is a go-to app for Apple users. It makes it easy to connect with your friends or family without being together in person. However, just like in real life, you might want to capture those special moments with a photo.
Sure, a screenshot could work, but it’s not the same as an actual photo. There are ways for you to make each photo feel more alive. Enter Live Photo, a way to capture more moments from every photo you take.
What Are Live Photos?
You’ve probably tried Live Photo before, even if it wasn’t on FaceTime. Live Photo is a fairly new feature that lets your camera capture moments before and after taking a picture.
If you’re using your camera, for instance, and you see a bird flying, you can take a picture, and your iPhone will capture moments before and after the picture, so you have a small animation of the birds flying.
In FaceTime, this feature works exactly the same. You’ll be able to have small videos of your friends and family whenever you take a photo of them.
How to Enable Live Photo
Live Photo should be enabled from the get-go on all your Apple devices by default. But, in case you want to learn how to disable it or make sure it’s on, here’s what you need to do:
How to Enable Live Photo on iPhone
- Open the Settings app.
- Scroll down and select FaceTime.
- Scroll down again and toggle FaceTime Live Photos on or off.
How to Enable Live Photo on Mac

- Open the FaceTime app on your Mac.
- On the menu at the top, click FaceTime.
- Click on Preferences
- Turn on Allow Live Photos to be captured during video calls.
Easy right? Now you can start taking Live Photos whenever you want. Don’t worry; it’s pretty easy to do.
How to Take Live Photos During a FaceTime Call
Anytime you’re on a FaceTime call, you’ll be able to take Live Photos on the spot.
- Start a FaceTime call with anyone.
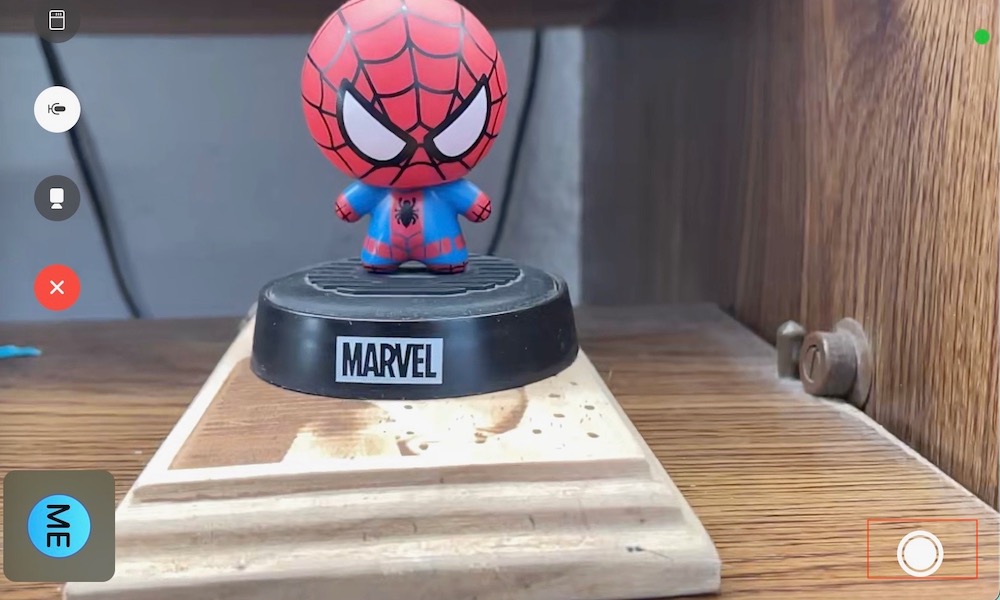
- On your iPhone, tap the Take Picture button located in the bottom left corner of your screen.
- On Mac, click the same Take Picture button located either at the top right corner or the bottom right corner of the FaceTime window. It’ll depend on what device the other person’s using.
- If you’re on a Group FaceTime call, tap the tile of the person you want to photograph.
- Tap the Full-Screen button and the Take Picture button.
That’s it! You’ve taken your first Live Photo on FaceTime. Remember that the other person will always be notified if you take a picture.
Can You Take a Live Photo Without Notifying the Other Person?
The short answer is no. Every time you press the Take Picture button on your iPhone, iPad, or Mac, both of you will receive a notification.
However, there’s a small workaround for that. Instead of a Live Photo, you can just take a screenshot. This won’t trigger any notification, but it will not be a live photo.
The best course of action is to let the other person know you’re going to take a photo beforehand to avoid any issues.
Where Are Live Photos Stored?
Whether you’re on an iPhone or Mac, any Live Photo you take will be automatically stored in the Photos app.
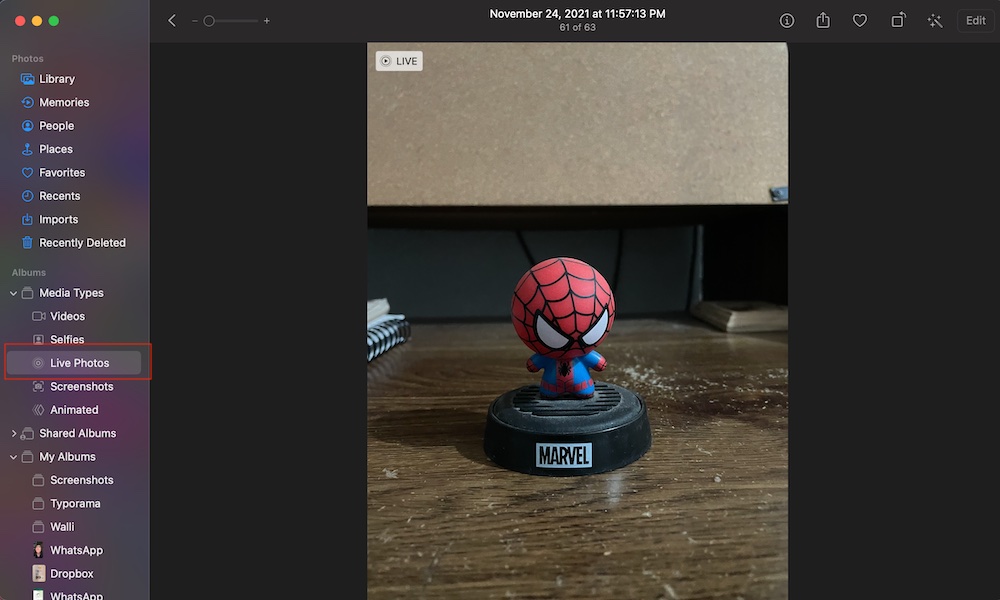
They will all be available in your library. You’ll know it’s a Live Photo when you open the picture and see the word ‘live’ in the top left corner.
An easier way to spot all your live photos is by going to the Live Photos album in the Photos app.
How to Access the Live Photos Album on iPhone
- On your iPhone, go to the Photos app.
- Tap the Albums tab at the bottom of your screen.
- Scroll down and tap on Live Photos.
How to Access the Live Photos Album on Mac
- Open the Photos app on Mac.
- On the left side menu, click on Media Types.
- Select Live Photos.


