How to Use iOS 12.4’s New Wireless (and Wired) Data Migration Feature
 Credit: Apple
Toggle Dark Mode
Apple’s latest iOS 12.4 update makes it even easier to migrate to a new iPhone or iPad — even if you aren’t the best about making and keeping backups. Here’s how to use the new feature.
How Is This Different?
Previously, Apple’s Quick Start option made it pretty easy to quickly get a new iPhone or iPad set up. But Quick Start still relied on a user’s existing iCloud backups to transfer most of their data.
The new wireless (and wired) transfer mode in iOS 12.4 changes this.
- It allows users to directly migrate data from one device to another using local wireless connectivity like Bluetooth and Wi-Fi — or a wired connection, as we’ll get to.
- The feature also lets users easily migrate data that would usually only be transferable via encrypted iTunes backup. In other words, sensitive information like Health data can be transferred over.
- As mentioned earlier, users can also transfer data through a wired connection using a Lightning cable and Apple’s own USB3 camera adapter (which you can buy from Amazon here). All you need to do is plug the USB3 camera adapter into the new device and use a Lightning cable it into the old device.
The new feature makes it easier for users to get their new iPhones or iPads up and running, especially if they don’t make regular iCloud backups, if their iCloud storage is too full to make a current backup, or if their internet connection is poor. It’ll obviously also come in handy for in-store setups by Apple Store staff.
How to Use the iOS 12.4 Data Transfer Tool
Note: If you’re using the wireless transfer option, make sure to keep both devices within close proximity of each other during the transfer process.
- Make sure both of your iOS devices are compatible with and running at least iOS 12.4 or later.
- Bring your old device and your new device close to each other. Alternatively, connect both devices using your USB3 adapter and Lightning cable
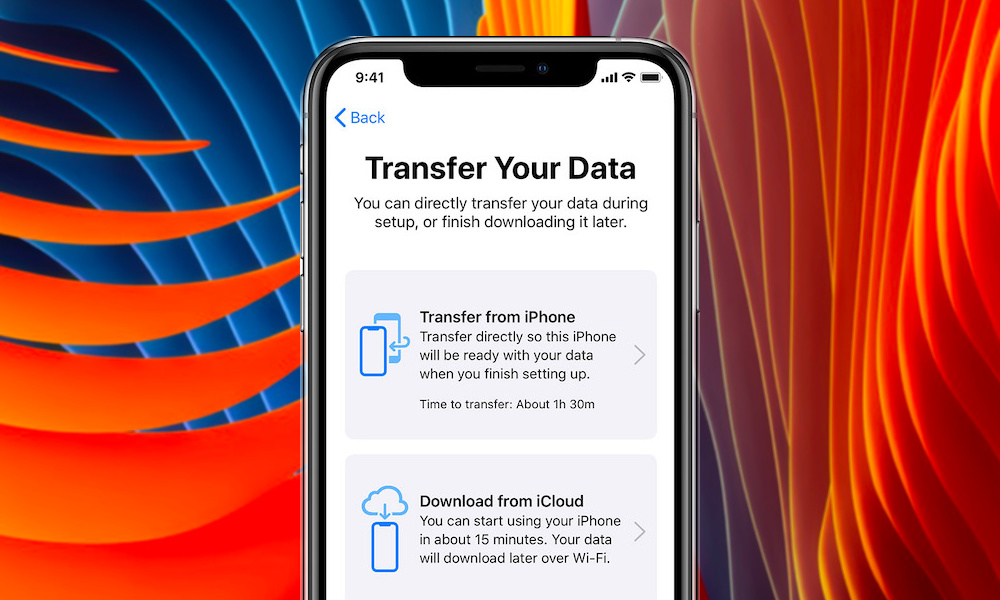
- On your new device, begin the setup process. Eventually, you should see the option to “Transfer from iPhone” or “Transfer from iCloud.”
- As long as both of your devices are connected to the same Wi-Fi network or with the physical adapters, you should be able to select the Transfer from iPhone option.
- Select the Transfer from iPhone option. Keep in mind that this could take a while, depending on your connection type and how much data you have. You should see an estimate of how long it’ll take before you begin.
- Once the transfer process is complete, all of your settings and preferences, messages, photos and videos, and other data should be on your new device.
Also note that while the new transfer feature will get most of your data, it won’t directly transfer your apps. Instead, it’ll just download apps from the App Store as part of the setup process.


