How to Update Your HomePod Automatically and Manually
 Credit: Frank Gaertner / Shutterstock
Toggle Dark Mode
Apple recently updated its HomePod software to the 13.4.5 version. As you would expect from a minor update, there are no major changes. However, according to Apple, this update made some general improvements for stability and quality. As cryptic as this update might sound, though, it’s always a good idea to keep all your devices up to date with the latest software, even if they’re as minimal as this one.
For most users, the HomePod is going to update itself automatically. However, if you don’t think your HomePod updated automatically, or if you want to check if there are any software updates for yourself, here’s what you need to do.
How to Update Your HomePod Manually
- First, go to the Home app.
- Tap the Home icon. It’s the little house icon on the top top-left corner of your screen.
- At the bottom of your screen, tap on Software Update.
- You’ll now see the option to Install Updates Automatically. Usually, this option is on by default. But if you want to turn it on or off, you just need to tap on the toggle.
- If you have a pending update, all you need to do is tap on install below the update information.
- If you have two or more HomePods connected to the same network, the update will be installed in all of them at once.
How Do I Know When My HomePod Is Updating?
Whether you update your HomePod manually or automatically, you’ll know when the device is updating without looking at your Home app.
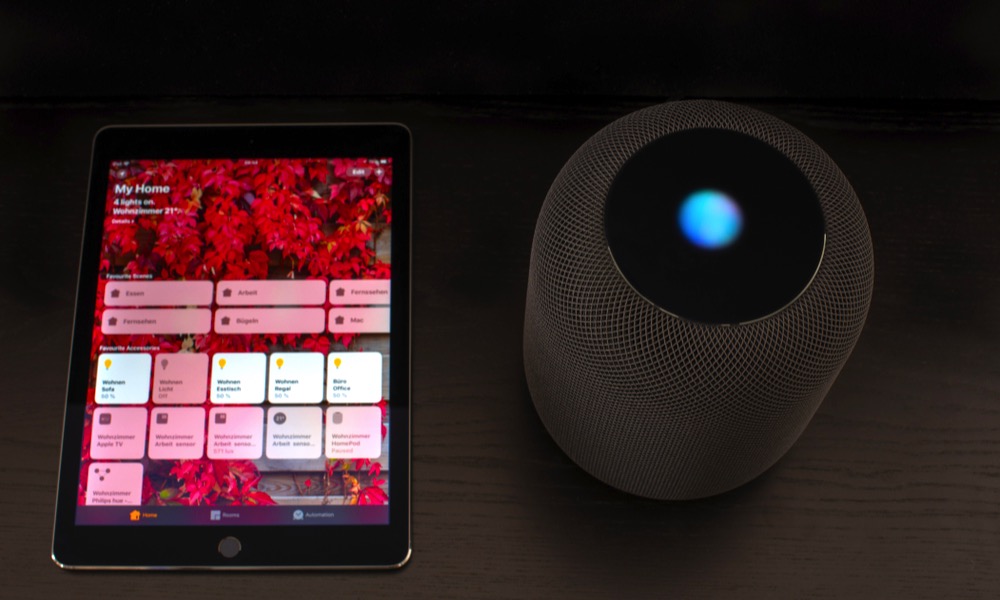
Since it doesn’t have a screen, your HomePod will let you know it’s updating its software by spinning a white light on the top of the device. Once the update is complete, the light will disappear.


