
How to Set Up Volume Control and Take Screenshots On the New Apple TV

Toggle Dark Mode
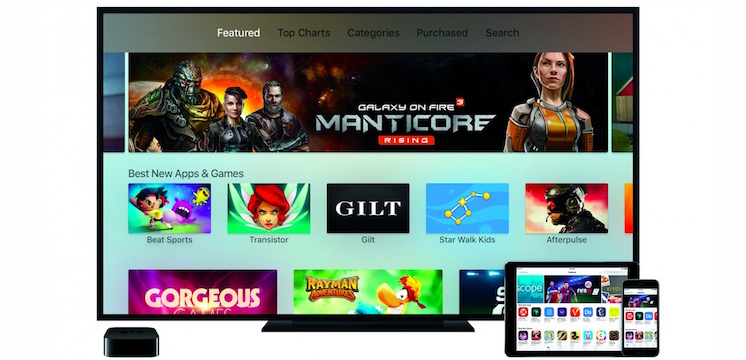
Apple’s newest set top streaming device, the fourth generation Apple TV, hit the shelves last Friday, and already a slew of tips, tricks, and how to’s are flourishing about the internet.
That being said, today we’re going to look at how to control the volume on your TV or receiver using the new Siri-enabled remote, as well as how to take screenshots on the new Apple TV.
How to Control Volume Using the Siri-Enabled Remote
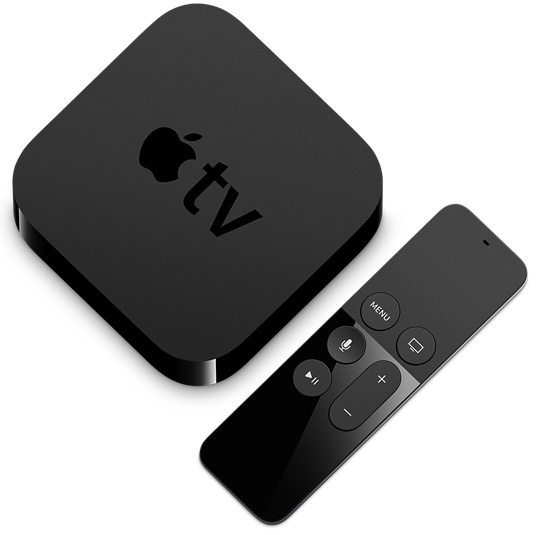
The new Siri-enabled remote is a major improvement over its predecessors and its new dedicated volume control (+/-) buttons can be programmed to control the volume on your TV or pre-existing audio receiver.
Out of the box, the new Apple TV comes configured to support devices with HDMI-CEC (Consumer Electronics Control) compatibility. However, for older, legacy devices that don’t support CEC functionality, users can program their Siri remote to mimic the functionality of their legacy remote’s volume control.
To do this, simply open the tvOS Settings app > choose Remotes and Devices > and then select Volume Control. From this sub-menu, select Learn New Device.
Using your traditional TV or receiver remote control, point it at the Apple TV, and hold the volume up and down buttons together. The infrared receiver on the new Apple TV will then learn the remote commands for volume up and volume down.
After sending the proper commands, Apple TV will ask you to name the new remote for easy identification at a later time.
How to Take a Screenshot on Apple TV

Taking a screenshot on your Apple TV might be as easy as hitting a button or two, on the Siri Remote, in a future update to the tvOS.
However, in the interim, what you’ll need to accomplish this task is the Mac OS X’s built-in app “QuickTime Player” and a USB to USB-C cable.
Step 1: Start by loading QuickTime Player onto your Mac from the Applications folder and then connect your Apple TV to your Mac using the USB-C to USB cable (Note: make sure that your Apple TV is still plugged into the wall AND your HDTV prior to proceeding to the next step.)
Step 2: Navigate to the File menu in QuickTime Player > then choose New Movie Recording. (Click on the “v” shaped arrow located next to the red/gray record button to see a list of choices.) Then, select Apple TV as both the Camera and Microphone. Once you see the Apple TV screen show up on your Mac, click the record button to start recording a video.
To take a screenshot, simply press Command + Shift + 4 on your Mac keyboard, then hit the space bar. Once the cursor on your desktop turns into a camera icon, hover over the window until the title bar and recording interface disappear, then simply click your trackpad or mouse to capture a screenshot.
This technique will let you create a video or screenshot effortlessly, unless of course, the content that you’re trying to record on your Apple TV is protected by copyright laws.


