How to Get Photos off of Your iPhone or iPad and onto Your Computer Without iTunes

Toggle Dark Mode
Apple’s mobile devices are notorious for being limited in terms of what content can be transferred from them, to your computer, and in what way. In comparison, for argument sake, most Android handsets feature microSD card compatibility, which makes it easy as it’ll ever be to transfer files to and from — by simply popping the card out of the device, and inserting it into the corresponding card clot on your computer (though sometimes an SD adapter is required for that).
Yet both iOS and Android feature the same fundamental ability that enables you to connect a handset to your laptop or desktop computer via USB, and manually extract files, photos, digital media, etc.
In terms of photographs, in particular, however — regardless of whether or not you own a Mac or PC, once you connect your device via USB, your computer will be able to recognize the iPhone, iPad, or iPod Touch, as a camera. This useful utility allows you to easily save photos stored on the device to your desktop or laptop hard drive.
It’s actually pretty easy, as I mentioned, regardless of your software platform — but there are distinct differences between Mac and PC, nonetheless, so both methods are fully outlined below for your enlightenment.
Mac
Start by simply connecting your iOS device to an open USB port on your computer with a Lightning cable.
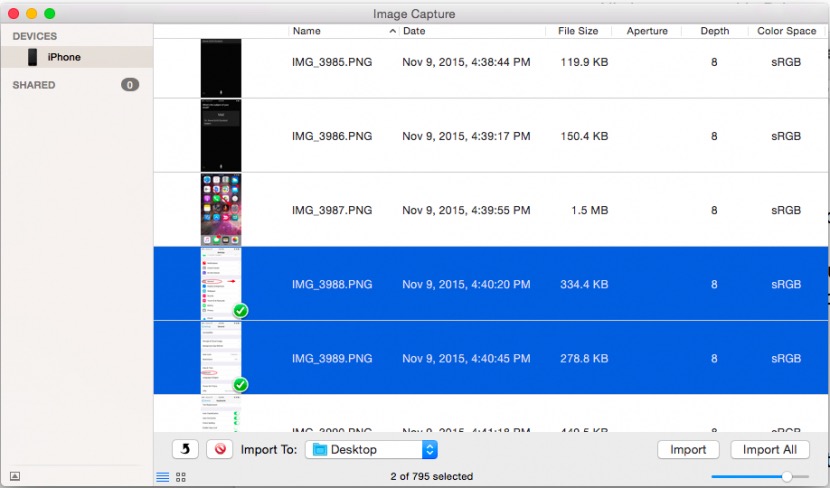
Once connected, the Image Capture utility should launch within just seconds. If the program doesn’t open automatically, however, you can always open the Image Capture utility manually by opening Finder from your desktop > selecting Applications from the favorites menu > and then opening the Image Capture program.

You can then browse your iOS device’s photo library from your Mac, multi-selecting images by clicking and dragging the blue select indicator (as shown in the photo above), and then deciding which folder you want the photos to be saved to on your Mac. Finally, select import; or, if you want to save the whole gallery, select Import All.
PC
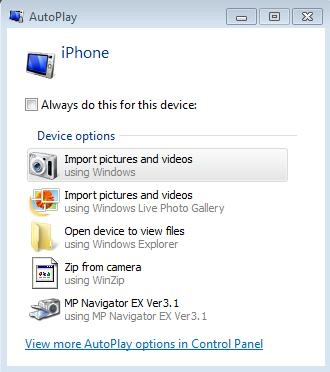
Connect your iOS device to your PC via Lightning/USB, and then wait for the Windows Autoplay utility to open — from which you can import photos and videos either via Windows, or Windows Live Photo Gallery.
Once the subsequent import menu pops up, you’re given the option as to whether or not you want to tag any of the photos you want to download — but this is an optional step, and won’t effect the quality or content of the photo(s) themselves
You’re also given the option to delete the photos from your iOS device after the import is complete.
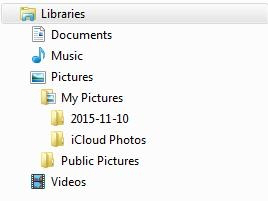
In the last pop up menu, you’ll notice the Windows stacked folders menu located at the farthest-most, left-hand side of the page — and from there, you should see the new folder into which your imported images have been saved.


