How to Completely Secure Your iPhone’s Lock Screen on iOS 10

Toggle Dark Mode
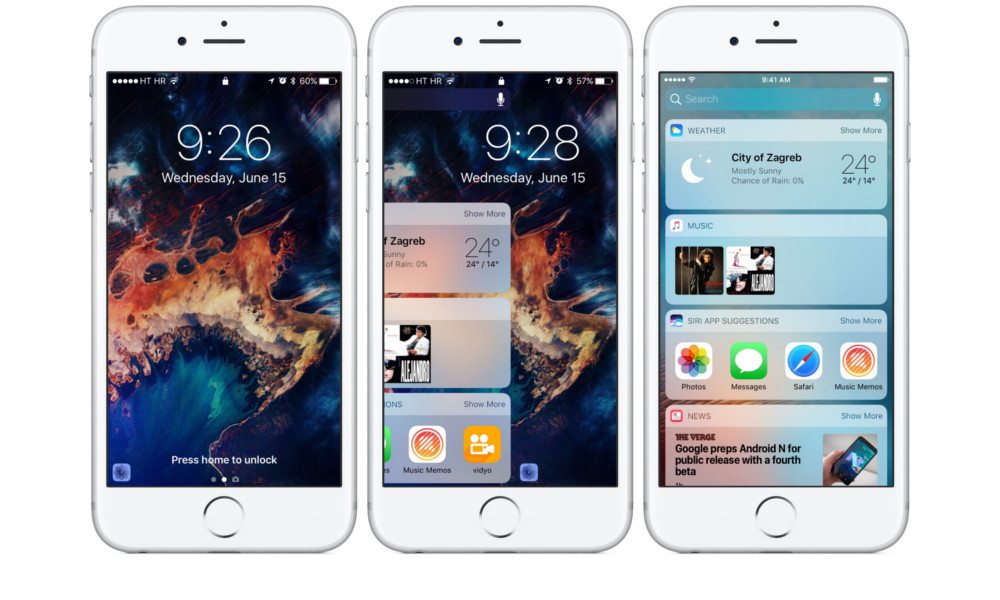
Unlike the standard iOS lock screen in previous installments of Cupertino’s mobile OS, iOS 10’s is one that’s considerably more lively, easier to interact with, and easier to access certain elements of the UI without even having to unlock the device. For instance, in iOS 10, one could respond to a text message, interact with certain widgets, and more — all while their iPhone is locked under passcode and Touch ID.
But maybe you don’t want this newfangled “lively lock screen” — with all those shortcuts, notifications, and such easy access to some of your most personal information? And so, with that in mind, we’ve gone ahead and created this short guide, a step by step walkthrough on how to reconfigure your iOS 10 lock screen to be secure and free of those revealing notifications.
Step One: Disable Notifications
Almost every app you download offers to send you push notifications these days. And those notifications, by default, can seriously pile up on your lock screen — especially if you leave your phone unattended for a while.
Thankfully, iOS 10 allows you to configure which apps you want to receive notifications from. Simply go to Settings > Notifications, and then select the app you’d like to stop receiving notifications from the list. In the sub-menu, you’ll notice a bunch of toggles and options — simply disable the “Show On Lock Screen” toggle, and notifications for the selected app will no longer show up on your lock screen.
Step Two: Disable Message Contents in Notifications
Messages often contain private information that might not be suitable for prying eyes laid upon your iPhone’s lock screen. Fortunately, you can tweak these settings so that you (and others) will no longer be able to view content or respond to messages from your lock screen.
Simply go to Settings > Notifications > and select Messages. Scroll down until you find a toggle for “Show Previews” > turn it Off.
(You can also manage these settings for other messaging apps, including Facebook Messenger and WhatsApp?, for example. These will need to be done, however, on an app-to-app basis, almost always directly from the app’s proprietary, in-app settings menu.)
Step Three: Disable Reply With Message
You might also want to lock down the feature that allows you to reply to messages from the lock screen in the first place. To do this, simply go to Settings > TouchID & Passcode > and then toggle off (disable) the “Reply With Message” option.
Step Four: Disable Everything Else — Widgets, Siri, & More
Last but not least, to seal the deal on your locked down lock screen, you’ll want to disable the rest of Apple’s notifications and services that can be accessed from the lock screen — such as Siri, select widgets, Home Control, Wallet, and more.
To do this, simply go to Settings > Touch ID & Passcode. You’ll likely notice a few different toggles under the “Allow Access When Locked” section — namely, Today View, Notification Center, Siri, Reply With Message, Home Control, and Wallet. If you’d like to disable all these features, simply go down the line and toggle them all off.
Is your lock screen secure? Let us know in the comments!


