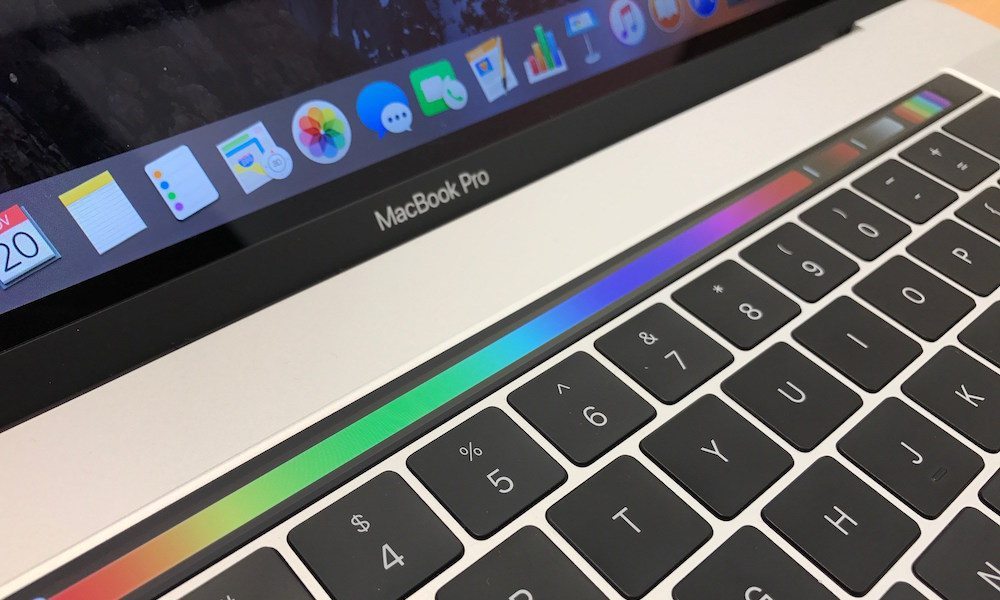
9 Tips and Tricks to Help You Master the MacBook Pro’s New OLED Touch Bar

Toggle Dark Mode
Hate it or love it, Apple’s recently introduced OLED Touch Bar — a cornerstone feature of the company’s higher-end 2016 MacBook Pro — is an exciting new input method that’s not only here to stay, but one that we’re likely to see be incorporated into other Apple products at some time in the future.
In all seriousness, though: even despite the criticism Apple faced over its pricing of the overhauled MacBook Pro with OLED Touch Bar, there’s no denying that the feature, in and of itself, is actually pretty darn cool, right?
It might be a bit difficult for those not willing to pony up the cash for Apple’s latest innovation, to see the actual, practical value in it; however, for those who’ve taken the dive already, or who are seriously yearning for some of that Touch Bar goodness in their lives, we’ve gone ahead and compiled a list of the top 10 most useful tips and tricks to help you get the most out of your new Touch Bar.
1. Show Function Keys
Apple’s OLED Touch Bar physically replaces the standard row of function keys — F1, F2, etc. — that traditionally occupied its space. However, if for some reason you need to access those keys at any time, you can bring up the soft function keys on the Touch Bar by simply press-holding the function [fn] key, located in the bottom left-hand corner of your keyboard.
2. Access an Expanded Control Strip
To bring up an expanded menu of settings and options onscreen, simply tap on the small “chevron” button — located at the far left-end of the Touch Bar.
3. Customize the Expanded Control Strip
To edit the icon arrangement of options available to you from the expanded, on screen Control Strip, simply tap the same chevron button a second time when you’re already in the process of customizing.
4. Customize What App Icons Appear On the Touch Bar
If your favorite app boasts its own Touch Bar shortcut icon, you can go in and control which portion of the Bar will display that app icon. To do this, simply tap View > Customize Touch Bar while using the app and then select the space on the Touch Bar accordingly.
5. Sleep and Wake
MacBook Pro’s Touch Bar will automatically dim after 60 seconds of being idle — and just 15 seconds after dimming, the whole strip will become inactive. To bring it back to life, simply tap anywhere on the Touch Bar, main Trackpad, or press any key on the keyboard.
6. Trackpad + Touch Bar = <3
Apple’s new OLED Touch Bar is built so as to make interfacing between it, and Apple’s standard Trackpad, a breeze — and macOS, by default, allows you to do this automatically. So, for instance, you could perform small tasks — such as switching an app and moving a shape in Pixelmator — simultaneously.
7. Make Sure Siri is Listening
To ensure that Siri is listening to you for the entire duration of your command, simply tap and hold the Siri icon located directly on the Touch Bar, start speaking, and then continue to hold the icon until you’re finished speaking.
8. Use the Media Scrubber
Of all the things Apple’s Touch Bar can do, being able to scrub through online videos is perhaps one of the coolest and most useful among them. For those who enjoy watching YouTube videos, for instance, while you’re watching one, you’ll be able to swipe your finger along the Touch Bar and essentially override certain portions of the video — (cough, cough: the commercials) — you’d rather skip over.
9. Quickly Adjust Brightness and Volume
While you could always just tap-tap-tap on the brightness and volume control buttons on Apple’s Touch Bar, an even simpler method of controlling these settings — a bit more precisely, might we add — can be found by simply tapping and sliding your finger along the control meter to achieve your desired brightness and volume levels.
Are you enjoying your Touch Bar equipped MacBook Pro so far? Let us know in the comments!


