7+ Expert Screenshot & Terminal Tricks/Settings for Mac Made Easy
 Credit: Goran Ivos / Unsplash
Toggle Dark Mode
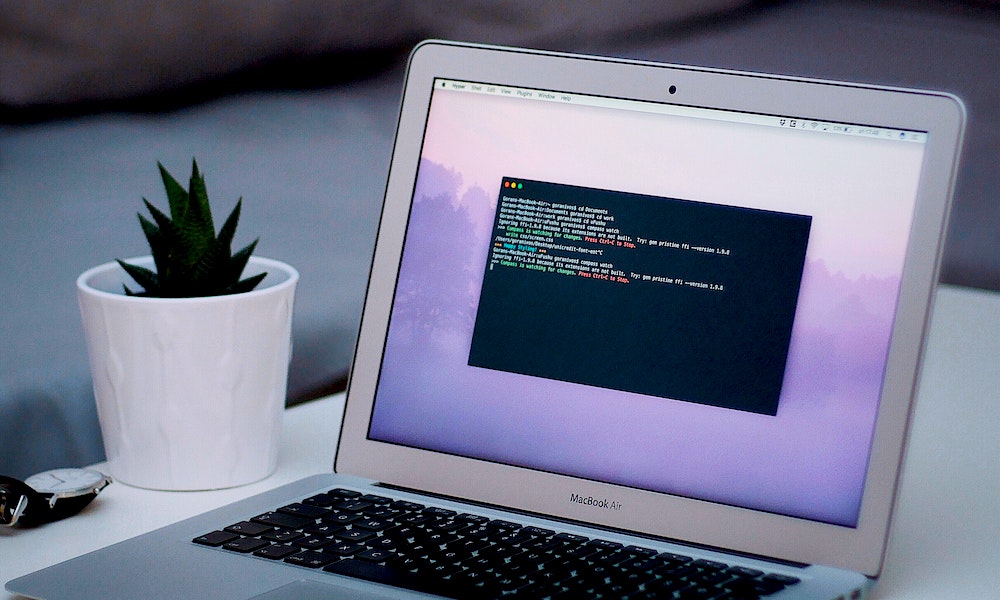
Most Mac users know their way around the settings app in macOS, but few people have delved into Terminal. A new user probably has no idea what Terminal is, while the command-line interface throws off those with macOS experience. The Terminal app may seem foreign at first, but once you learn how to use it, you’ll quickly discover how powerful it can be. This guide teaches you to harness that power to supercharge your screenshots and optimize your image-editing workflow.
How to Use Terminal
- You can find the Terminal app is in the Utilities folder in Applications.
- Use finder to open the Utilities folder and then double-click on Terminal to open it.
- You also can press Command-space to launch Spotlight. Then type “Terminal” and double-click the search result to open the Terminal app.
- This will launch a small window with your Mac username, computer name, and a white box that indicates where you enter the text for your commands.
- You can type in the command one line at a time or paste them into Terminal.
- Once a command is entered, you simply hit return to execute it.
How to Remove Shadows from Screenshots
Not everybody likes the subtle drop shadow that macOS adds to the screenshot of an open window. Did you know, you can hold down the option key when selecting the window you want to screenshot to remove the shadow? This key combination works great, but you have to remember to select the option key every time you capture a window. Want to kill the shadow forever? You can do that with these two short terminal commands as follows.
- defaults write com.apple.screencapture disable-shadow true
- killall SystemUIServer
You can use the same commands above if you want to restore the shadow. Just remove the true in the command line above and replace it with false as follows:
- defaults write com.apple.screencapture disable-shadow false
Paste that line into Terminal, hit enter to run the command and then paste “killall SystemUIServer” to restart the user interface and apply your changes.
How to Force Your Mac to Stay Awake
Working on a big project and want to keep your Mac awake while you pour over a document? Use this quick and easy terminal command to force your Mac to stay awake indefinitely.
- Open the Terminal app and simply type “caffeinated.”
- Then hit return.
- Voila! Your Mac will remain awake indefinitely.
Once you are done, you can cancel this command by pressing Control-C with the Terminal window open or by closing the Terminal window.
Worried you are going to forget to turn off this always-awake mode? We’ve got you covered. You can add a time limit to your command by typing in
- caffeinate -T 150000
This will keep your Mac awake for 150000 seconds or 250 minutes before disabling this always-awake mode. You can increase or decrease this time limit by changing the number of seconds in the command.
How to Change the Default Screenshot Name
By default, macOS saves each screenshot with the bland label “Screen Shot” and the date and time. This naming convention adds no context to the screenshot and looks unprofessional when sharing or uploading the image.
You can change the default name to a custom name using the following two commands.
Enter each command one at a time, hitting the return key between each command. Be sure to replace “New Screen Shot Name” with whatever phrase you want to use.
- defaults write com.apple.screencapture name “New Screen Shot Name”
- killall SystemUIServer
The next time you save a screenshot, it will begin with your chosen name and end with the date and time. To revert to the original naming convention, you need to enter the following commands:
- defaults write com.apple.screencapture name “Screen Shot”
- killall SystemUIServer
This command restores the default generic names and can be changed at any time.
How to Change the Default Screenshot Format
Changing the default screenshot name is just one thing you can change. You can also use Terminal to change the macOS format to save screenshots. By default, macOS saves the screenshot in PNG format, but that format is not compatible with many online web services. Instead of taking an extra step to convert a screenshot to a JPEG, you can use Terminal to change the default image format as follows:
- defaults write com.apple.screencapture type jpg
- killall SystemUIServer
This example changes to JPG, but you can change to another format, including TIFF, GIF, or RAW.
How to Change the Default Screenshot Location
One drawback to capturing screenshots is a cluttered desktop. All screenshots are saved to the desktop folder by default and can quickly accumulate if left unchecked. Thankfully, there is a way to change the default screenshot location.
Just type the following commands one at a time.
Be sure to replace the “/your/location/here” with the path to the folder you want to use for your screenshots.
- defaults write com.apple.screencapture location ~/your/location/here
- killall SystemUIServer
As with the previous commands, you can undo your changes by entering “~/desktop” for “~/your/location/here.”
How to Convert Screenshots from PNG to JPG One at a Time
If you have already had a pile of screenshots that need to be converted, don’t panic. You can use the command line to convert images on the fly. You can make the conversion one file at a time or do them all at once in a batch conversion.
Converting files one at a time is easier than a batch conversion but more time-consuming since you have to repeat this process for each file.
To convert a single file, open Terminal and then type the following:
- Type “cd” and press the Space Bar
- Drag and drop the PNG file that needs to be converted to the Terminal window
- Type: sips -s format “image type” “file name” –out “output file name”
For example, if your PNG file is named one.png, then the command line should look like “sips -s format png one.png –out one.jpg”
How to Convert Screenshots in Batch Mode
Converting screenshots in batch mode uses a similar procedure, but the syntax is more complex. Before converting your screenshots, you need to put them in the same folder. Open Terminal and do the following:
- Type “cd” and press the Space Bar.
- Drag and drop the folder that needs to be converted onto the Terminal window.
- Press the Enter key.
- Enter the command “for i in *.png; do sips -s format jpeg $i –out /Desktop/Screens/$i.jpg;done”
- Press enter to begin the conversion process.
- In this example above, I am converting the PNG files that I dropped into the Terminal window to JPEG files saved to the Screens folder on my desktop.
Once the conversion is complete, you can open the output folder and find the JPG files you just converted.


