
6 Fastest, Easiest Ways to Backup/Transfer Your iPhone Photos
 Kaspars Grinvalds / Shutterstock
Toggle Dark Mode
Photos in your iPhone’s camera roll add up quickly over the years, and before you know it, your phone is holding on to thousands of precious memories. Not to mention the huge amount of storage those thousands of memories are occupying as they sit comfortably in the depths of your camera roll.
Many years from now, you’ll want to be able to look back at your large collection of photos, so backing them up elsewhere is crucial. That way, you won’t ever have to worry about permanently losing your photos due to a lost or damaged phone.
Now, you’re probably wondering: What’s the fastest and easiest way to backup/transfer my iPhone photos? Read on to find out.
1. ThePhotoStick OMNI
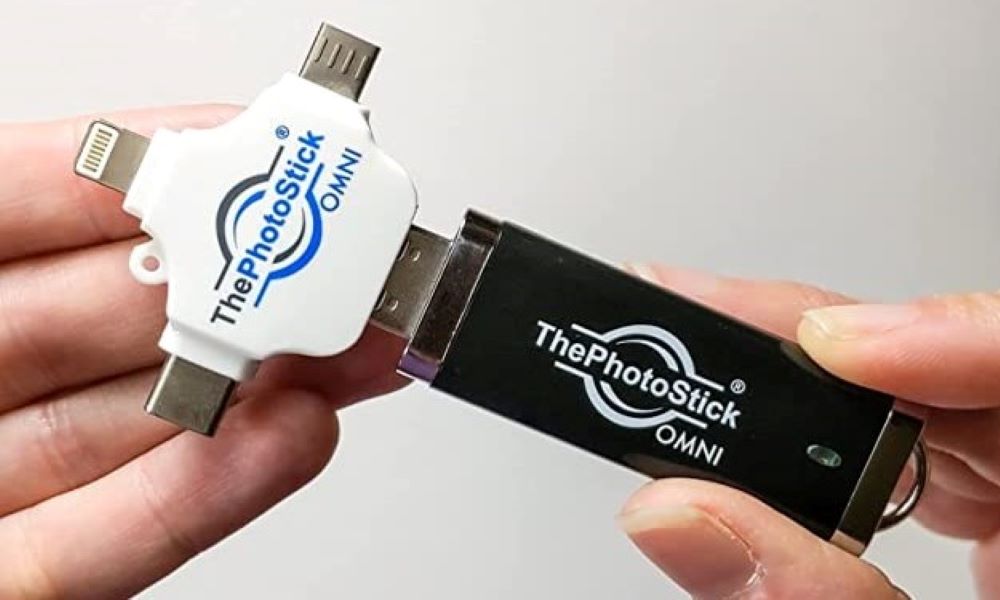
If you’re looking for the easiest, most straightforward way to transfer photos and videos to literally any device, including a new Android phone, ThePhotoStick OMNI is the obvious choice.
Not only does ThePhotoStick OMNI not require a subscription fee like iCloud photos, but it also has so many other benefits. It’s a small but mighty device, capable of holding up to 120,000 photos and videos (256 GB) of storage!
In addition, it automatically finds, sorts, and backs up all of your files for you. It’s by far the most simple option because all you have to do is plug it into your device and hit ‘GO.’ In just a few minutes, all of your photos will be securely transferred.
2. iCloud Photos
This is the option that Apple wants to appear as the most obvious one for iPhone users. Of course, if you’re someone who strictly uses Apple devices, iCloud is a good option because you can effortlessly sync all your media files across all your Apple devices.
In addition, iCloud lets you share photos with friends and family through iCloud Photo Sharing. One downside, however, is that your Mac must be upgraded to the latest version of macOS for iCloud Photos to be fully functional. So, if you have an old Mac, this could be a limitation.
iPhone users automatically get 5GB of free iCloud storage, but there is a subscription fee to add more after that amount is filled. Keep in mind; photos are just a fraction of that storage.
3. Google Photos
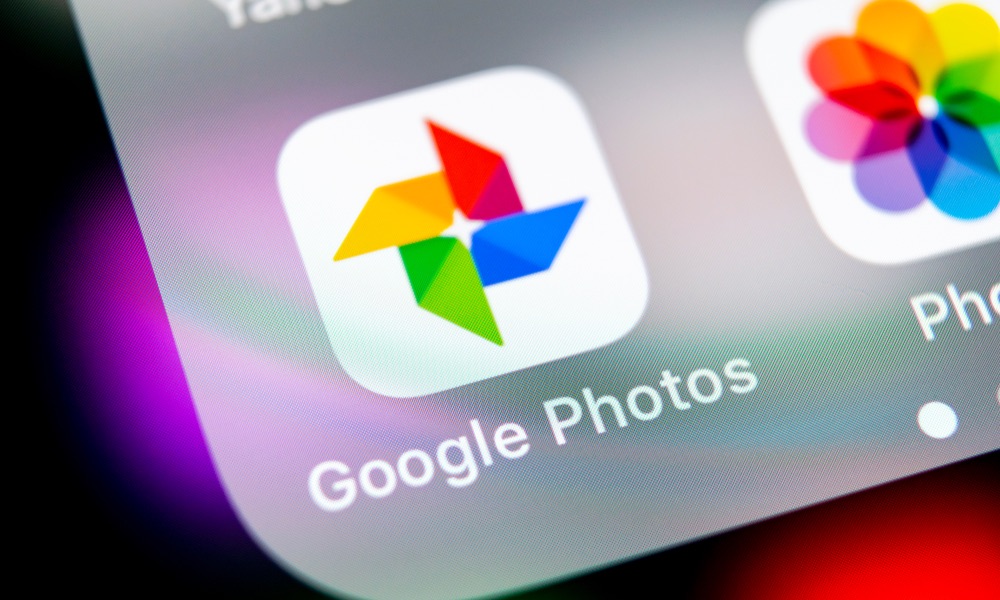
Google Photos offers 15GB of free storage, which is a big step up from iCloud’s 5GB. All you have to do is download the Google Photos app and set it up to back up your photos automatically. You can even transfer past iCloud photo backups directly to Google Photos using tools at privacy.apple.com.
The app organizes your photos automatically and makes them easily searchable. Once your photos are backed up, you can enjoy them from any device. Similar to Dropbox, you can log in to Google Photos on any device to access your photos.
4. The PhotoSync App
This option works similarly to AirDrop. PhotoSync can be bought in the App Store for just $2.99, and it allows you to transfer photos to and from your computer. However, in order for it to work, you must have the PhotoSync Companion app downloaded on your computer as well.
While AirDrop only works between Apple devices, PhotoSync is also available for Windows computers and Android devices. The steps to transfer your photos using the app are simple:
- Select the photos you want to share within the app.
- Tap the Share button and select the destination.
5. Dropbox

Dropbox is a popular service for cloud backups. The basic account offers 2GB of free storage, but you can upgrade to 1TB as well as additional sharing and management tools for $9.99 per month.
The Dropbox app is free for iOS and is very straightforward. Not only can you set up an auto-upload of all images from your camera roll, but it also makes it super easy to organize your photos into custom folders. To access your photos, simply log into your Dropbox account from any device.
6. iTunes Backup
Another obvious option is to simply backup your photos using iTunes backup if you don’t want to use iCloud. You just have to make sure to update to the latest iTunes version, then connect your iPhone to your laptop using a USB cord, and follow the following steps:
- Tap the device icon.
- Click Photos.
- Select Sync Photos and choose from where you want to sync photos.
- Click Apply.


