
Wi-Fi Connection Issues
One of the most annoying issues is your Wi-Fi not working properly.
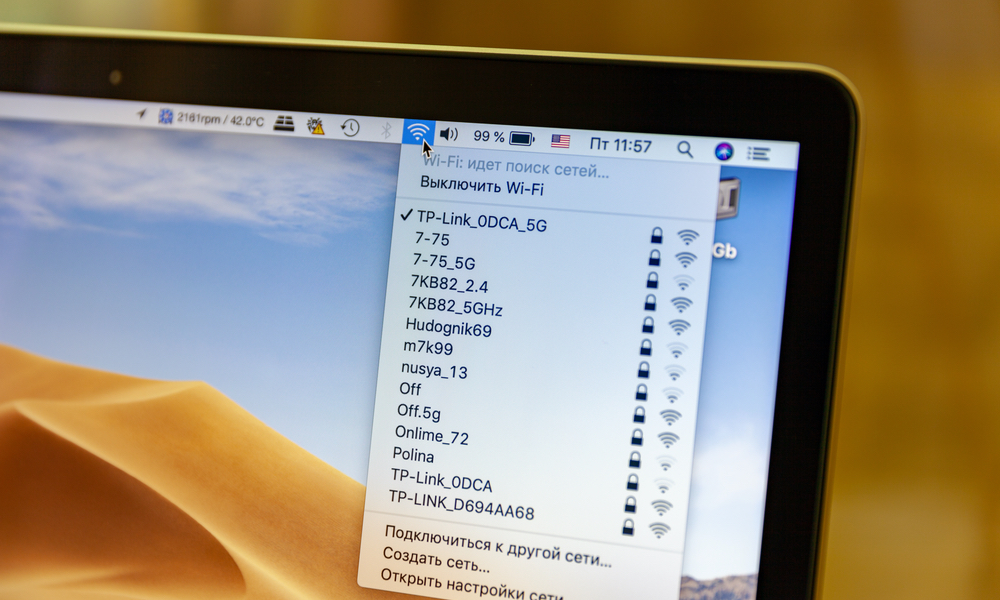
If after you downloaded macOS Big Sur, your Mac can’t connect to your Wi-Fi network, here’s what you can do.
First, you can reset your router and try to connect your Mac again. If that doesn’t work and you can do it, try to connect to another Wi-Fi network. It’s possible that your router or Wi-Fi are the problems so you need to do this to rule this out.
If that didn’t work, you can try to reset your System Manager Controller, like we showed you in the last step. That usually fixes most minor issues, so you can give it a go and see if that fixes the problem.
You can also try to use the Disk Utility App and use First Aid to fix your Disks, Containers, and Volumes. Here’s a quick reminder on how to do it:
- Go to the Disk Utility app. You can access it by using the Spotlight Search on your Mac by pressing the Command Key and the Spacebar and typing Disk Utility.
- Click on View next to Disk Utility and make sure Show all Devices is selected if available.
- On the left sidebar, you should see all your Volumes, Containers, and Disks.
- Select your Volumes, they should be the ones at the bottom and then click on First Aid at the top of the window.
- After you’re done with your Volumes, use First Aid with your Containers and then your Disks.
Finally, you can delete your Wi-Fi connections and try to connect again. Here’s how you can delete them:
- Go to the Apple Menu on the menu bar.
- Click System Preferences.
- Click on Network.
- Select Advanced
- You’ll see a list of all your preferred networks. Click on them and then click on the minus (-) button to remove them.
- Restart your Mac.
- Connect to your Wi-Fi network again.