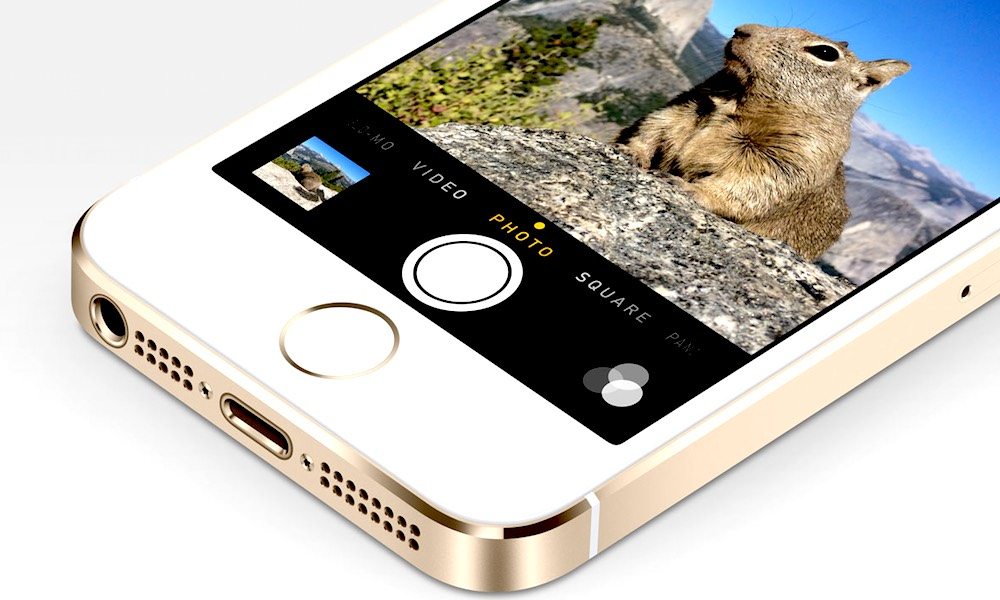
6 Simple Tricks to Capture Better Photos With Your iPhone

Toggle Dark Mode
Perhaps one of your beloved iPhone’s most noteworthy features is its camera. Indeed, Apple places a big emphasis on bringing some of the most robust, feature-rich cameras to the table when it unveils a new iPhone handset, year after year — and we mean that, of course, from both hardware and software standpoints.
And while Apple has a notoriety for sourcing some of the best optical hardware the world has to offer — and though the company’s camera app for iOS is a powerhouse of imaging and photo editing tools, geared towards both photo novices and seasoned photography connoisseurs, alike, there’s a wide-range of relatively simple action steps you can take to ensure you’re capturing the best photos possible, wherever you are and whatever conditions are present there.
So, with that in mind, we’ve gone ahead and created this short list of our favorite (and most useful) camera tips for iPhone — so you can capture your moments in crisp, vivid detail, and edit them like a pro.
1. Clean the Camera Lens:
This may seem a bit more obvious to some than others, but our iPhones aren’t particularly the most pristine instruments — namely, in the cleanliness department. The environment around us is home to a host of dust, dirt, and grime. Not to mention, our fingers are sometimes coated with oil and food particles, which could potentially make their way into the deep crevices, or fog the glass of our camera lenses. So it’s important, we think, when you’re getting ready to capture your experiences on camera, that you take the extra step to wipe down the lens each time. No need to bust out the Windex of course; but even a few, gentle swipes of the lens with a soft cloth is likely all it’ll take to vanquish any residue that may have accumulated over the course of time.
2. Manually Adjust Exposure:
Exposure is the variable that determines how much light or darkness will appear in your photo after it is captured. And while iPhone inherently lacks the hardware to adjust this attribute manually, the handset does feature an “exposure slider.” When you’re getting ready to take a photo, simply tap the screen to focus, and then, from that little yellow box that appears on the screen, slide up or down using the sun-shaped icon to manually adjust the lightness or darkness qualities of your photo.
3. Use Volume Buttons to Control the Camera Shutter:
Ever notice how your photos sometimes come out looking blurry or distorted after you’ve taken them? That could be for a number of reasons, but perhaps most obvious among them is that — in order to take crisp, quality still photos, your camera (iPhone) has to be stick still. And let’s face it: sometimes we tap the onscreen image capture button a bit too hard, don’t we? Fortunately, once you’ve positioned your iPhone exactly where you want it, you can always press either of the up or down buttons on the volume rocker to capture the image quickly — without ever having to touch the screen.
4. Use HDR:
Also known as “High Dynamic Range,” HDR is an attribute that allows you to capture three photos, sequentially — each of which contains a unique lighting exposure, and then combines those three photos to give you one that your iPhone’s super intelligent camera software determines to contain the most ideal balance of light for that given photo. You can enable auto-HDR on your iPhone by simply tapping once on the “HDR” icon within your camera app.
5. Use Camera Grid:
iOS’s camera grid feature is a great tool to ensure that your photos containing multiple objects or individuals within them are lined up properly. Essentially, grid lines are placed on the screen in order to quickly guide the composition of the subjects in your photos. To enable the photo Grid, simply go to Settings > Photos & Camera > and then scroll down and toggle the “Use Grid” option to on.
6. Use Editing Tools:
So you’ve just captured a great photo — at least, as far as you can tell. Well that’s fantastic, but we all have a room for improvement, right? Whether people or products, we can always make changes to things that will effectively enhance their quality and characteristics. Which is why, with iOS version 9.0 or later, Apple’s Photos app on iPhone contains a myriad of photo editing tools from basic color and light balancing, to red eye reduction, blemish retouching, and more. After you’ve captured a photo, simply tap the small photo thumbnail located in the bottom corner of the camera app > tap Edit from the upper, right-hand corner of the options toolbar, and then make any necessary edits to the photo as you see fit.
What are your favorite camera tips for iPhone? Let us know in the comments!


