
8 Extremely Important Tips for Your First iPhone!
 Credit: Nemanja Zotovic / Shutterstock
Congratulations! You just got your first iPhone X, XS, XS Max or XR. If you've already turned it on and set your iPhone up, you know that Apple does a pretty thorough walkthrough describing basic, yet important, settings like signing into iCloud (so everything will save and sync on your iPhone properly). However, there's still a lot left to learn about your iPhone, including key changes you might want to make, and things you should know that Apple doesn't exactly tell you. Continue reading to learn 8 Extremely Important Tips for Your First iPhone!
8 Set Up Do Not Disturb
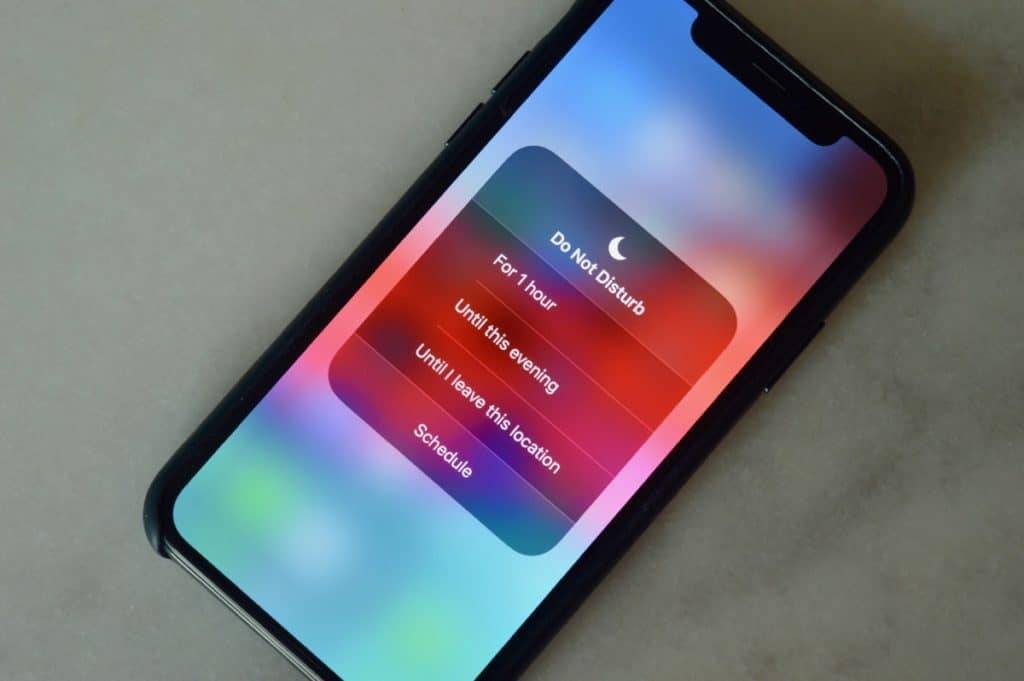
Believe it or not, there will be times when you don't want to use your iPhone! Many of those times will be when you are working or sleeping. Fortunately, the iPhone makes it easy to block off sections of time so no alerts or calls will disturb you. Learn how to do this early on, and you won't be bothered by it.
- Start by choosing the Settings gear icon.
- Then look for the Do Not Disturb section, which should be right below the Notifications and Control Center.
This section allows you to set specific times for your iPhone to leave you alone, or just choose to make the phone stay quiet at bedtime. Pick your preferences!
7 Practice Taking Screenshots
If you are like most iPhone users, the time will soon come to take screenshots on your iPhone. But how do you do it? Newer iPhone models skip the Home button, which makes for a great design, but can also be confusing when it comes to simple actions like taking screenshots.
For newer iPhones, you can take a screenshot simply by pressing both the Side button and the Volume Up button at the same time.
The side button is the general power button located on the upper right corner of the iPhone (and should be easy to find). The volume buttons are roughly opposite on the other side of the phone.
You can easily tell when the screenshot is taken, as the screen will flash white and make a clicking shutter sound.
6 Use Face ID and Alter Its Settings
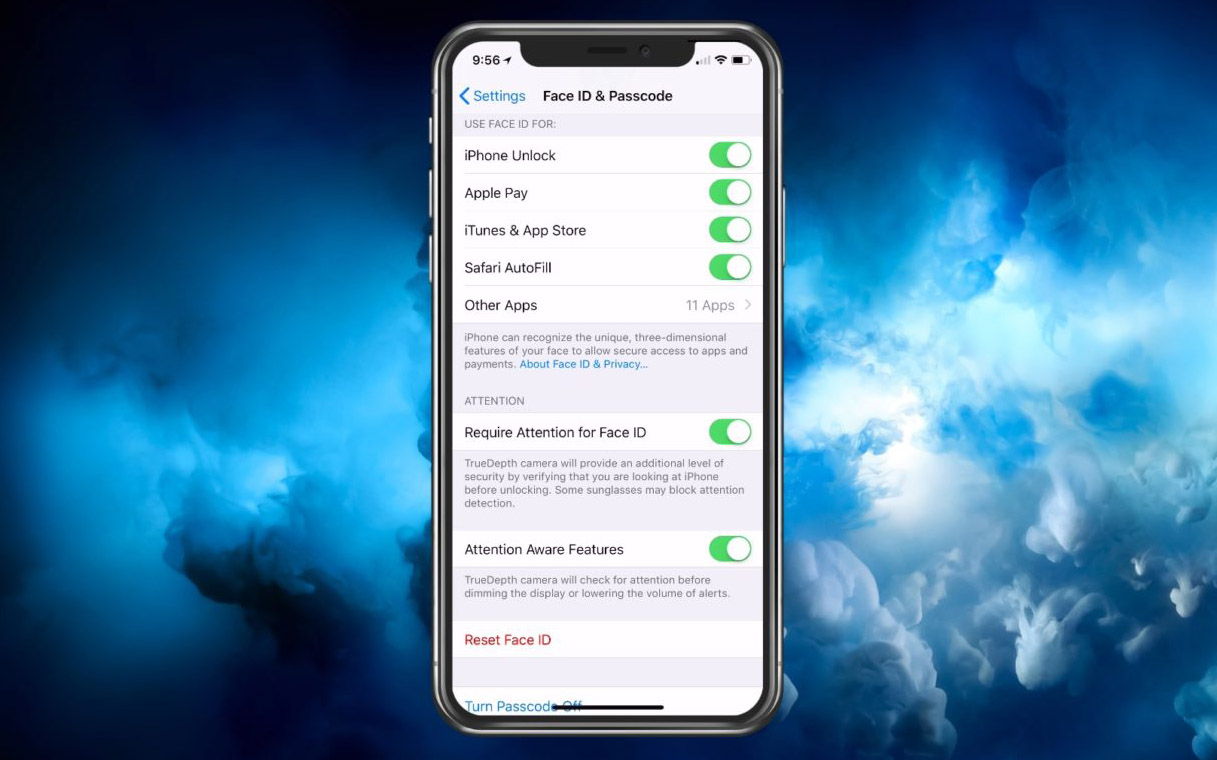
In Settings, head over the Face ID & Passcode section. This is an important section for setting up your security and Face ID recognition, which is one of the first things you should do.
Apple may have already had you set up Face ID's basic settings during the intro, but there are more settings you should take a look at.
- First, choose what Face ID can unlock, such as Apple Pay and iTunes.
- Second, set up an Alternate Appearance for better accuracy – especially if you frequently wear a scarf or glasses.
- Third, you can turn off Require Attention for Face ID to improve accuracy, unless you are anxious about being forced to open your phone against your will.
5 Access Control Center

The iPhone Control Center includes many important features that you'll want right away, like turning on the flashlight, adjusting volume, pausing music, AirPlane mode, mirroring the screen, and so on. However, the latest iOS makes accessing the Control Center a little unintuitive. To bring it up, you will want to swipe down from the upper right corner of the screen. Practice grabbing and pulling the Battery indicator to get it right. In Settings, you can also add functions to the Control Center to make it more useful.
4 Connect All of Your Email Accounts
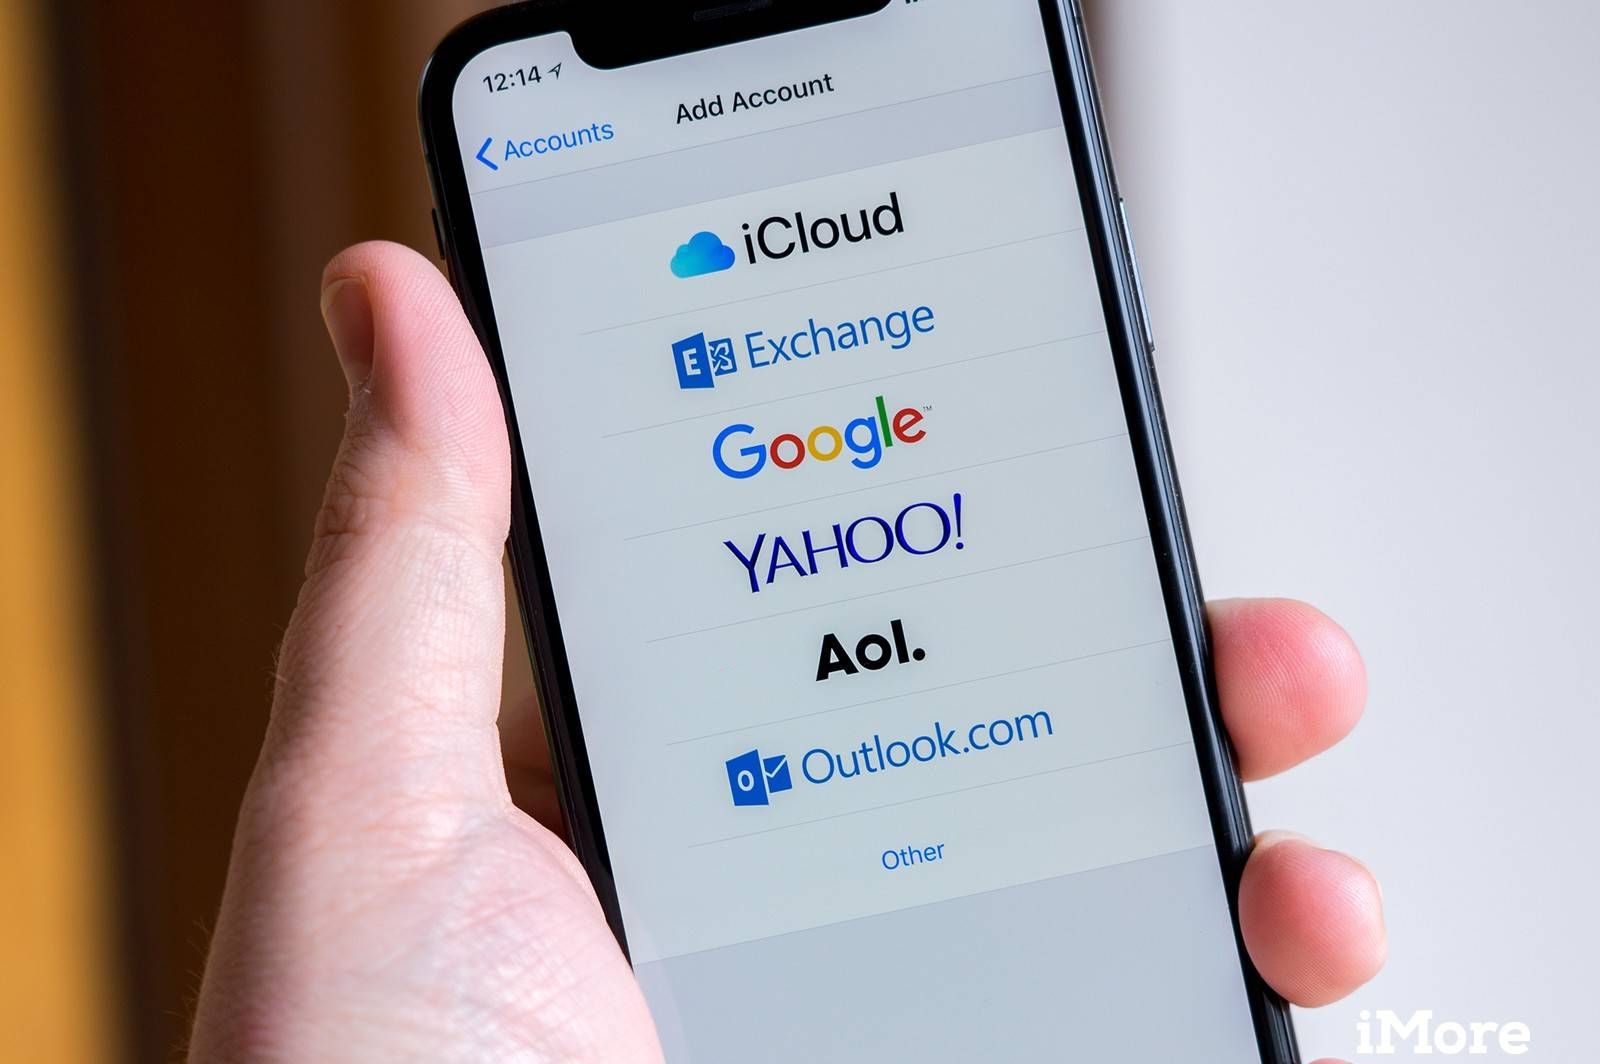
In Settings, look for Passwords & Accounts. Here you can tap Add Account to receive emails from the email accounts that you already have – and that includes common accounts like Gmail. You will need all of your login information, but once set up, you can access the Mail app and see emails from the accounts that you prefer, whenever you want.
3 Set up Apple Pay If You Can
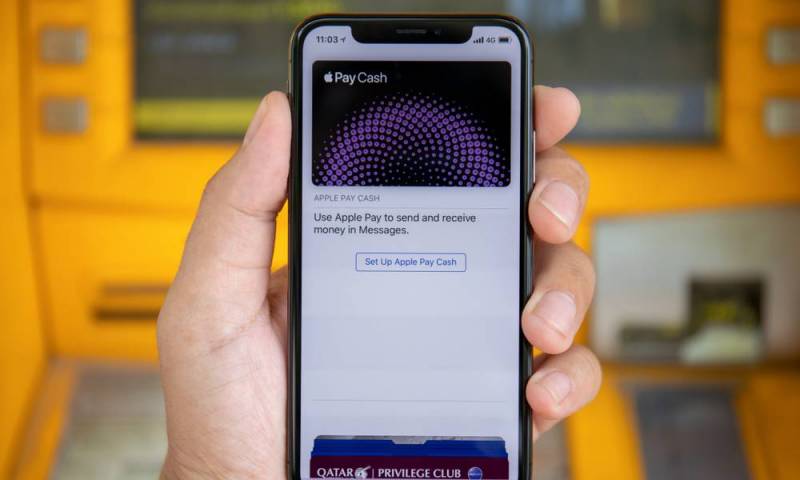
If you can use Apple Pay, you should! Setting it up is easy, and there are plenty of benefits, including automatic registration for customer loyalty points, better security than credit cards, and, of course, super speedy checkouts.
The key, however, is making sure that the businesses you frequent support Apple Pay. An increasing number do, including most major retailers, but it's smart to take the time to set up the service before entering any store.
2 Check Your Brightness Slider
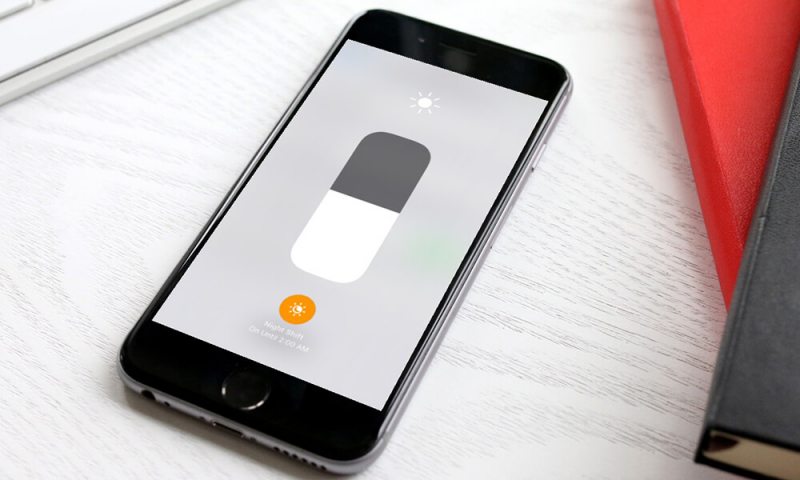
Phone brightness is always a point of concern for new phones! Fortunately, the latest iOS features make it very easy to find the brightness settings that work for you. Go to Settings, and select Display & Brightness. Here you will find a Brightness meter you can adjust. However, more importantly, you will see options for True Tone and Night Shift. True Tone automatically detects surrounding levels of light and adjusts the screen's hue accordingly. In the latest iOS, it's quite accurate and worth trying to save battery life. Night Shift simply lowers brightness and blue light levels as the evening hours approach, which is a more straightforward way to save energy and help making falling to sleep easier.
1 Manage Your Notifications
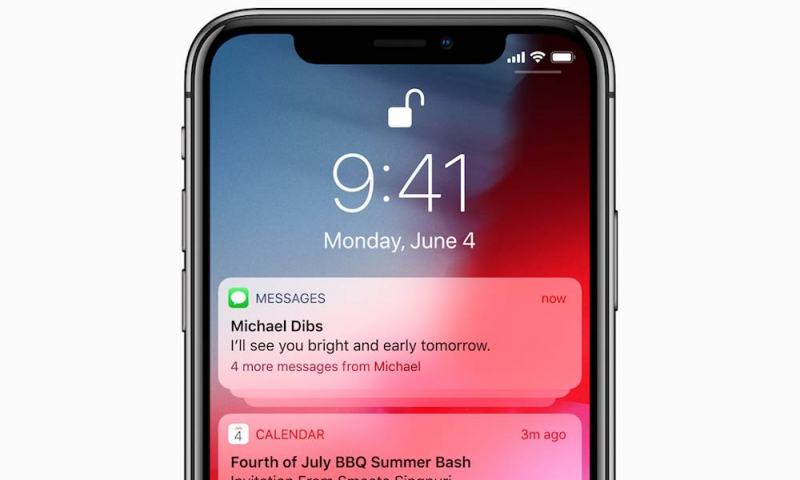
This step is best to take after you have spent a little time downloading the important apps that you like to use. Everyone has their own list of important apps, so take your time and make sure they are all downloaded through the app store. Then head to Settings, and choose Notifications. This will show you all the apps and the various notifications settings that they have. Your iPhone can provide notifications in a number of ways, and you can control how those notifications work, where they show up, and if you want to see notifications at all. Go through all your services and adjust notifications based on what's important to you.