
5 Things You Never Knew Your Mac Could Do!
 Credit: Ash Edmonds / Unsplash
macOS has a vast array of features and tools you can use to customize your experience – and not all of them are obvious. If you're looking to become more productive or organized, your Mac can help you out in ways you may have never realized. Continue reading to learn 5 of our favorite macOS tricks and how to enable them!
5 Split Your Screen for Better Organization
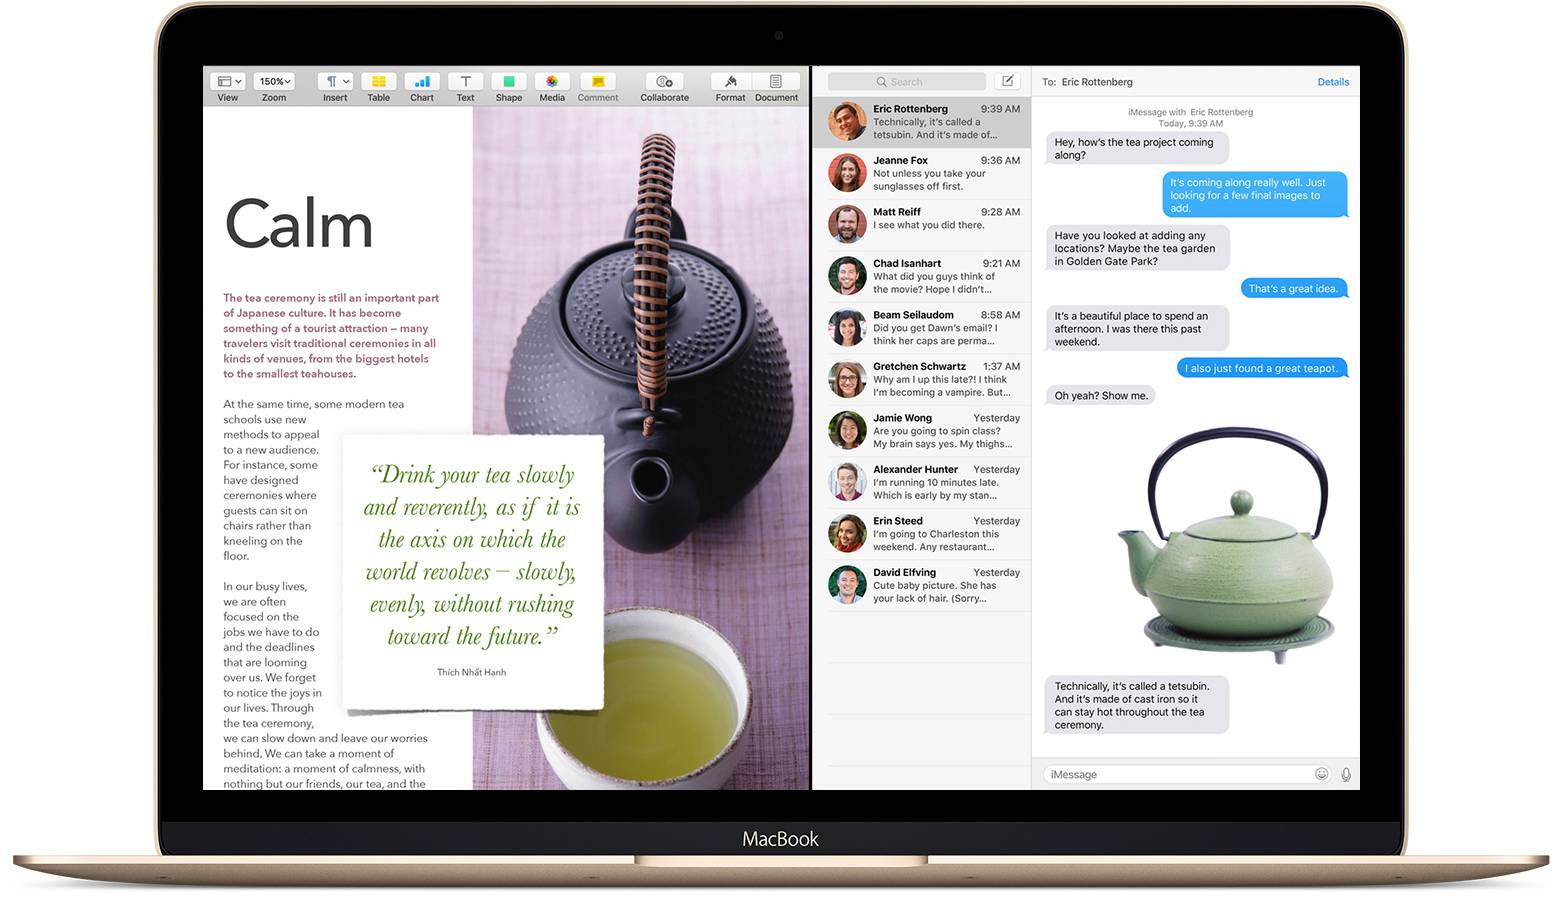
If you do a lot of work on your Mac, you should definitely know how to split the screen when necessary. This divides your screen into two different windows that you can use at the same time.
- Simply hover over that green button at the top of the first window you want to use: Selecting it once will enlarge the window, but instead you want to hold down on the green button and drag the window to either side of your screen. This should cause the window to "snap" into place on that side.
- Now head to your second window and use the green button to do the same thing, but with the other side of your screen. This will snap both windows into place and create your split screen mode, which you can deactivate at any time by closing out of the windows or simply enlarging one of them.
The split screen works with documents, browser windows, photos, and almost anything else you may need to view, making it an excellent study mode or perfect for research purposes. It's particularly handy when using a MacBook, with its more limited screen real estate.
4 Personalize Your Keyboard Shortcuts
There are ways to personalize both action and word shortcuts when using a Mac, and both can save you a lot of time.
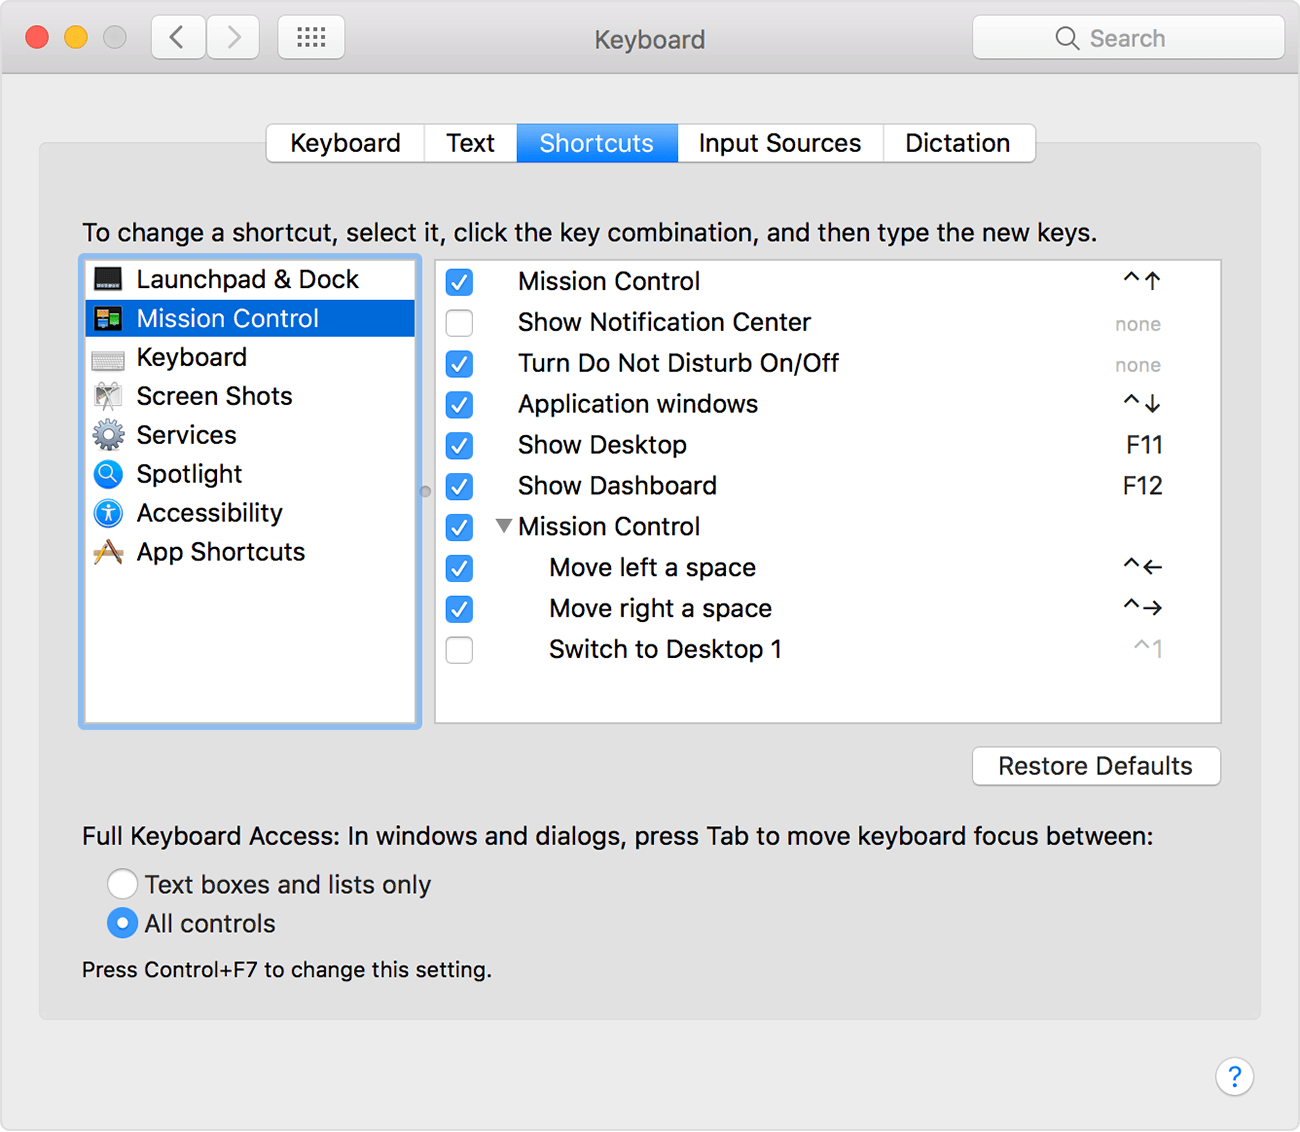
- Head to Keyboard in System Preferences, you will see a tab called Shortcuts. This lists all current action shortcuts that MacOS is using. It allows you to enable new shortcuts and change the key commands for all current shortcuts to make sure everything is set up just the way you like it, including app shortcuts, accessibility shortcuts, and much more.
- Or maybe you want shortcuts for words and phrases that you use frequently throughout the day. Your Mac can handle that too! If you aren't already in the Keyboard window, head to System Preferences, go to Language & Region, and select the Keyboard Preferences button at the bottom. This will open a window in your Keyboard settings for input sources. Basically, this lets you build your own phrases and choose what shortcuts (such as the first letter of each word) you want to use for them. Customize away!
3 Enable Dark Modes for Better Visuals
Wish that your Mac has a different color scheme, or was a least easier to use at night and in dark areas? If your macOS is pre-Mojave, then you can implement the Night Shift feature:
Head to System Preferences, go to Displays, and then find the Night Shift tab. Setting this mode will adjust the "color temperature" of your Mac to make it easier on your eyes at night. The color shift will automatically take place based on your time zone, to correspond with the sun setting. You can also adjust the specific color temperate settings yourself to find just the look that you want.
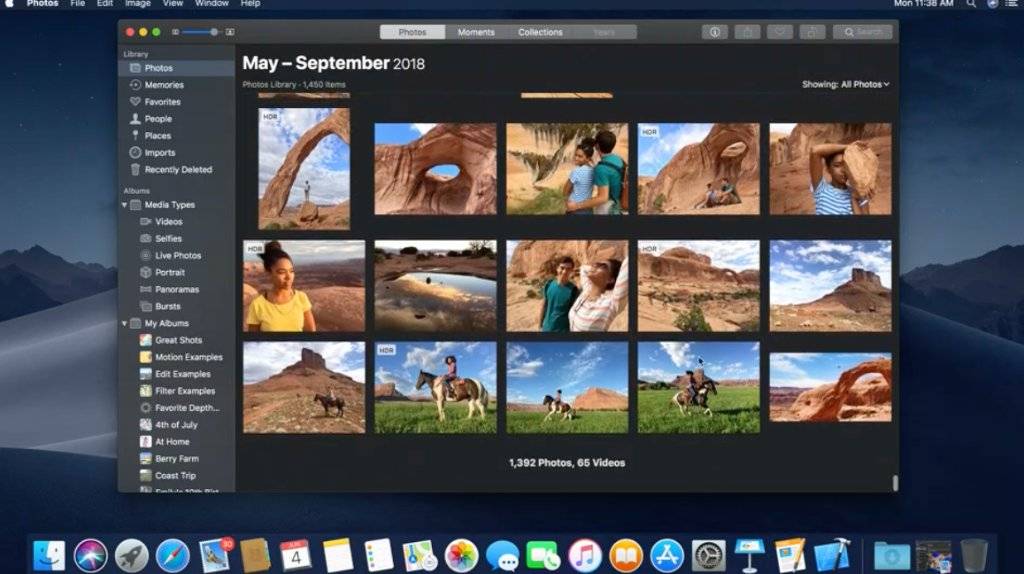
If or when you have macOS Mojave, there's a full Dark Mode you can activate. This will make things a little easier on your eyes too, and provide a different color contrast that you can use at any time of day. Head to System Preferences, go to the General settings, and look for the option to switch to Dark Mode and try it out.
2 Read Anything Aloud for You
macOS also includes an option to read aloud any text you come across. This has some obvious accessibility benefits to those with poor eyesight, but it may be most useful if you are short on time and need to study a document.
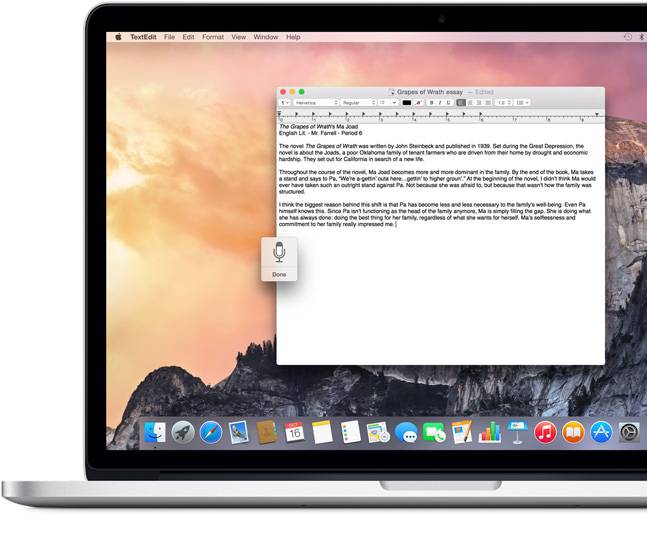
Simply highlight the text in that document, then head up to the Edit button at the top of the screen. In Edit, you should see an option for Speech (remember to make sure that text is highlighted).
In Speech, choose Start Speaking, and your Mac should start reading out the text. You can walk around taking care of other business while your Mac recites pretty much anything, making it a great way to check important emails or catch up on research while also completing other tasks. This works for most browsers as well as documents like PDFs.
1 Copy and Paste Between Devices
If you've never tried the Universal Clipboard on macOS, it may help you save a whole lot of time! This feature allows you to copy and paste items between Apple devices. In other words, you can copy things from iOS devices and move them to MacOS devices, or vice-versa, without any trouble or complicated email chains.
Just make sure that your Bluetooth is turned on, both Apple devices are near each other, and both signed in to the same Apple ID. Then copy and paste as you normally would. You don't even need a Wi-Fi connection for this to work!