How to Set Up Your Medical ID for a Safer Tomorrow
Toggle Dark Mode
If you’re anything like me, you tend to “play it safe,” generally speaking.
Not necessarily in the respect that you’re constantly worrying about “what could be,” but that you’re fully aware of the fact that we live in a pretty unpredictable world. We’re better off safe than sorry, right?
Well, my fellow iPhone-wielding realists, there’s some good news out of Cupertino for you today. This is especially true, if like myself, you also enjoy the privacy of having your phone locked with a passcode or Touch ID at any given time.
Enter Apple’s new HealthKit application. Most commonly regarded and highly acclaimed by users for its ability to track vital health and exercise statistics, HealthKit also offers a unique feature that could save your life.
HealthKit allows anyone with a “Medical ID” to give others access to their vital healthcare information from a locked screen in cases of emergency.
For example, if you’re at the hospital and are unable to access the life-saving information stored on your Medical ID – friends, family, and even the doctor will.
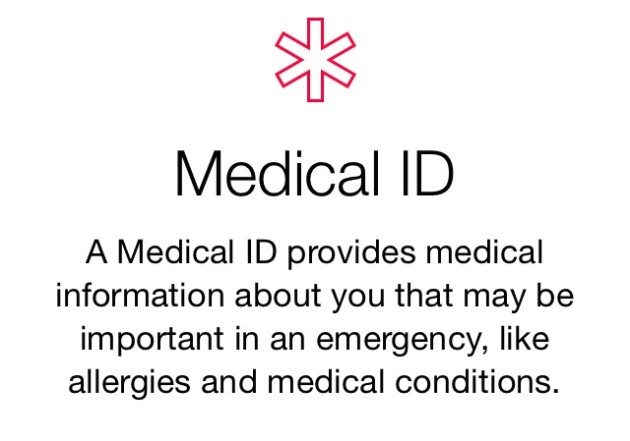 Okay, so, for argument sake, say that all of the above information pertains to you, right? By going in and creating a Medical ID, you’re able to provide people — such as EMT’s and hospital personnel — the ability to access this crucial information in cases of emergency or incapacitation.
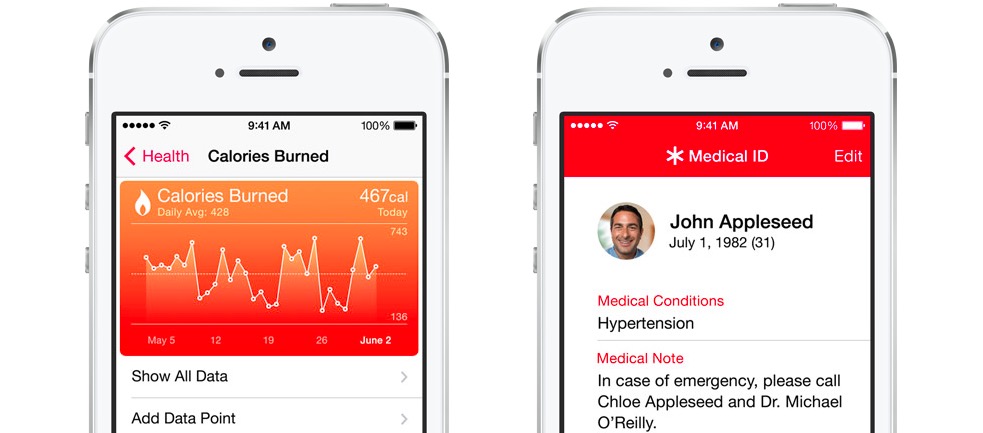
They can use your iPhone, even if it’s locked with a passcode, to access the Medical ID, and thus, obtain a wide array of potentially life-saving information — such as current medical conditions, medications, allergies, and even blood type, among other things.
Medical personnel, of course, can then use this information to help care for you appropriately, in the event that you’re knocked out on a hospital gurney, for example.
How do I set up my Medical ID?
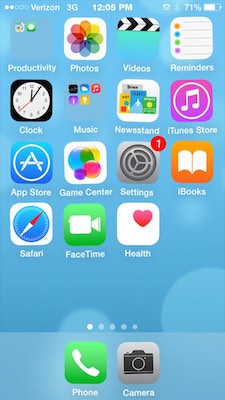
1. Glad you asked, friends! To set up the Medical ID feature on your iPhone running iOS 8.0 or later, simply visit the HealthKit application on your home screen. That is, if you didn’t already know, the solid white icon with the red heart in the upper right hand corner as pictured below.
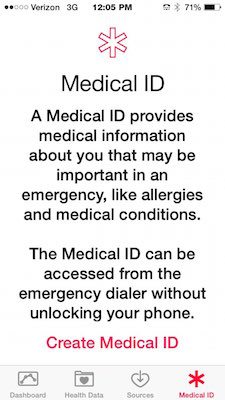
2. From the main HealthKit sub-menu, navigate to the “Medical ID” tab located in the farthest right side position of the screen.
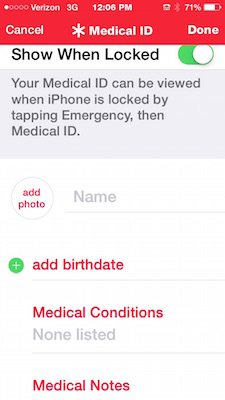
3. Select “Create Medical ID” from the sub-menu, and then fill out the requisite form as outlined below.
4. From the Medical ID menu, slide the toggle option to “show when locked.” (You can also show the Medical ID information if your phone is NOT locked)
5. Enter your name, a photo, birthdate, medical conditions, if any, allergies, blood type, and other notes of interest as specified within the Medical ID form.
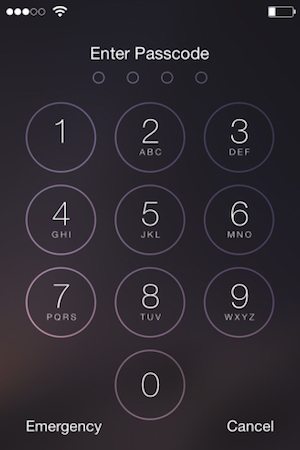
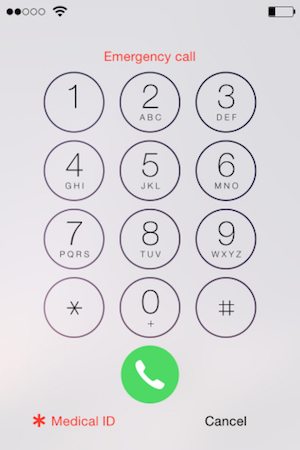
6. Once you’ve provided the information, you can lock your phone and then do a trial run to ensure it’s active by selecting “Emergency” from the lock screen, and then selecting ‘Medical ID” from the bottom left corner.
This is an extremely intuitive, forward thinking feature for iPhone owners, indeed. Especially if, like myself, you have certain medical conditions, and you realize that anything can happen at any given time. So set up your Medical ID today to walk confidently into a more sound tomorrow.


