
5 Ways to Transfer Photos From Your iPhone to Your Mac
 Apple
Apple
Even though the iPhone is a great device for amazing photos in a flash, it isn't always the best one to store them on, especially if you don't have a lot of storage, to begin with.
Fortunately, there are other options for storing your photos, including your Mac. Even if it doesn't have a lot of storage, your Mac certainly does a better job storing them than an iPhone.
Sure, if you have an iPhone 13 Pro Max with 1TB of storage, this may not be a problem for you. Still, if you want to edit your pictures, there's no doubt the Mac's also better at this by a landslide.
The good news for us is that there's a bunch of ways you can transfer your pictures from your iPhone to your Mac, whether you want to use the cloud, send them as an attachment, or use a cable. Read on to learn 5 Ways to Transfer Photos From Your iPhone to Your Mac.
Use AirDrop to Send Your Pictures
AirDrop is one of the best features the Apple ecosystem has to offer. It's so good; even Android started using a similar feature too. Airdrop lets you quickly transfer basically anything from one Apple device to another like magic.
The cool thing is that you can use AirDrop to send pictures to your Mac in an instant. First, make sure AirDrop is enabled on both your Mac and your iPhone.
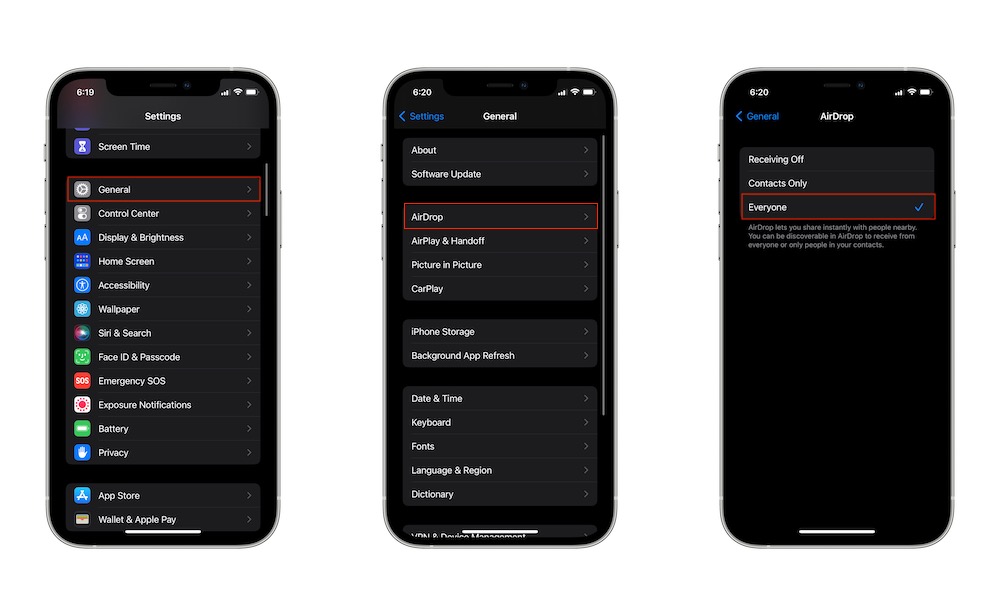
How to enable AirDrop on iPhone:
- Go to Settings.
- Tap on General.
- Select AirDrop.
- Tap on Everyone.
How to enable AirDrop on Mac:
- Open Finder.
- On the left side menu, click on AirDrop.
- Click Allow me to be discovered by: and select Everyone.
Now you're all set. Make sure your Wi-Fi and Bluetooth are turned on on both your iPhone and your Mac, and then do the following:
- On your iPhone, open the Photos app.
- Choose the picture you want to send.
- Tap the share button on the bottom left corner of your screen.
- Tap on AirDrop.
- Tap on your Mac.
And that's it! Your iPhone will have a small message that says Sent below your Mac. And, if you're close to your Mac, you should also hear a notification sound. By default, your photo should be stored automatically in your Downloads folder if you're using the same Apple ID on both devices. Remember that you can use AirDrop even if you're up to 30 feet away from your computer.
Import Your Photos Manually
Using AirDrop is great, but if you're thinking about transferring a lot of pictures, you might be better off importing them yourself.
This is the best option if you have a lot of pictures or long videos to transfer, or if your internet connection isn't the best. All you need to do is use your iPhone, your Mac, and a cable to connect both of them.
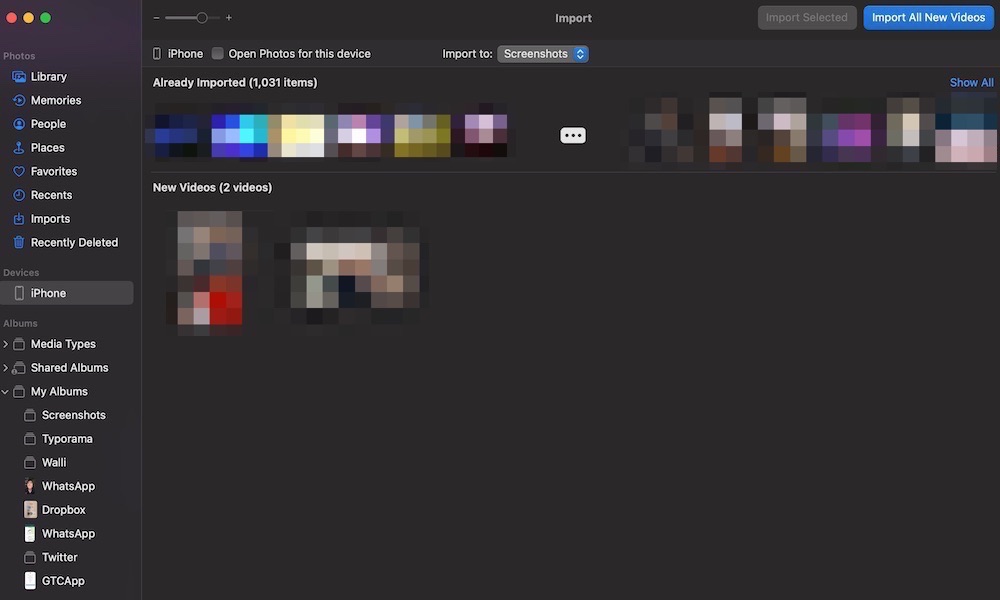
- Connect your iPhone to your Mac using a USB-C to Lightning cable.
- On your Mac, open the Photos app.
- Click iPhone on the left side menu. You may need to unlock your iPhone.
- Select all the photos or videos you want to import by clicking on them.
- Click on Import Selected.
- You can also click on Import All New Items if you want to import everything at once.
Transfer Photos With iCloud

If you're using the same Apple ID for multiple devices, iCloud is an amazing way to transfer your photos or videos. What makes iCloud great is that you don't have to do anything; your pictures will be automatically added to your Mac's Photos app and any other device with the same Apple ID. The downside is that it doesn't happen immediately.
In order to transfer your photos, you'll need to enable iCloud Photos on both your iPhone and your Mac.
How to enable iCloud Photos on your iPhone:
- Go to the Settings app.
- Scroll down and select Photos.
- Toggle iCloud Photos on.
How to Enable iCloud Photos on your Mac:
- Open the Photos app.
- Click Photos on the menu at the top of your screen.
- Select Preferences
- Click the iCloud tab.
- Click on iCloud Photos.
Now your photos will be automatically added to your Mac's Photos app. Remember that you can choose to download the original photos or an optimized version, so you don't fill your Mac's storage with pictures and videos.
Tip: Some iPhone users will have another option called Photo Stream available. This feature will only upload the most recent photos that you took in the last 30 days. You can enable this feature following the steps above, but it might not be available for you. Apple says that some recent Apple IDs might not have this feature available. In that case, you'll need to keep using iCloud Photos.
Use a Third-Party Cloud Service
If your iCloud Storage is already pretty full and you don't want to spend more money just to transfer some pictures, you can use a third-party cloud service.
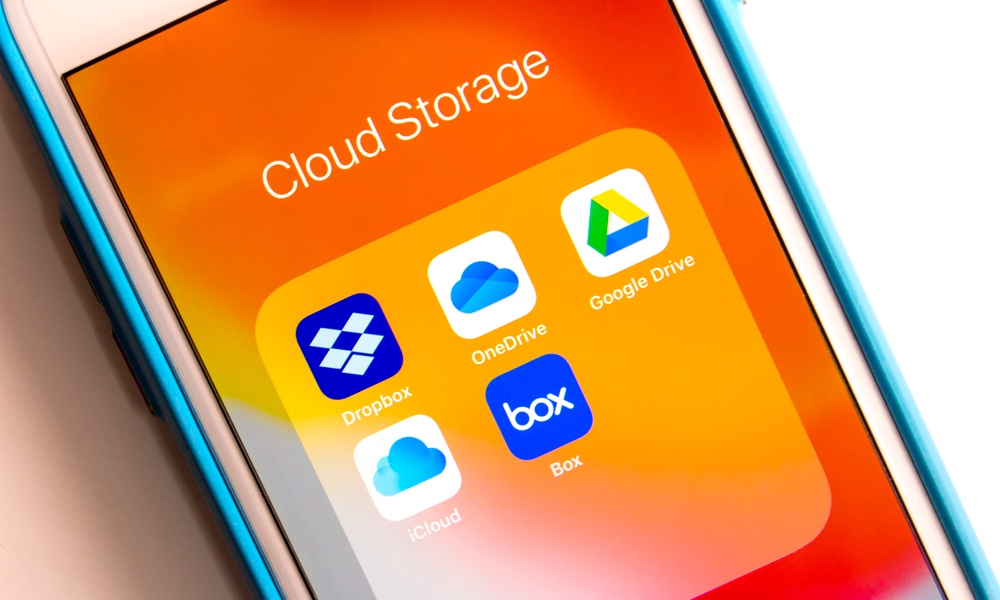
A great option to use is Dropbox. Sure, you won't have a lot of storage to store all your photos, especially if you only have the free version, but it'll be enough to send quite a few pictures from your iPhone and to your Mac.
Plus, you can keep the most important pictures in Dropbox and share them with other people by sending them a link. Moreover, you can also use Dropbox to transfer important files too.
Of course, Dropbox isn't the only one. You can also use other cloud storage services like OneDrive, Google Drive, or any other service you know and trust.
Send Your Photos as Mail Attachments

This isn't the most glamorous way to send photos or videos from your iPhone to your Mac, but it does work. You can attach any picture you want from the Photos app and send it to yourself.
You can then open the email on your Mac and download the photos into your Downloads folder. Sure, it's not the most efficient way, but if you don't have your Mac at the moment to enable any of the features listed above, this might be a great option for you.