
12 Tips to Get Started with Apple’s Journal App

When iOS 17 was first announced during last year's Worldwide Developers Conference, Apple introduced a brand-new app that no one had expected.
The company surprised us with Journal, an app that, you guessed it, lets you keep a digital journal on your iPhone.
While some might consider Apple's Journal app a bit bare-bones, it has all the basics you need to start writing down your deepest and most personal thoughts.
Of course, if you want to do it right, you'll need to know how to use the app. Luckily, that's where we come in; read on for a dozen tips and tricks for mastering Journal on your iPhone.
How to Create New Entries in the Journal App
To get started with the Journal app, you need to know how to write a new entry in your journal. Fortunately, this is extremely easy.
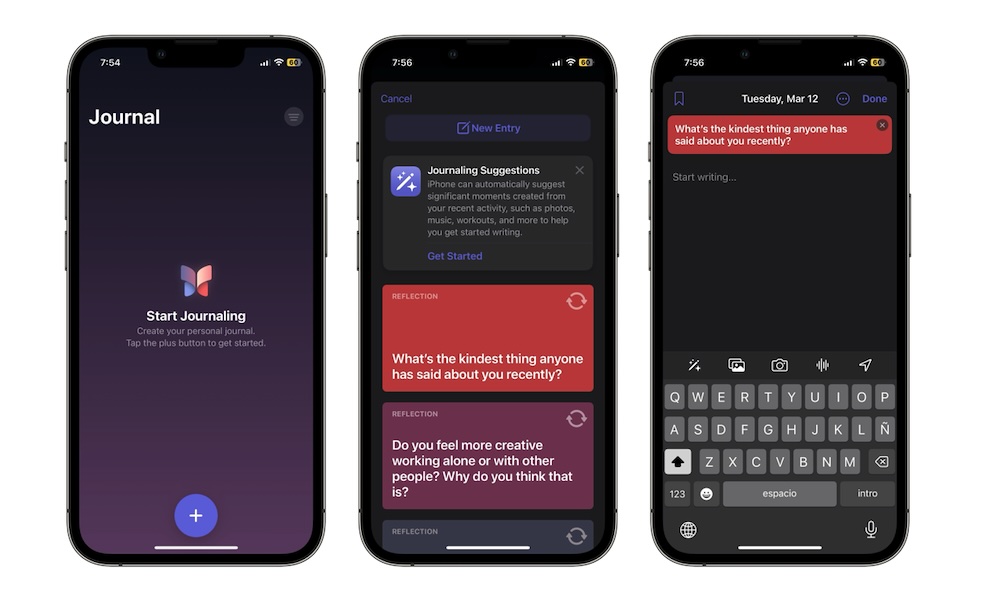
After you open the Journal app, all you need to do is hit the Plus button at the bottom of your screen.
If you haven't played with the journal app yet, you'll be redirected to a page with the option of using Journaling Suggestions — which we'll talk about in a moment — or the option to choose a Reflection.
Reflections are simple questions to help you get started with a new entry in case you don't know what to write about. You can talk about your feelings or the kinds of things people have said about you.
Afterward, you can start writing your new entry. When you finish, tap Done in the top right corner of your screen.
How to Edit Your Entries in Journal
Unlike other apps, editing your journal entries isn't as simple as just tapping on them. With that said, there are a couple of ways to edit your entries.
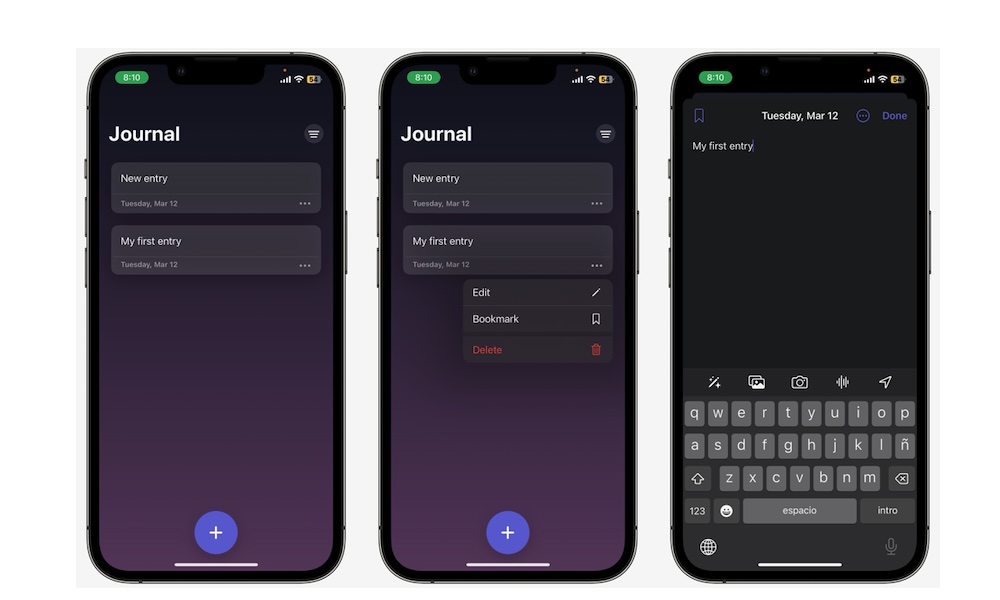
First, you can edit an entry by tapping the three-dot button in the bottom right corner of the entry and then selecting Edit.
Another option is to swipe the entry you want to edit to the left and then tap the pencil icon to edit.
Both options will take you to your entry, where you can edit as much as you want. When you finish, tap Done in the top right.
Delete Entries From Your Journal

Not everything you create will be a winner, but you can get rid of those uninspiring entries with just a few taps in the Journal app.
Just like editing your entries, there are two ways to delete an entry in Journal. First, you can tap the three dots in the bottom right corner of your entry and then select Delete.
Or, you can swipe the entry to the left and then tap the Delete button (the one that looks like a trash can).
Afterward, tap on Delete Entry to confirm your decision. Keep in mind that you can't undo this, so make sure you actually want to delete the entry you selected.
Bookmark Your Journal Entries
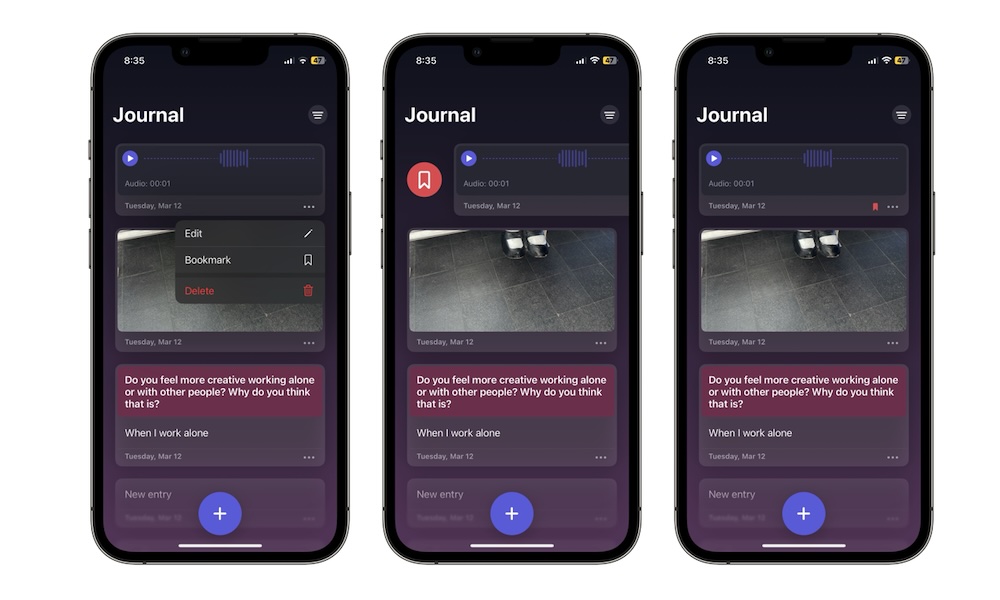
Another thing you can do with your entries is bookmark them. Doing so will add a small red bookmark at the bottom of your entries, and you'll be able to find them with the Journal app's filters.
To bookmark your entries, press the three dots in the bottom-right corner of your screen and then tap on Bookmark.
You can also swipe your entire to the right and tap the Bookmark button.
And that's it; your note will be saved as a bookmark, making it easier to find when you need it.
Get Journaling Suggestions
One of the biggest reasons for using Apple Journal is its journaling suggestions. This feature uses your iPhone's on-device intelligence to create the perfect prompts to get you started based on your everyday moments.
As we mentioned, these suggestions are private and tailored to you. Your iPhone can base these suggestions on your workout routines, the music or podcasts you listen to, the contacts you've talked to in a day, the photos you take, or the locations you visit. Don't worry; these suggestions are completely private, and no one else will have access to them.
From the start, the Journal app will ask you if you want to use suggestions, but if you didn't turn them on, there are a couple of ways to enable them.
Here's the easiest way to turn on Journaling suggestions:
- Open the Journal app.
- Open a new entry by tapping the plus button.
- You should see a section for Journaling Suggestions right at the top of your screen. If so, tap on Get Started.
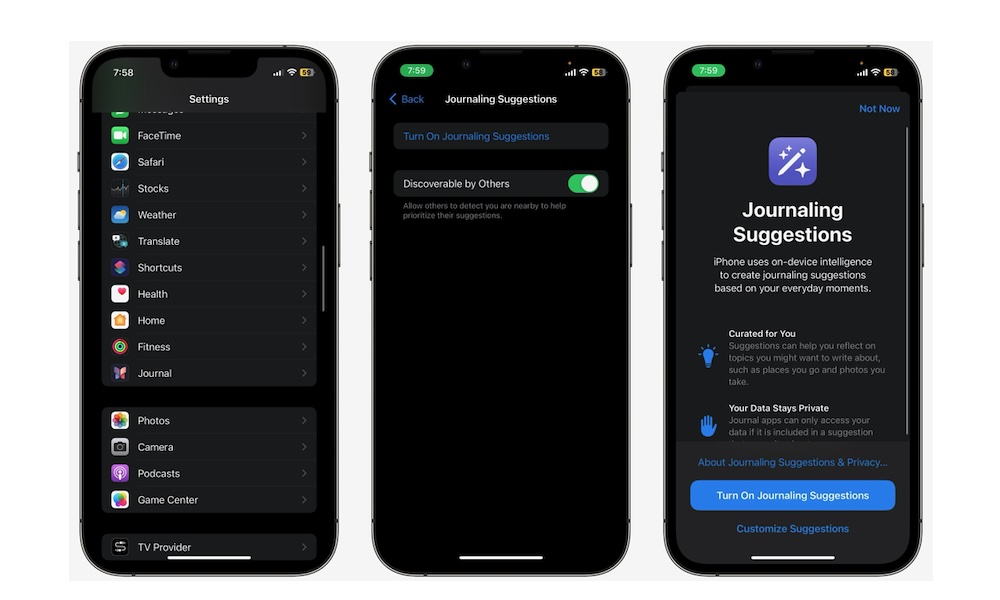
- Then Tap on Turn On Journaling Suggestions or select Customize Suggestions.
- Customize which activities your iPhone can use to give you suggestions, and then tap on Turn On Journaling Suggestions.
Now, you should have journaling suggestions at the end of each day.
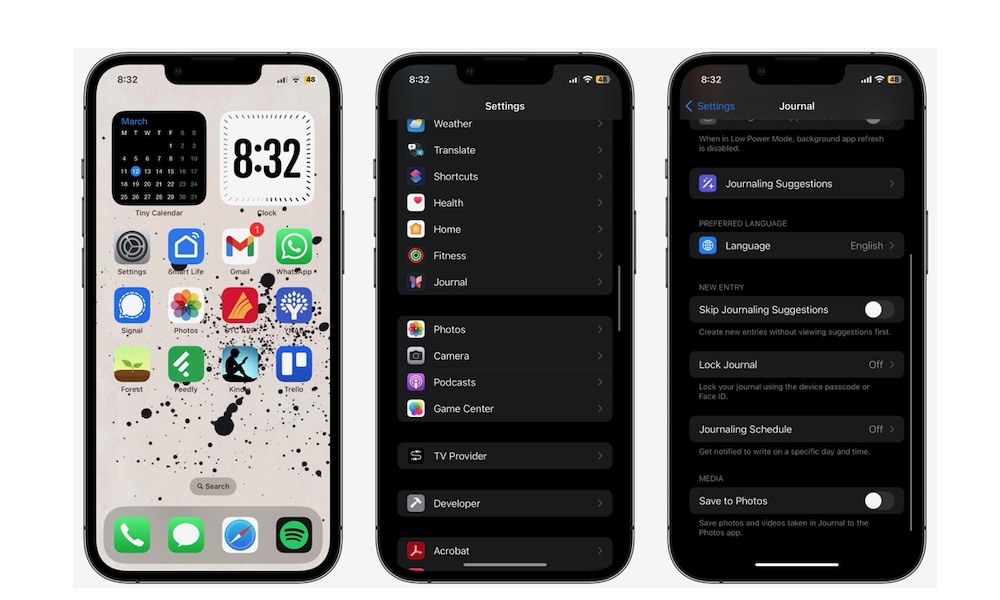
If you don't see the Journaling Suggestions box at the top, then you can always go to Settings > Journal > Journaling Suggestions > Suggestions Privacy Settings > Journaling Suggestions, and then select Turn On Journaling Suggestions or Customize Suggestions.
Note that Journalling Suggestions aren't exclusive to Apple's Journal app. They're actually a new feature in iOS 17.2 that third-party journalling apps like Day One can also take advantage of.
Skip Journaling Suggestions
Journaling Suggestions can be useful, but they can also be distracting. When you enable suggestions, your iPhone will drop a bunch of possible things you want to journal about when you create a new entry, which can be annoying.
Luckily, you can change your settings, so Journal doesn't suggest anything when you create a new entry. Here's how:
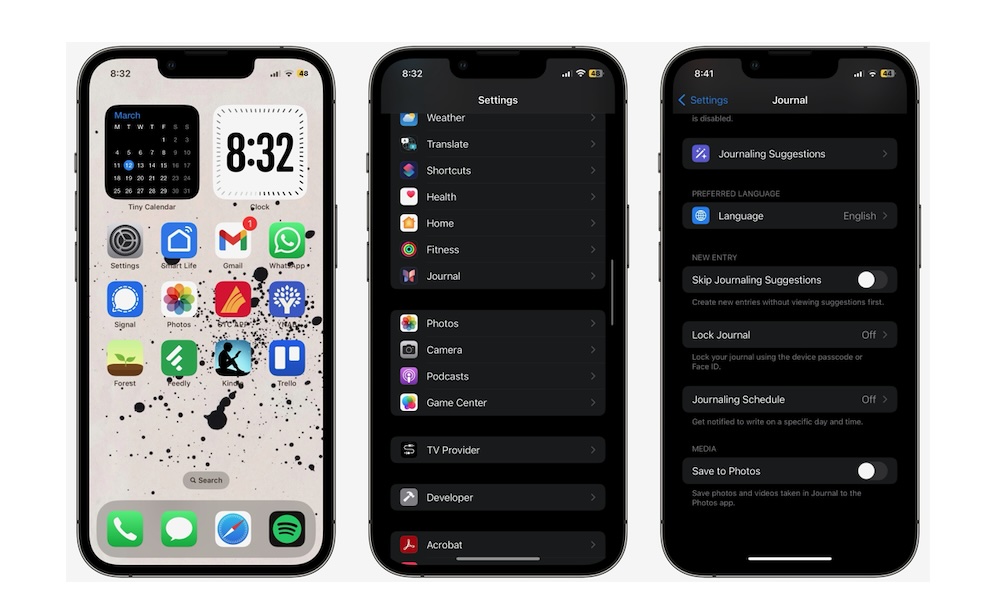
- Open the Settings app.
- Scroll down and go to Journal.
- Scroll down and turn on Skip Journaling Suggestions.
And that's it. Now, you can go to your Journal app and create a new entry. You'll notice you'll immediately have the option to start writing about whatever you want.
If you want to see your suggestions, you can still tap the Smart Suggestions button (the one that looks like a pencil) in the bottom left corner of your screen.
Keep Your Journal Private By Locking It
A great privacy feature you can find in the Journal app is the ability to lock it behind Face ID, Touch ID, or your passcode. This will keep your most secret thoughts private and ensure that you're the only one who can touch your journal.
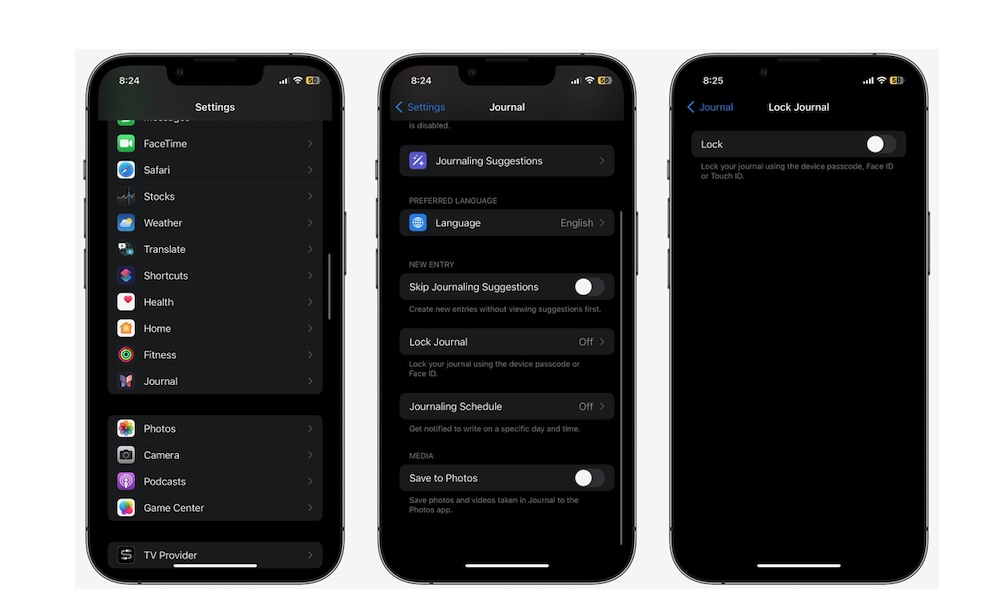
Here's how to lock the Journal app:
- Open the Settings app.
- Scroll down and go to Journal.
- Tap on Lock Journal.
- Enter your passcode.
- Turn on Lock.
Be sure that Journal is allowed to use Face ID or Touch ID if you want. If not, you can still use your passcode.
After you turn on the Lock feature, you can also tap on Require Passcode and choose how long the Journal app needs to be inactive for it to ask for your passcode.
Add Pictures, Media, or Locations to Your Journal Entries
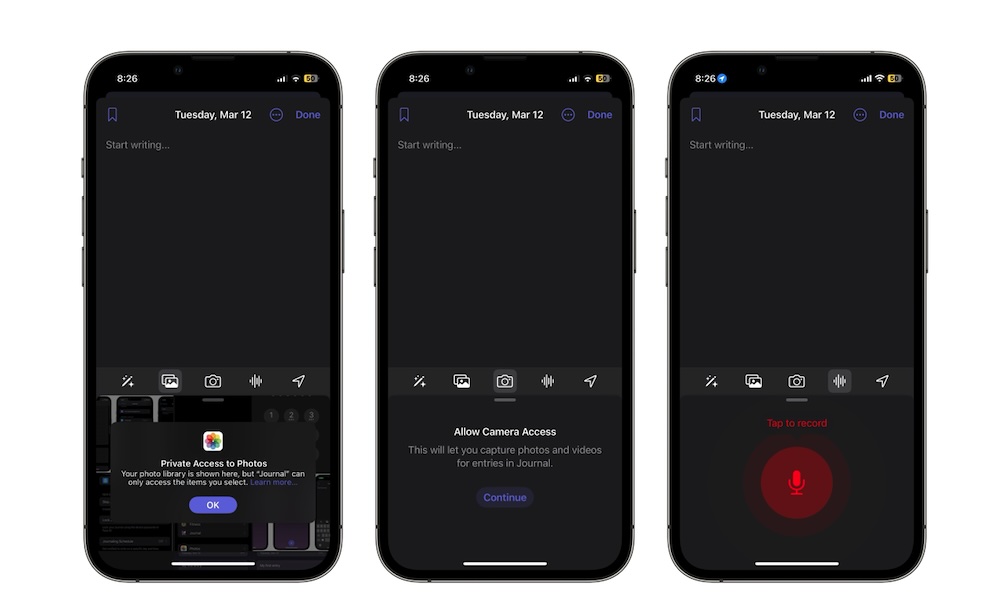
With Journal, you don't have to just write what happened to you during the day; you can also use pictures, videos, and even your location to make your entries more memorable.
And the best part is that adding media to your entries is super easy. All you need to do is create a new note and then tap the camera, photos, audio, or location buttons at the bottom of your screen.
If this is your first time using them, you'll need to grant Journal permission to access your camera, location, or photos. Once you've done that, you'll be able to use these features as much as you want, and you'll make your entries something worth looking back on.
Find Specific Entries By Using Filters
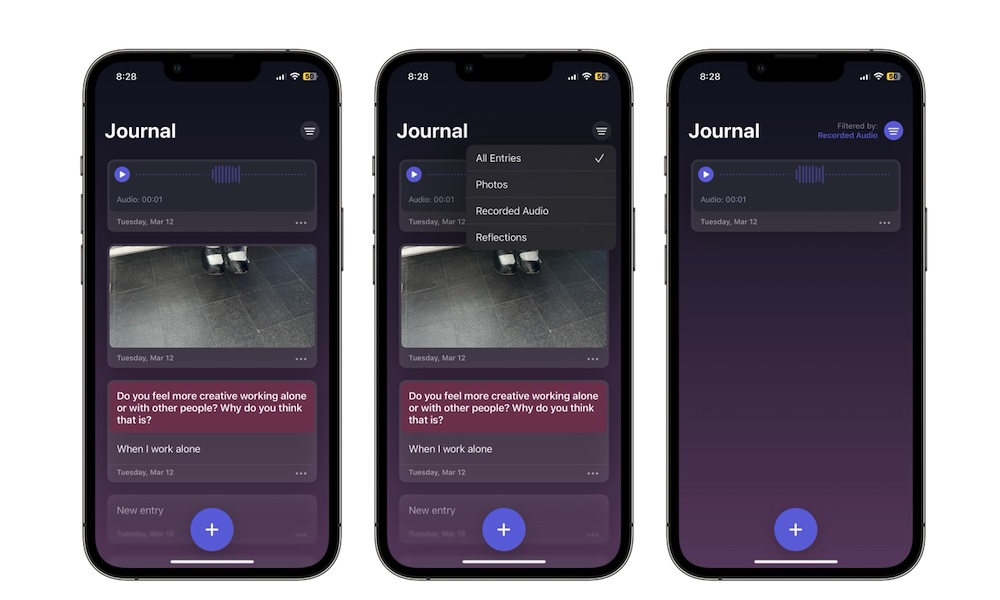
The Journal app also comes with a few filters you can use to find specific notes at a moment's notice. Since, at least at the time of this writing, there isn't a search feature built into the app, this is the best way to keep tabs on all your entries.
To start using filters, simply open the Journal app and tap the Filter button located near the top right of the app.
Next, tap on the type of entry you want to filter. The types of entries you can filter will depend on the entries you've created. If you've only created normal entries with no pictures, reflections, or audio, then you won't have any filtering options.
On the other hand, if you've created different types of entries, you'll see filters for Photos, Recorded Audio, Reflections, and even Bookmarked entries. To go back to the original view, all you need to do is select All Entries.
Create a Journaling Schedule
If you've never journaled before, getting into the habit of writing every day can be tough. Fortunately, the Journal app makes it easy by letting you use a journaling schedule.
Just like any other schedule, you can choose the day and time when you want to start journaling, and the Journal app will remind you. This is what you need to do:
- Open the Settings app.
- Scroll down and tap on Journal.
- Scroll down again and select Journaling Schedule.
- Enable Schedule.
- Choose the time and days when you want to create a new entry.
Remember that in order to use this feature, you'll need to enable notifications for the Journal app.
Select Your Preferred Language for Your Journal
Whether you'd like to write in your native tongue or you're trying to practice a new language, you can change the language you want to use in the Journal app. Keep in mind that this will not change the primary language on your iPhone.
Also, at the time of writing, this doesn't work all that well. The language will only change for some options in the Journal app, but you'll still see other things like the Reflections available in English or your iPhone's primary language.
Apple will probably fix this in the future, but as of right now, Journal won't change that much.
Still, this is how you can change the language in Journal:
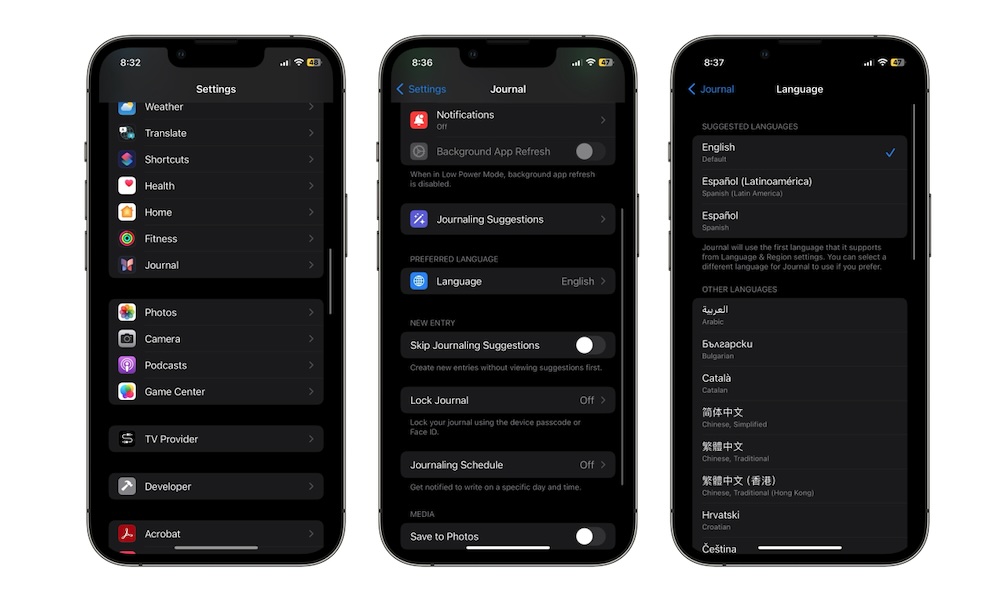
- Open the Settings app.
- Scroll down and go to Journal.
- Scroll down again, and under Preferred Language, tap on Language.
- Choose the language you want.
Privacy Settings You Might Want to Change in Journal
Let's start by saying that the Journal app is completely private and secure. You are the only one who can access your entries and the activities it can track.
With that said, some people might not like sharing too much with an app, so it's worth managing certain settings to keep things more private.
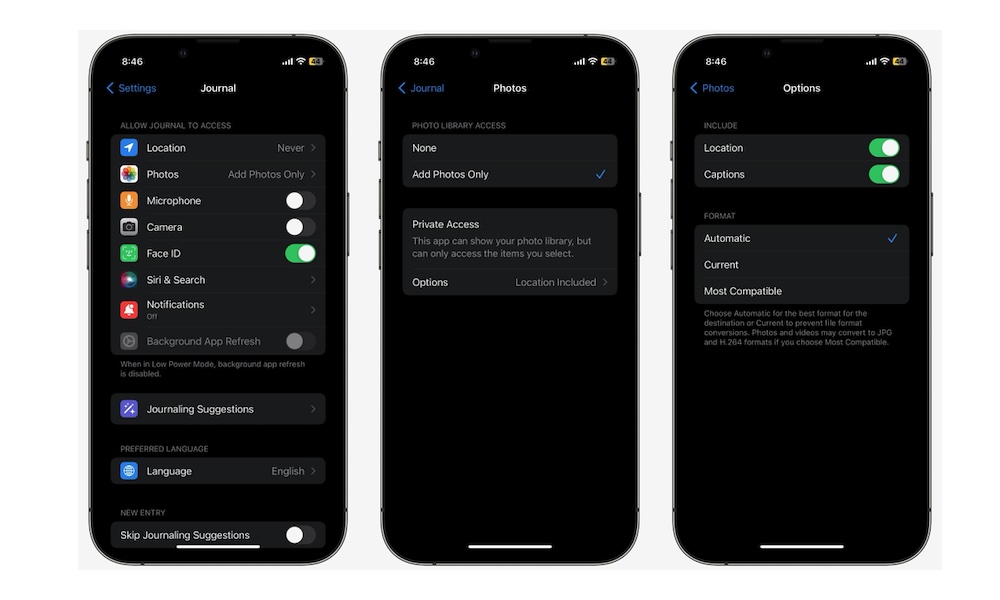
First is Location. Journal can track your location so you can add it to your entries if you want. While this sounds cool, you might not want to share it all the time. You can change this by going to Settings > Journal > Location.
Journal also has a feature that lets your iPhone let other folks in your contacts know when you're with them. This is to help them prioritize their suggestions when you're doing something together (and vice-versa, assuming they have this feature enabled on their iPhones).
Before you freak out, this feature is completely safe. No personal information is shared, and it's solely designed to help the Journal app identify when you're with a group of friends. It's not even specific about which of your contacts are nearby. It's similar to how AirDrop can be limited to only allow sharing with people who are in your contact list.
Still, if you want to disable it, you can go to Settings > Journal > Journaling Suggestions > Suggestion Privacy Settings and then disable Discoverable by Others.