12 Important iOS 11 Security Tips You Should Know
 Credit: iDownload Blog
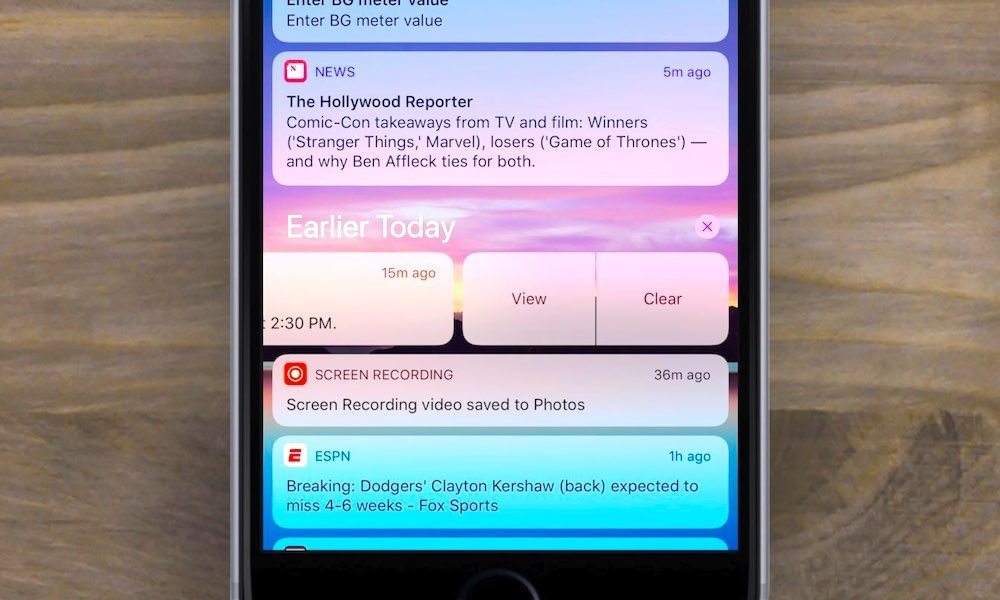
VPNs are a great way to maintain your privacy while you're browsing the web, but a VPN isn't the only thing keeping you safe when using your iOS devices. Over the past few years, iOS has also packed in some nifty features that keep your personal information private and secure. Press the right arrow to learn about twelve important iOS 11 security tips.
12 Use a Long Passcode
Using a passcode prevents unwanted access to your device. Without a passcode, anyone with access to your iPhone could access any app on your device, as well as contacts, photos, and other personal information. By setting a passcode, strangers are stuck on the lock screen, unable to get to your data.
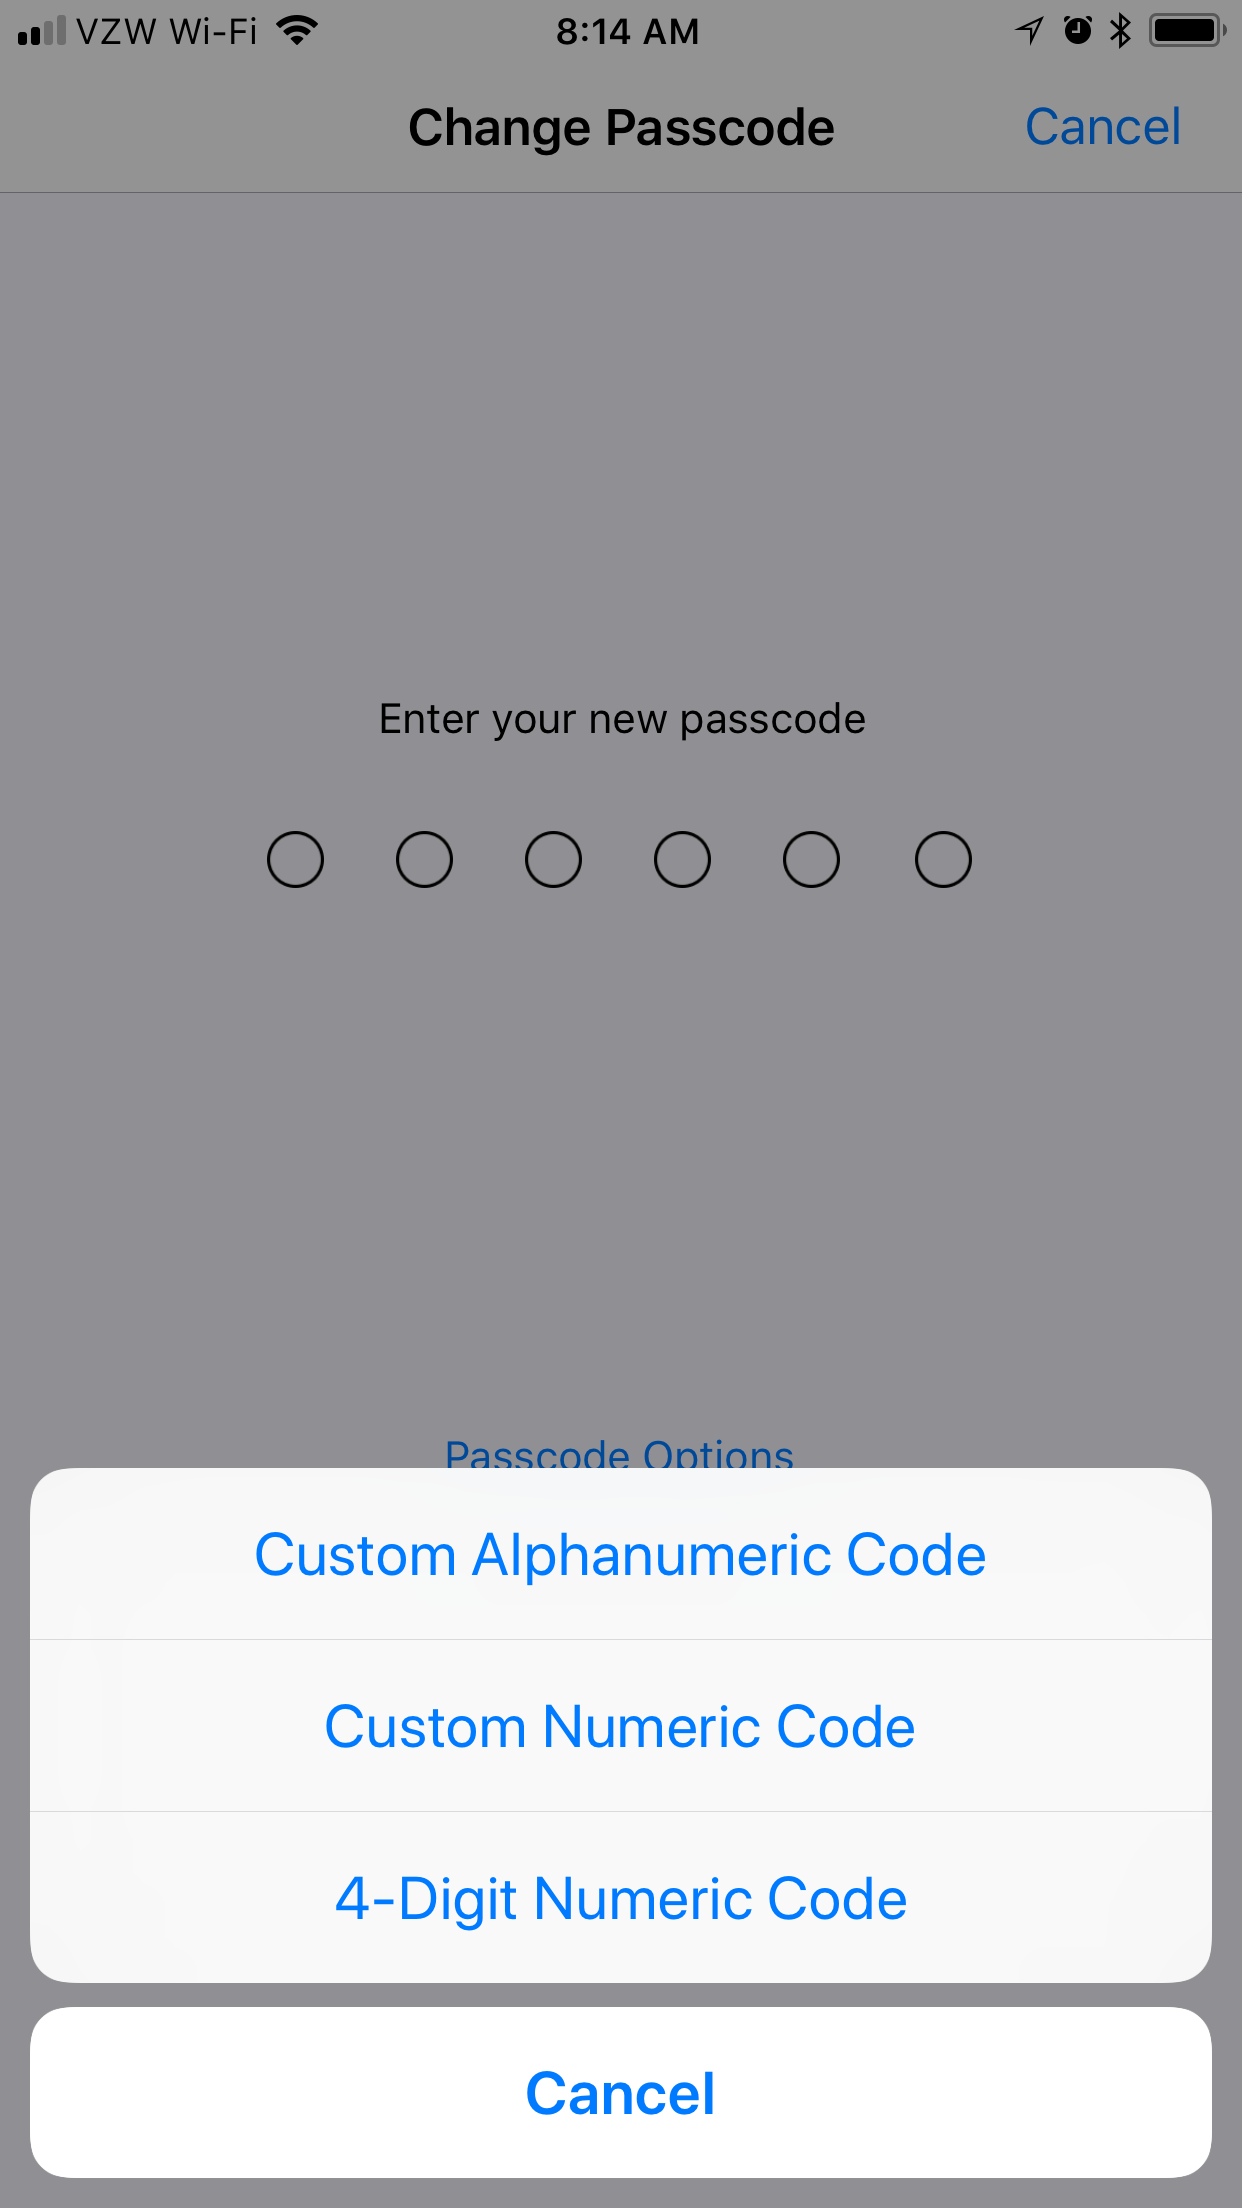
Since the original iPhone and iPhone OS 1, the four-digit passcode is something most of us became familiar with. In iOS 9, Apple added the ability to improve your device's security by bumping that to six digits (in addition to the option of a alphanumeric code). By extending your passcode two additional digits, the possible combinations jump from 10,000 to 1,000,000.
- Open Settings.
- Tap Touch ID & Passcode.
- Enter your passcode.
- Tap change passcode.
- Enter your old passcode.
- Tap 'Passcode Options' in the blue font.
- Select Custom Alphanumeric Code or Custom Number Code.
11 Automatically Erase Data
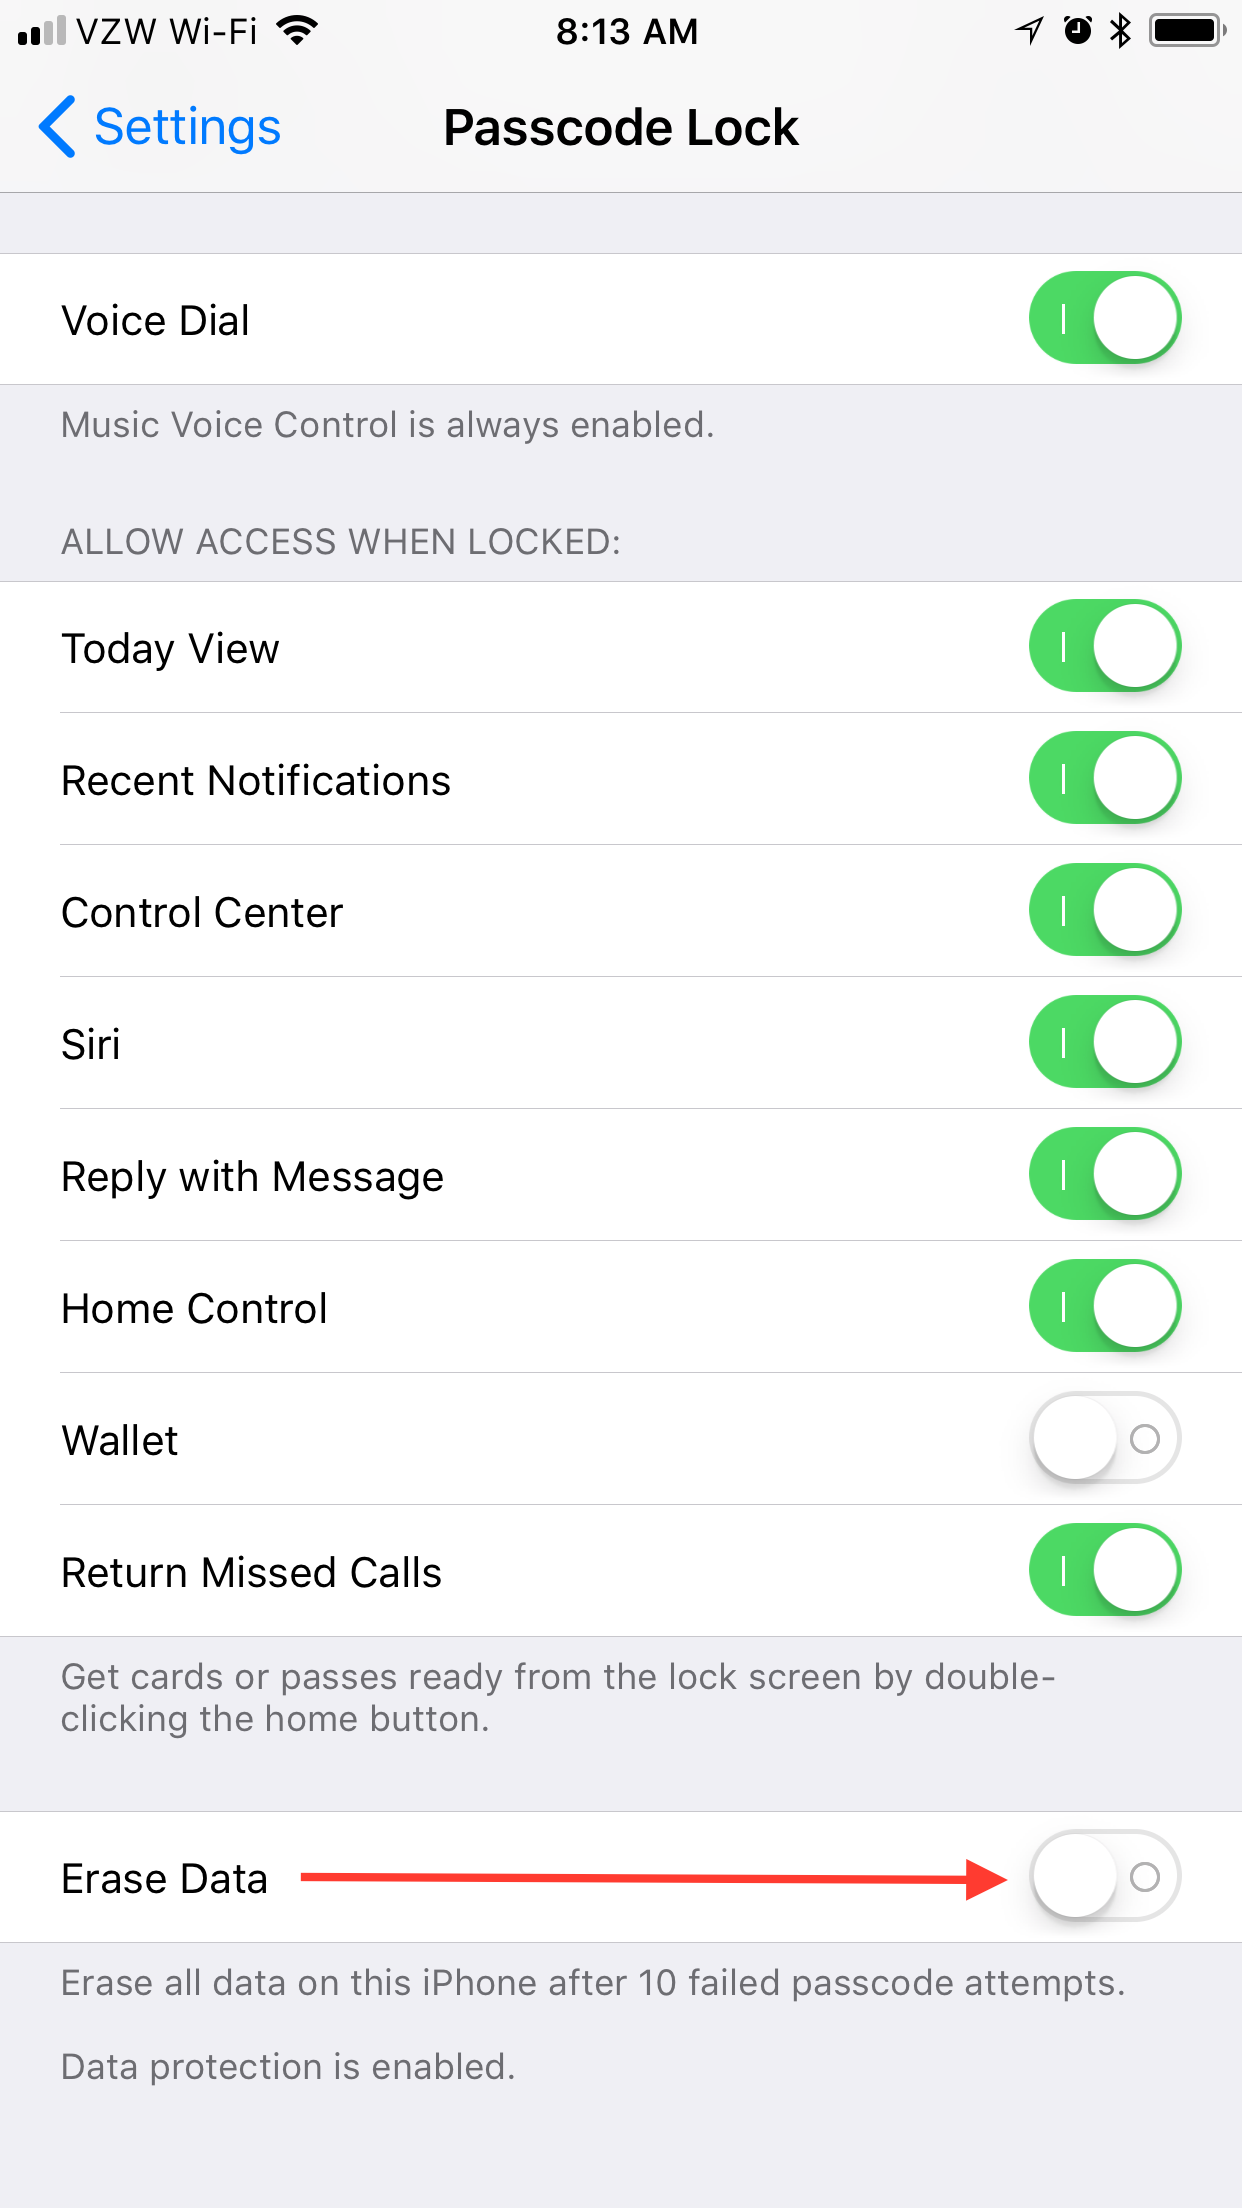
Related to passcodes, iOS also offers you the ability to erase all apps and data from your device if it falls into the wrong hands. Enabled in the TouchID and Passcode settings, this feature will wipe your phone if an incorrect passcode is entered 10 times in a row.
It is worth noting that if you are around children, or leave your phone out around children, this option may result in undesired data loss. Fortunately, iOS does lock the phone after five failed attempts, which may be enough to deter a kid from proceeding through all 10 attempts.
- Open Settings.
- Tap Touch ID & Passcode.
- Enter your passcode.
- Scroll down to Erase Data and toggle it On.
10 Temporarily Disable Touch ID
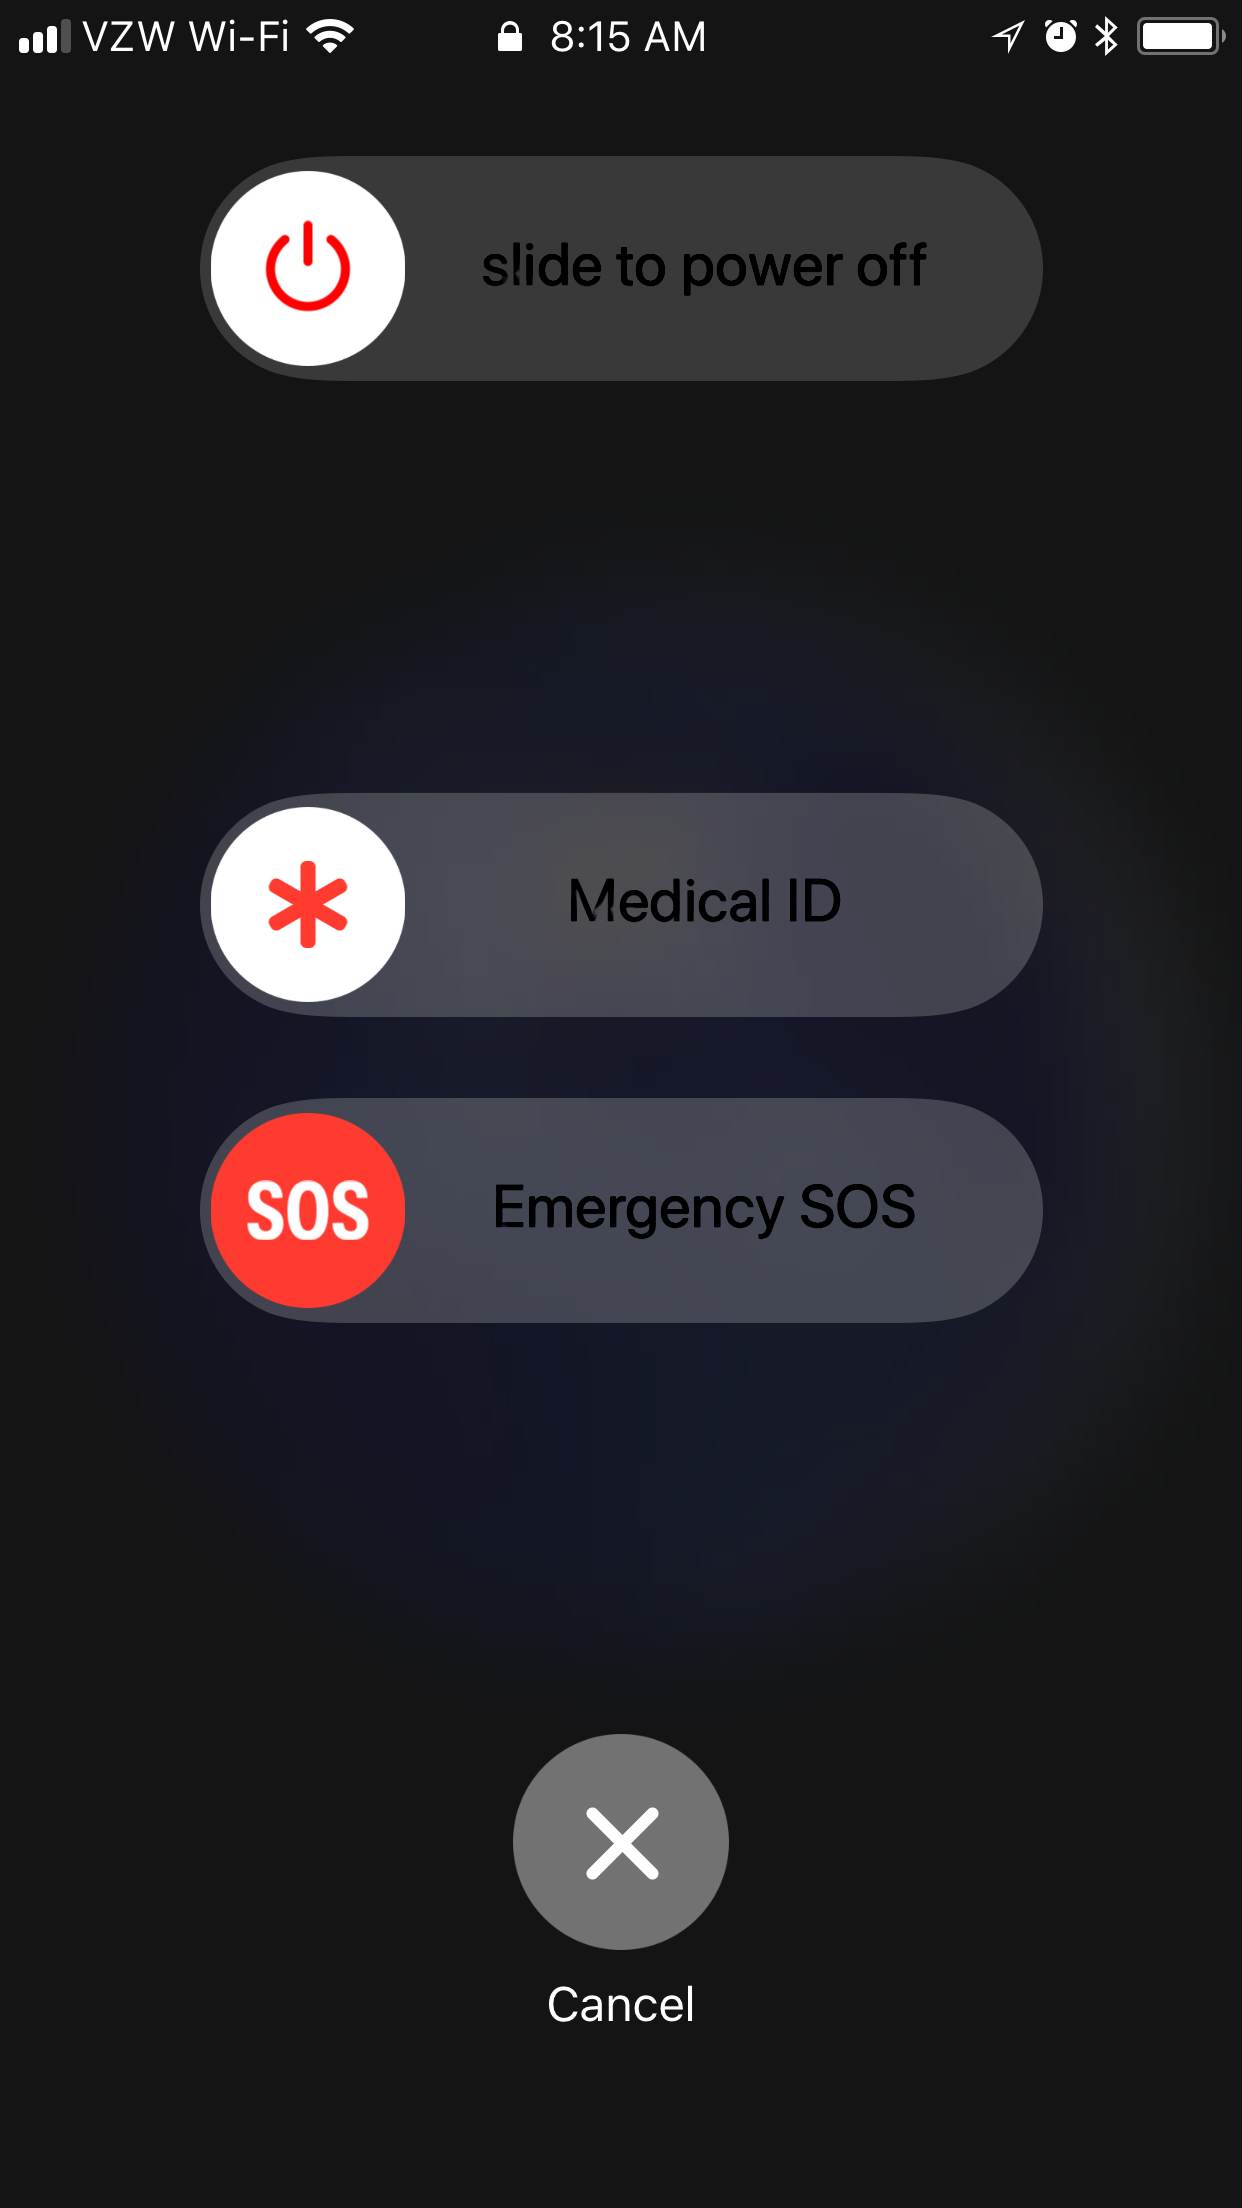
New in iOS 11, Apple has added a quick way to get to Emergency SOS mode. While you should make sure you understand the feature before pressing too many buttons, the results can be very convenient. Once you've made it to the screen shown above, your iPhone will now require a passcode to be entered one time before re-enabling Touch ID.
Turn on the Feature
- Open Settings.
- Tap Emergency SOS.
- Turn on "Works with 5 Clicks".
- Turn off "Auto Call".
Using the Feature
- Activating the "SOS" screen can be done by rapidly clicking the power button on your iPhone five times. When you do this, you are presented with a couple sliders - Power off, Medical ID, and Emergency SOS - and a Cancel button.
- Simply tap Cancel, and your iPhone will now require a passcode to be entered one time before re-enabling TouchID.
Keep in mind that sliding the Emergency SOS slider will call 911, and iOS can also be set to auto-call emergency services when activating SOS mode, so again, proceed with some caution.
9 Disable Touch ID Completely
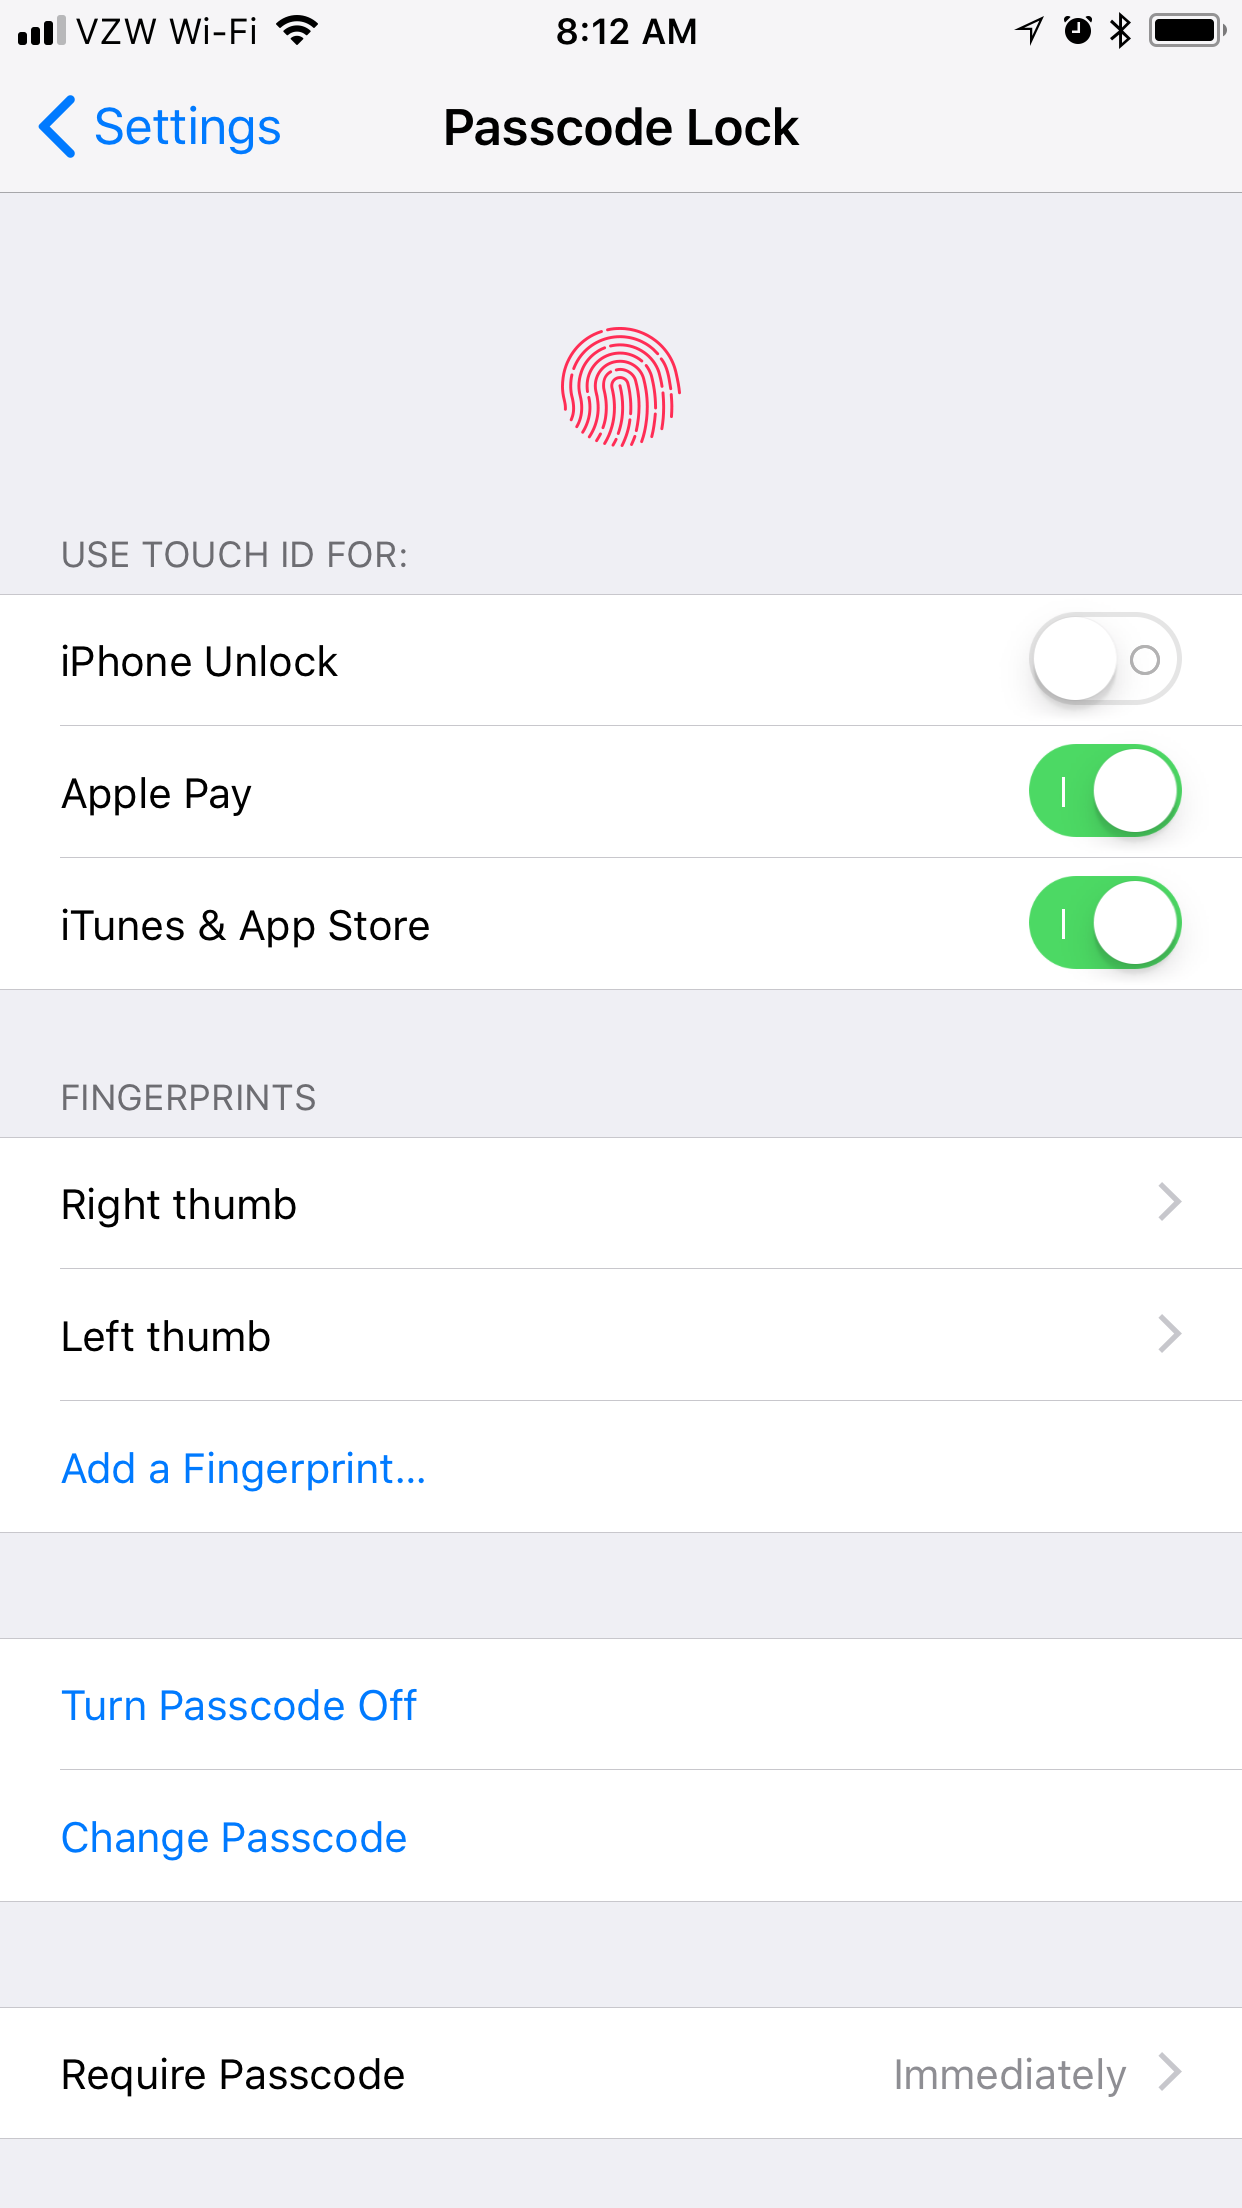
Touch ID is amazing. It's incredibly fast, and far more convenient that typing in a passcode. Unfortunately, while you can never be legally forced to enter your passcode, the laws in many countries enable authorities to compel you to unlock an iPhone with Touch ID.
Disabling Touch ID leaves the device in a state requiring passcode entry to move beyond the lock screen. Turning Touch ID off might not be something you do all the time, but toggling it off in situations where you want to make sure you can't be forced to expose your data could be very useful.
- Open Settings.
- Tap Touch ID & Passcode.
- Enter your passcode.
- Toggle off 'Use Touch ID for iPhone Unlock'.
8 Disable Lock Screen Features
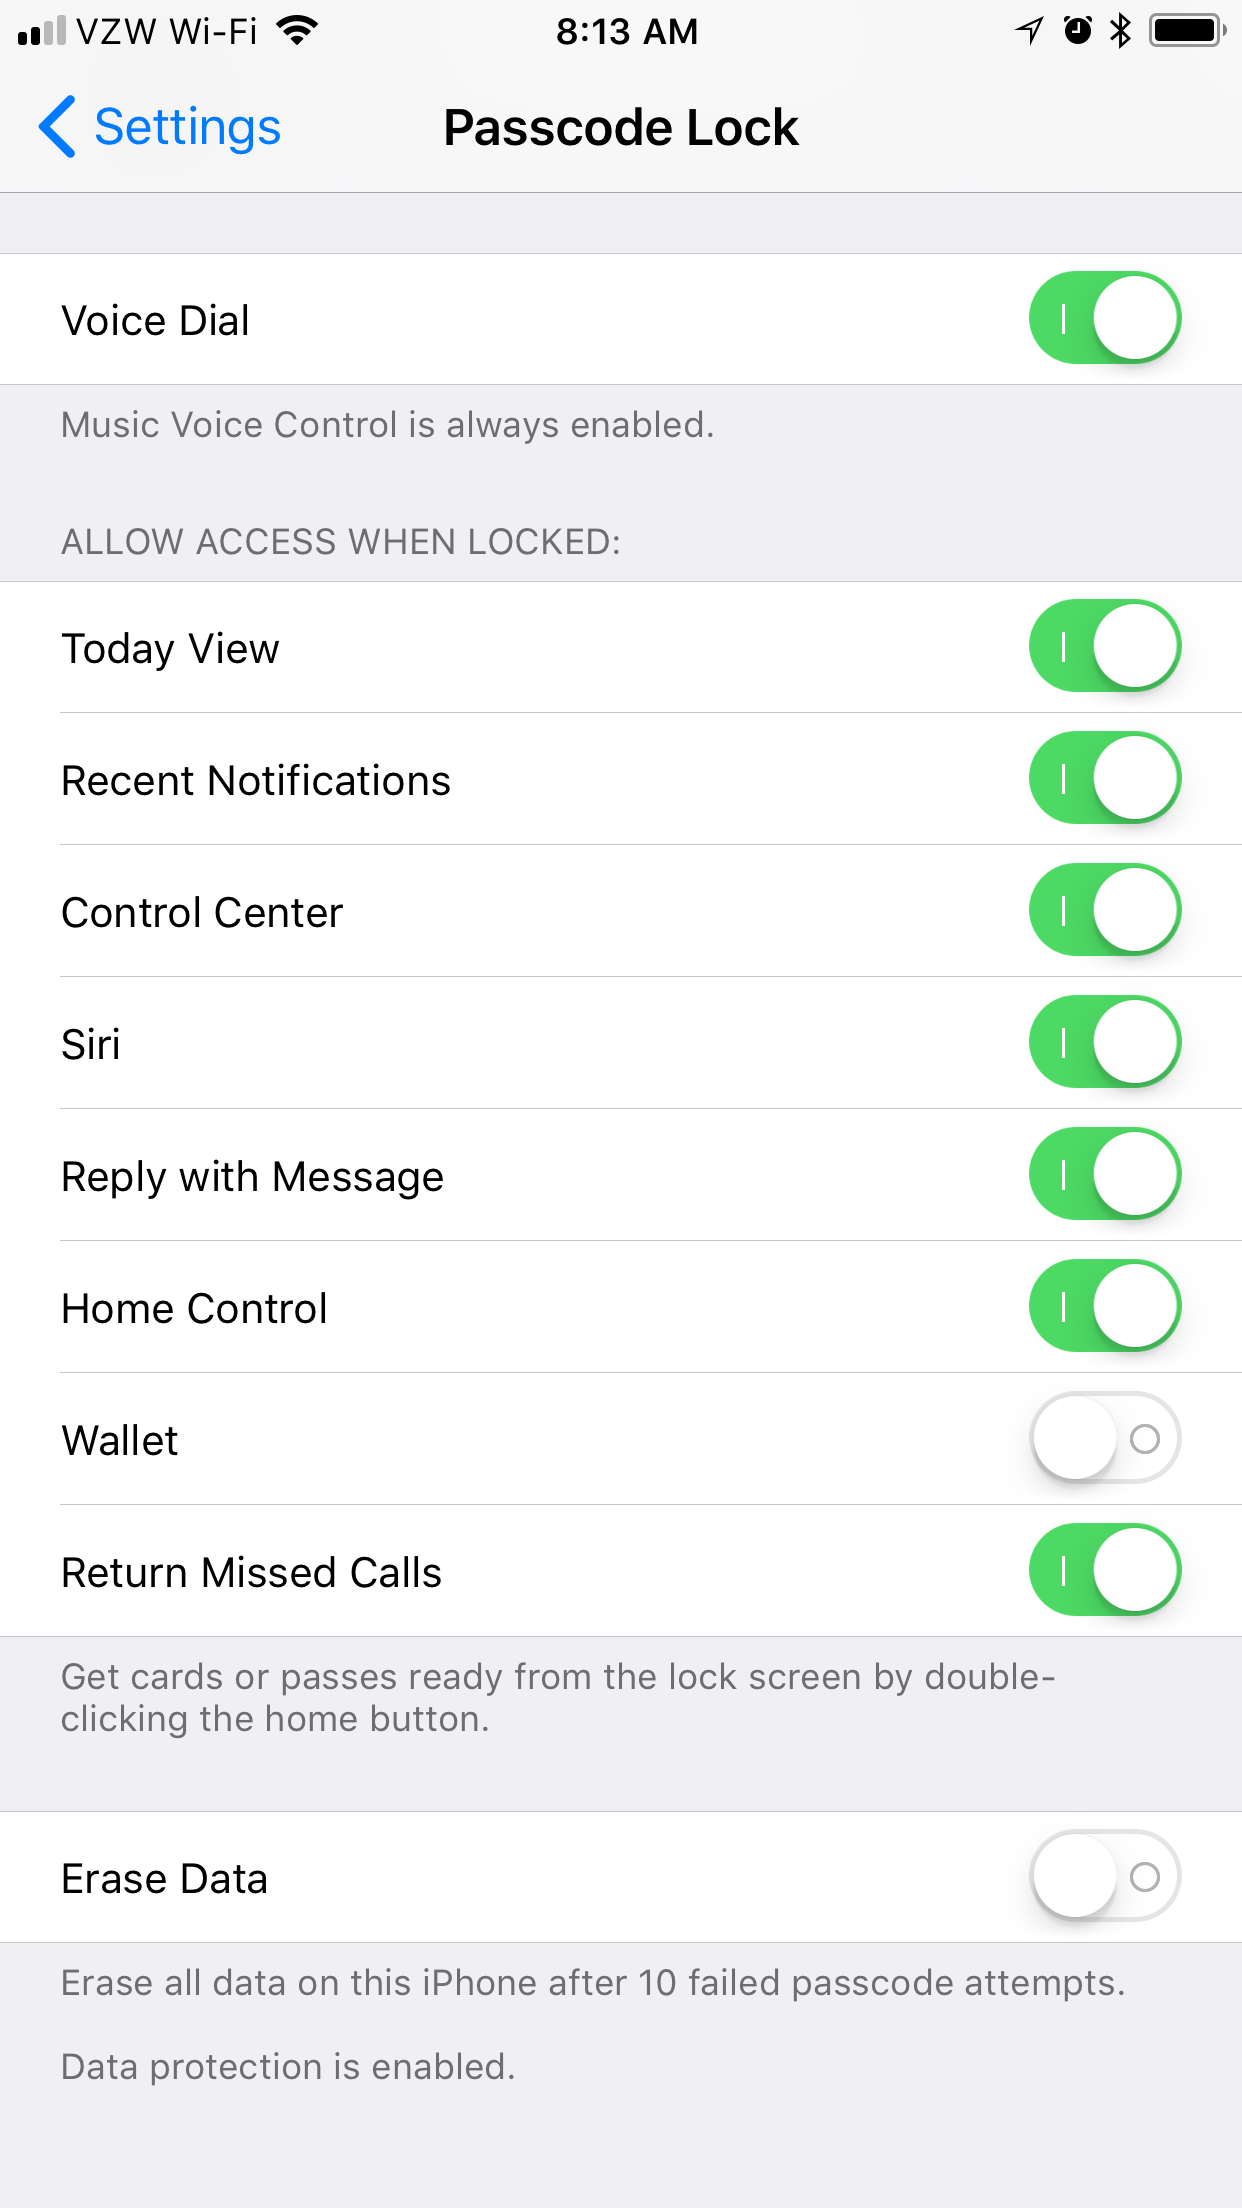
iOS allows users to decide what can be accessed while the device is locked. As more and more things are added to the lock screen experience, it's good to know what can be done without unlocking the device.
Disabling things like Today View, Siri, Home Control, or Control Center can prevent people from taking action without Touch ID or a Passcode. Leaving these settings exposed could give anyone with access to your iPhone a look into apps that have widgets in Today view, the ability to call or send messages via Siri, or the ability to control your HomeKit devices.
With the implementation of the Lock Screen in iOS 10 and the additional Control Center features in iOS 11, there is much more of your data available by default when the device is locked, so it's worth taking a minute to consider what you might want accessible to a stranger.
- Open Settings.
- Tap Touch ID & Passcode.
- Enter your passcode.
- Scroll down to 'Allow Access When Locked'
- Toggle off the information you'd like to remain private when your iPhone is locked.
7 Use Two-Factor Authentication
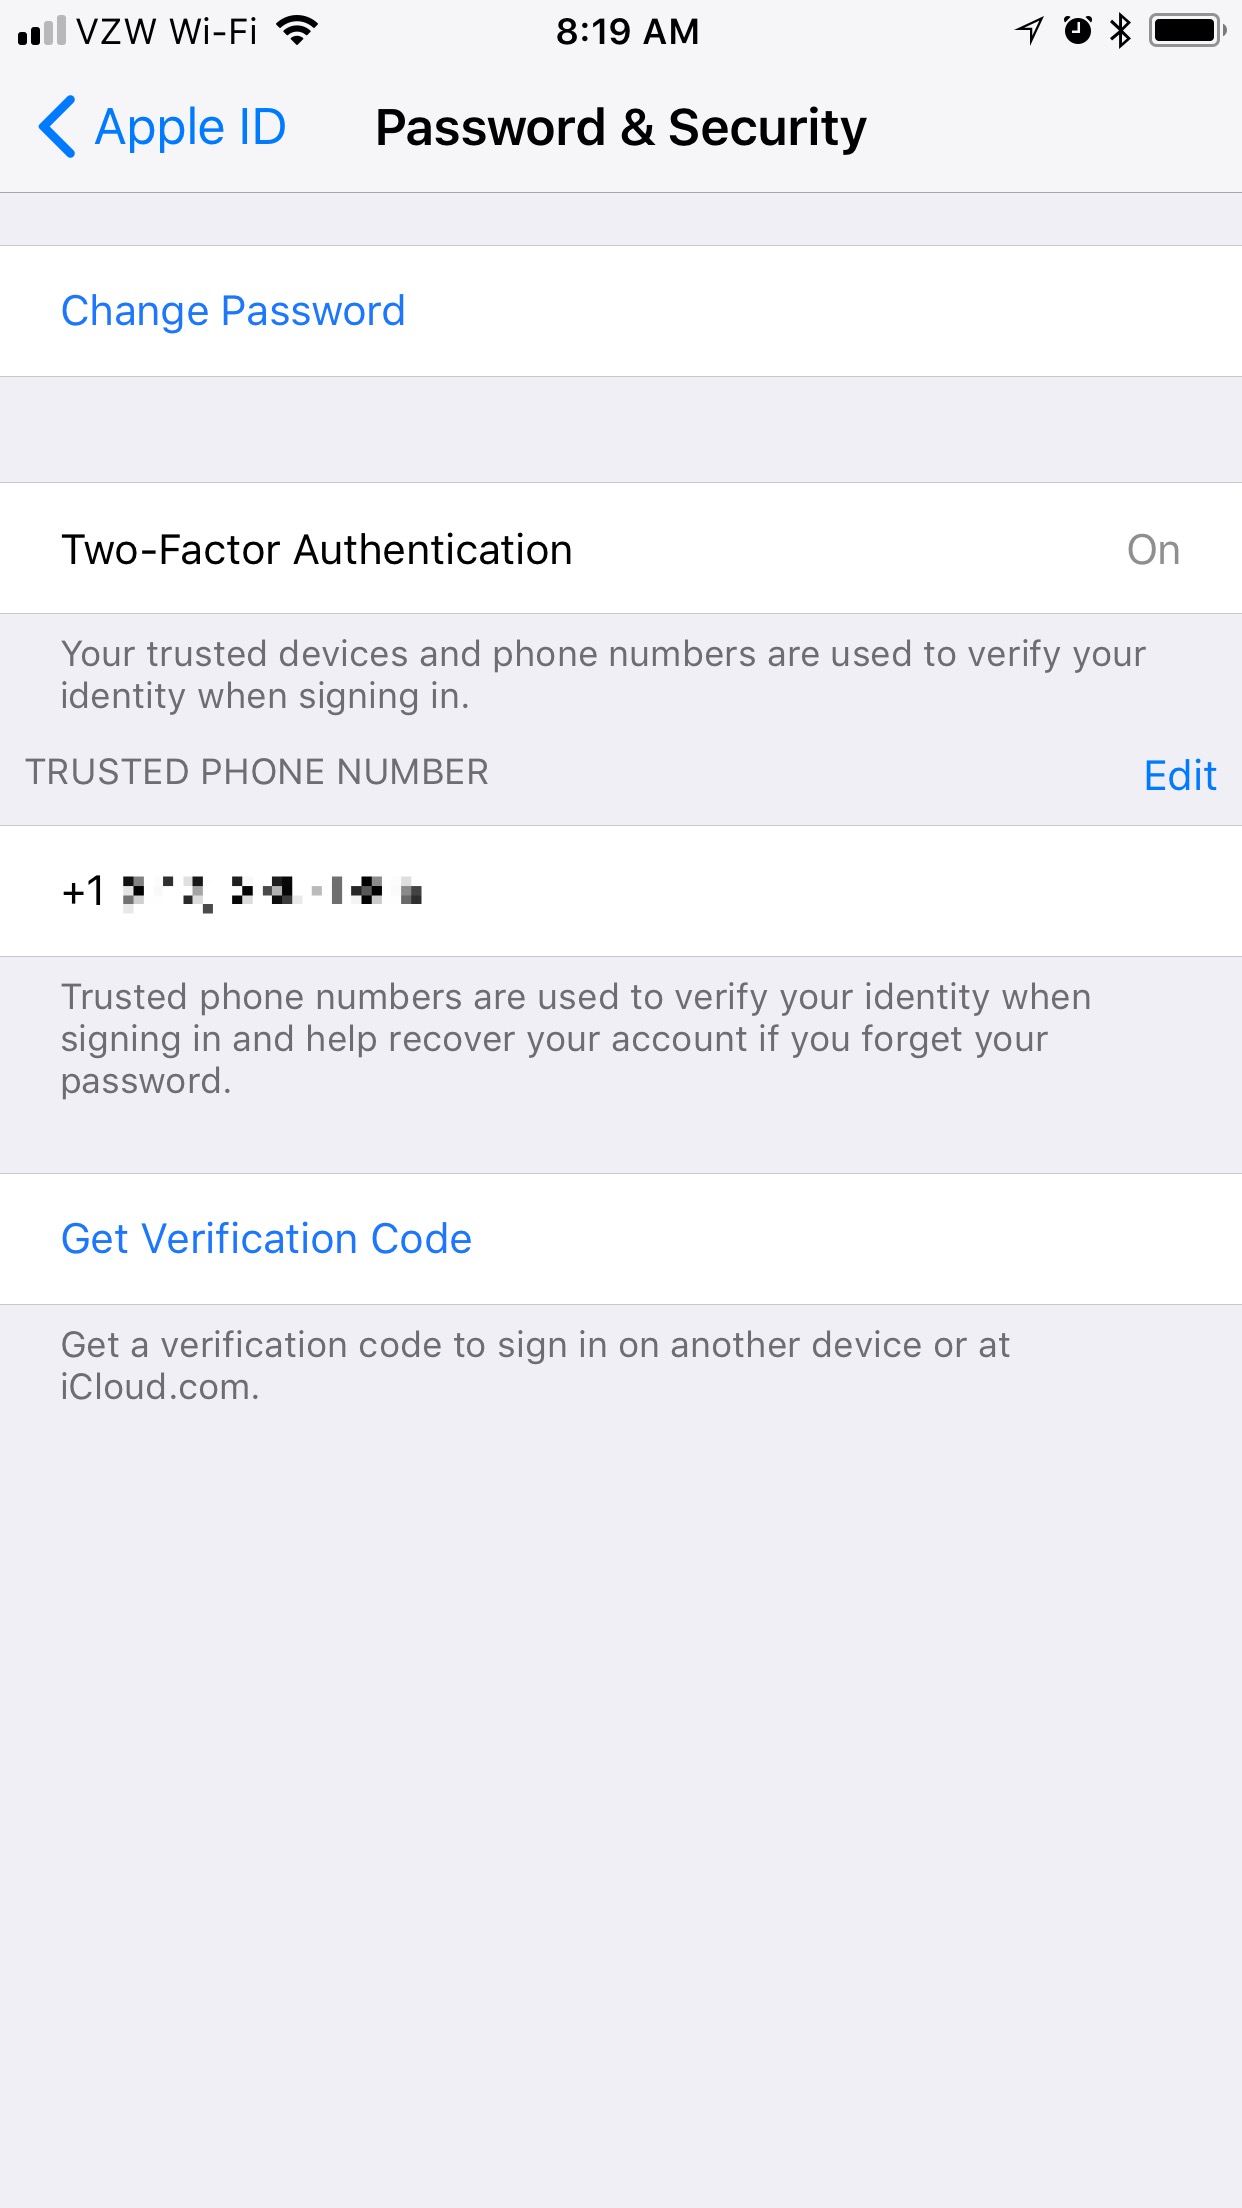
Another way to keep your iOS device, and ultimately, your entire Apple ID account secure is to use 2-factor authentication. Using 2-factor authentication means that to sign into your account using your Apple ID, you will need a your username and password, as well as a code that is sent to another one of your devices. This helps to prevent someone from using your Apple ID to make purchase without your consent.
Additionally, if you were using Apple’s old text-message-based 2-step verification system, iOS 11 automatically prompts you to upgrade to the more secure, more universal 2-factor authentication. This gives better detail about where a login is coming from, and doesn’t require SMS to be enabled on your device to work.
- Open Settings
- Tap on your Name card, toward the top.
- Tap Password & Security.
- Turn on Two-Factor Authentication.
6 Enable Find My iPhone
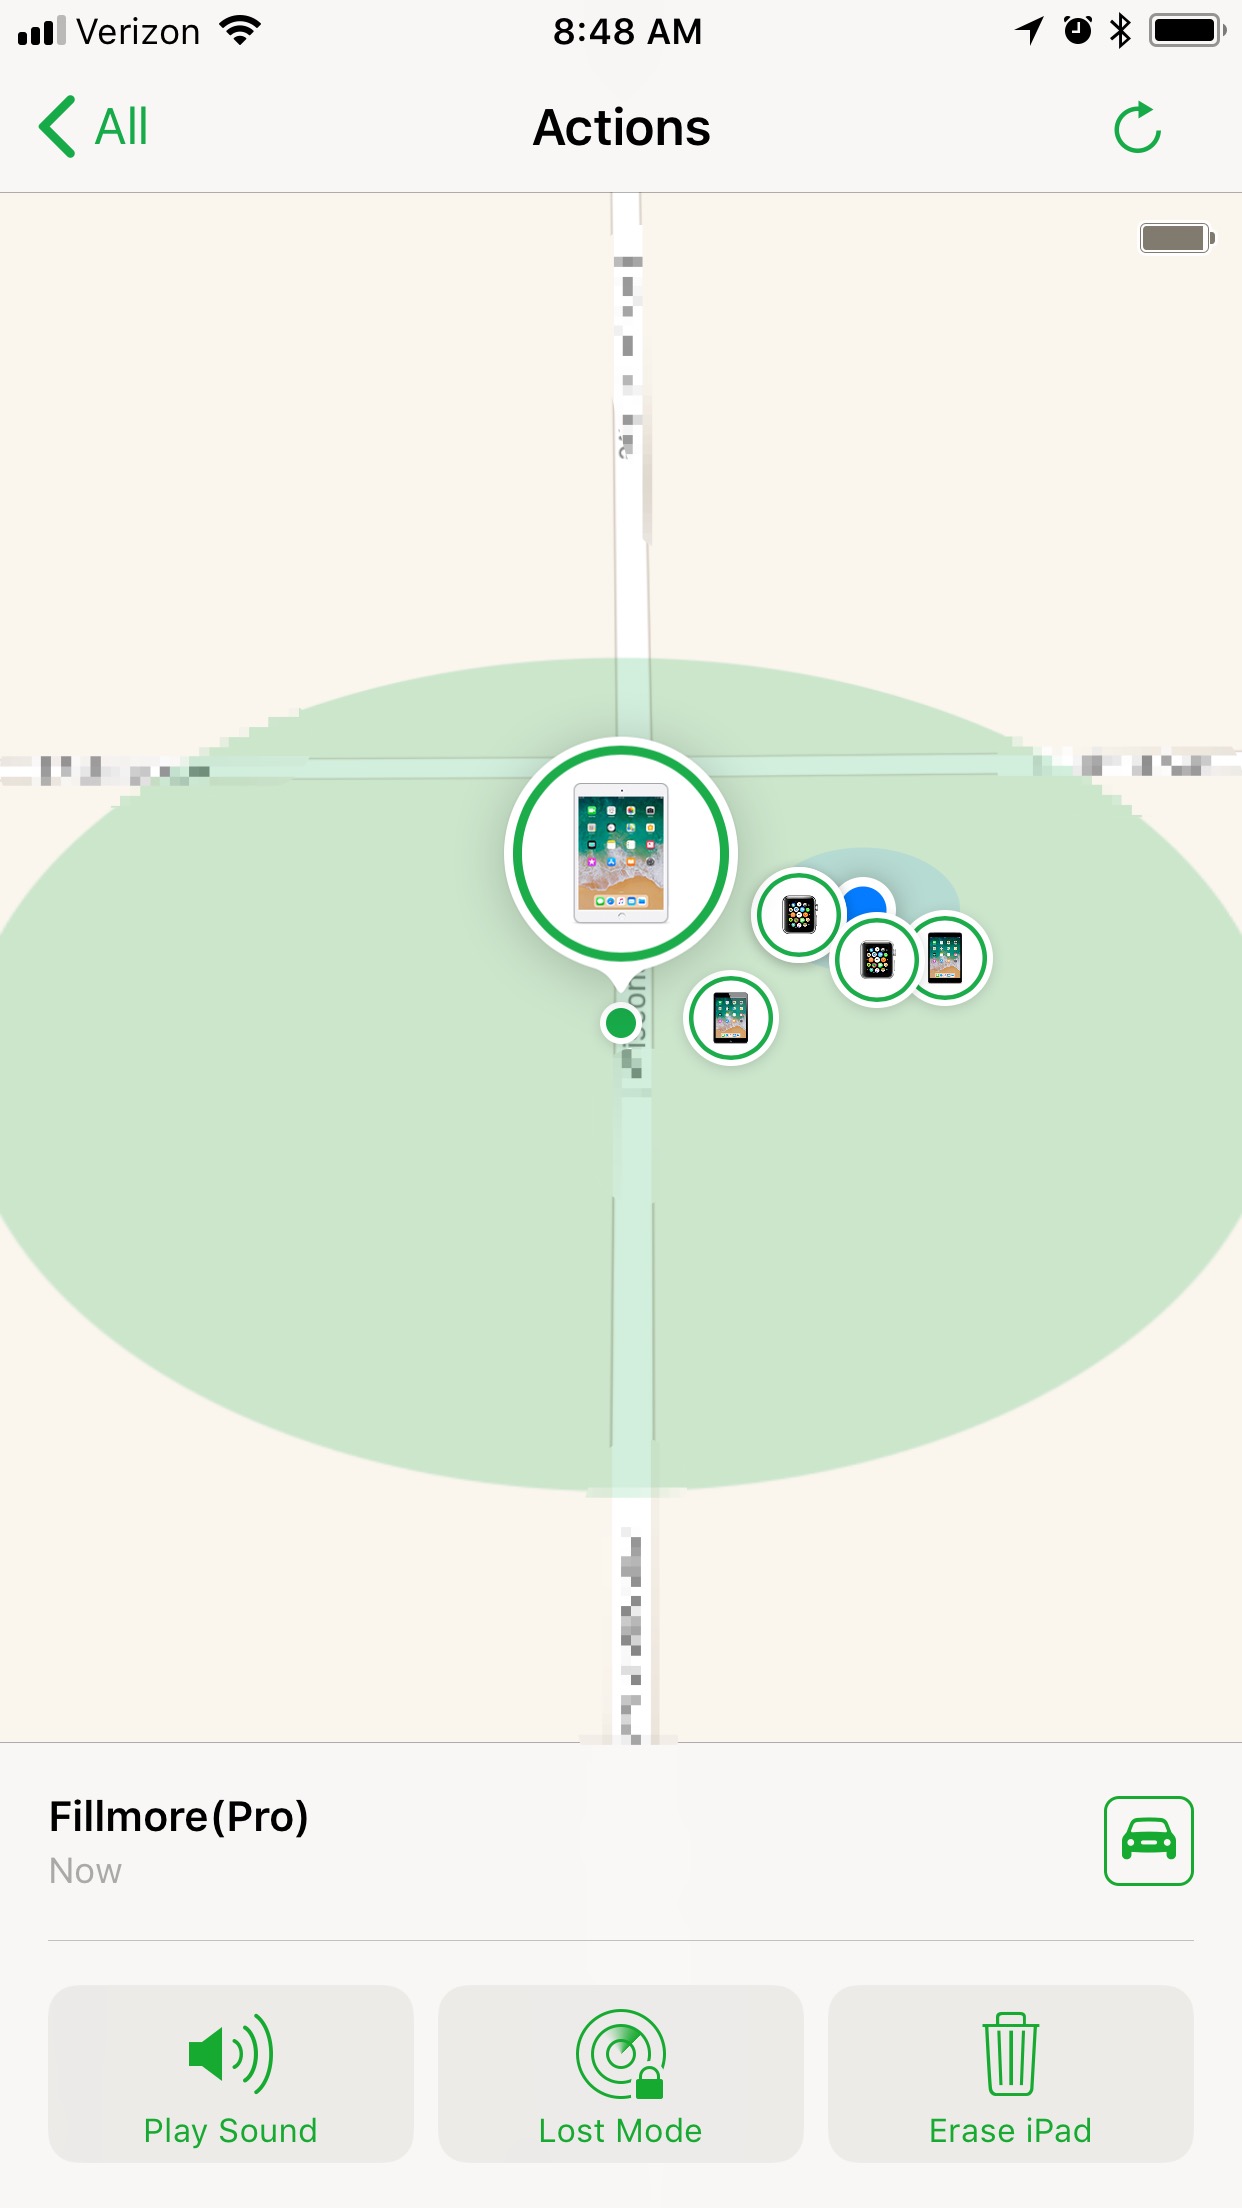
Most people don’t realize how useful Find My iPhone is until they truly need it, but I promise - it’s worth it. By enabling Find My iPhone (or iPad) on your device, not only can you track a missing devices location, but you can also fully lock down the device to require your passcode (disabling biometrics), or even remotely wipe it, should it go missing or fall into the wrong hands.
Additionally, Find My iPhone can not be disabled on a device without your Apple ID and Password, and devices that are wiped with iTunes are locked from activating until your Apple ID is verified. This prevents a would-be thief from stealing your iPhone, wiping it, and using it, as the device would be “bricked” (unable to activate or setup) without your credentials.
- Open Settings
- Tap on your Name card, toward the top.
- Tap on your iPhone (or other device), toward the bottom.
- Tap 'Find My iPhone' (or other device), then toggle it On.
5 Adjust Auto-lock Time
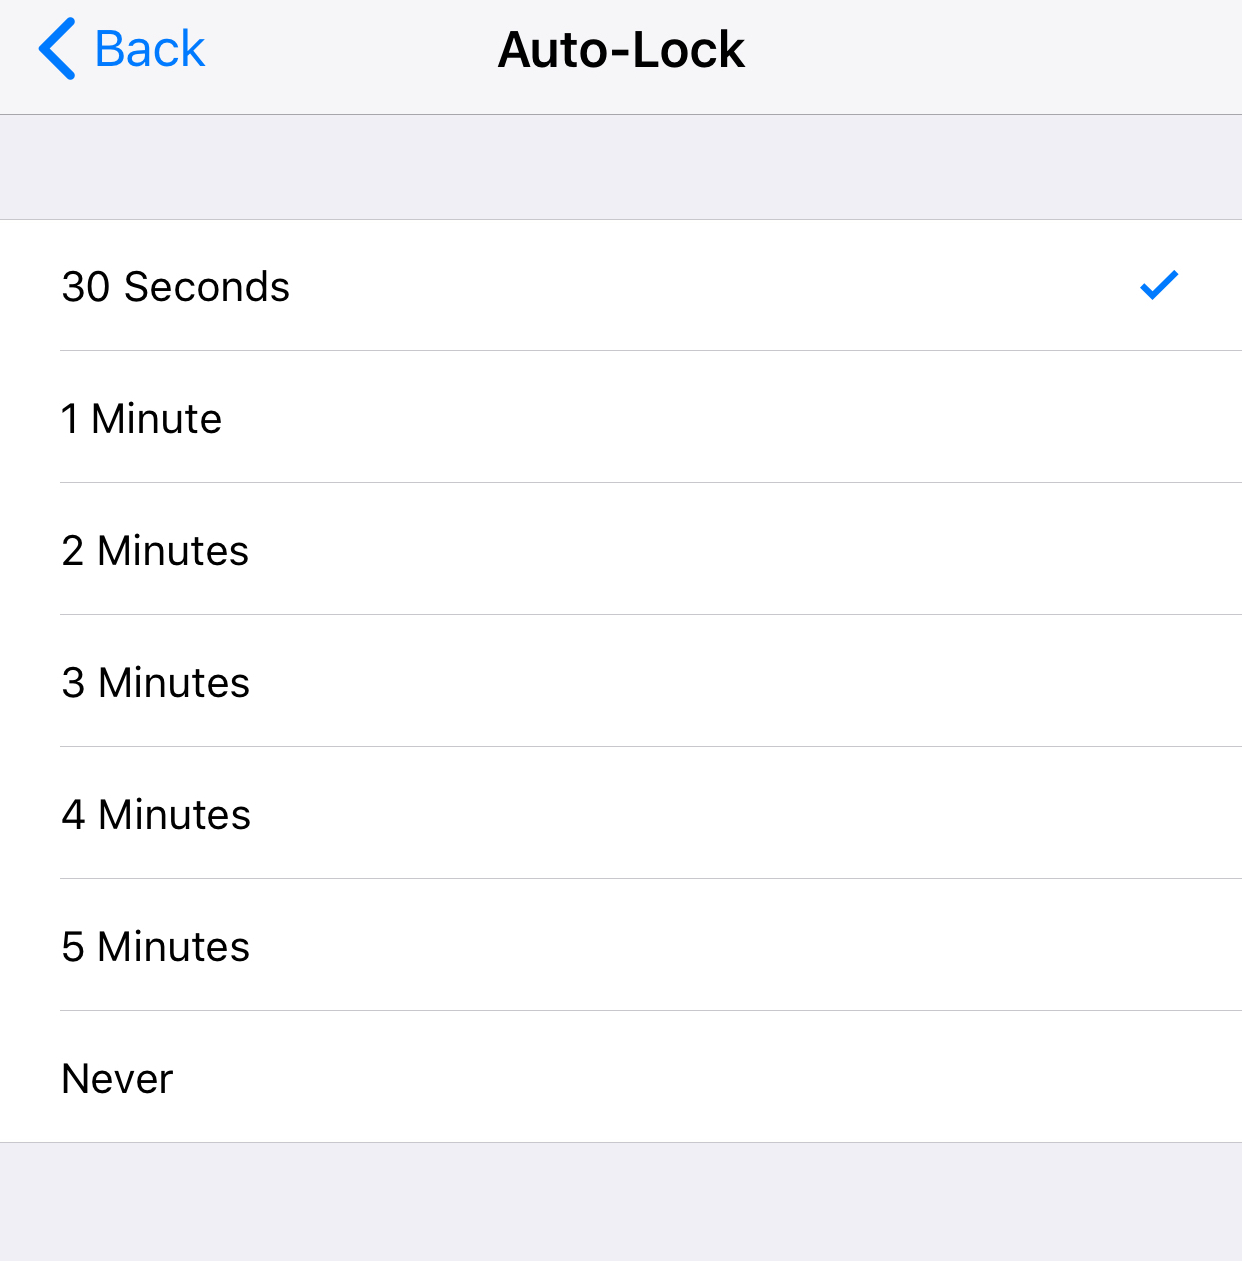
The auto-lock feature is one that offers benefits in both security and battery life. By reducing the amount of time before the screen dims and the device locks after inactivity, the window of opportunity for someone to snatch your device and access your data without needing a passcode is reduced. Additionally, by keeping your screen on for less time after you use it, you’re pulling less power from your battery, helping you get through more of your day without needing to plug in.
- Settings.
- Display & Brightness
- Auto-Lock
- Select 1 minute (better) or 30 seconds (best).
4 Hide Notification Previews
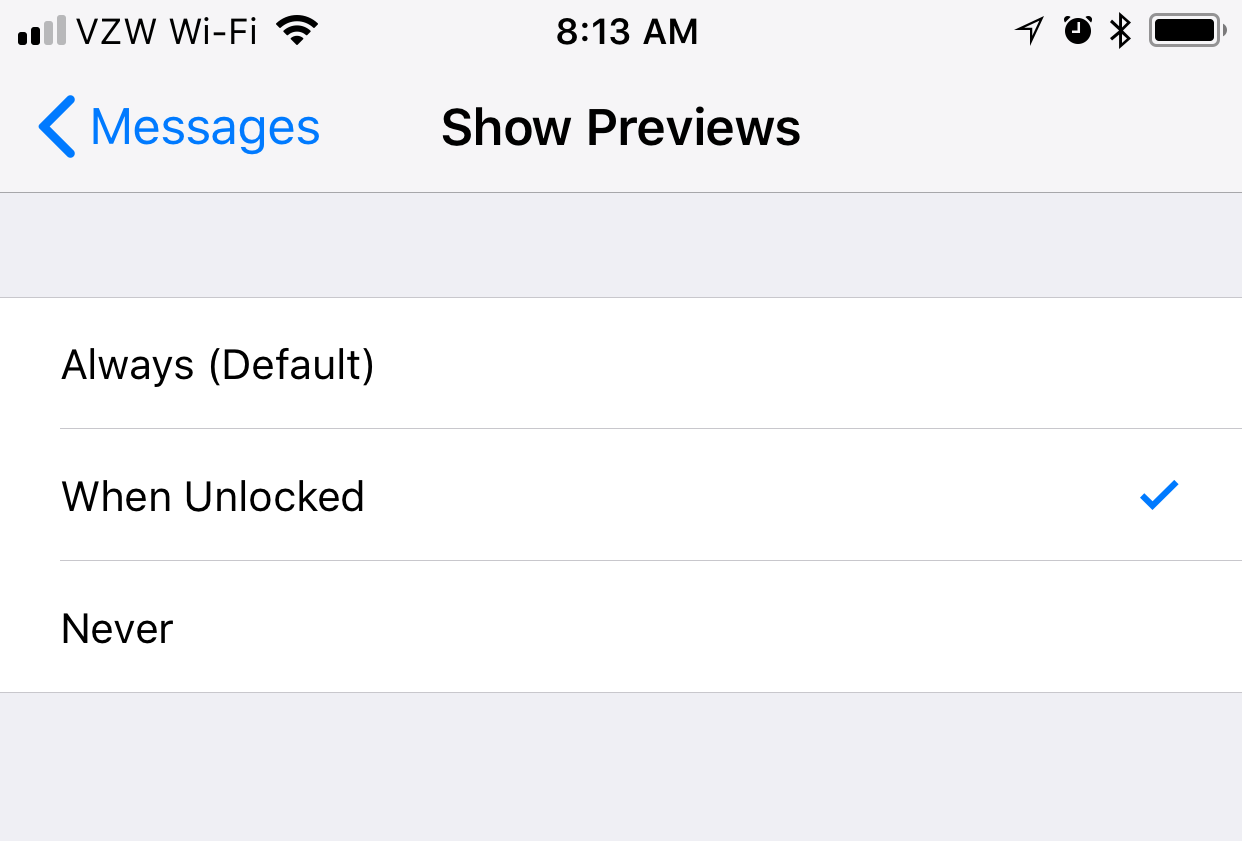
Available in different forms over the past few years, iOS 11 now offers the ability to set notification privacy both globally (for all your apps), or on an app-by-app basis. This features allows Apps to display a notification alert on your lock screen, without revealing the actual content of the notification.
By doing this, someone looking at your locked iPhone may know that you have an alert from Twitter, iMessage, Facebook, or even your bank, but the actual contents are hidden until you enter your passcode or unlock the device with TouchID.
- Settings.
- Notifications.
- Show Previews.
- Select Never (or When Unlocked).
3 Better Location Control (and Shaming)
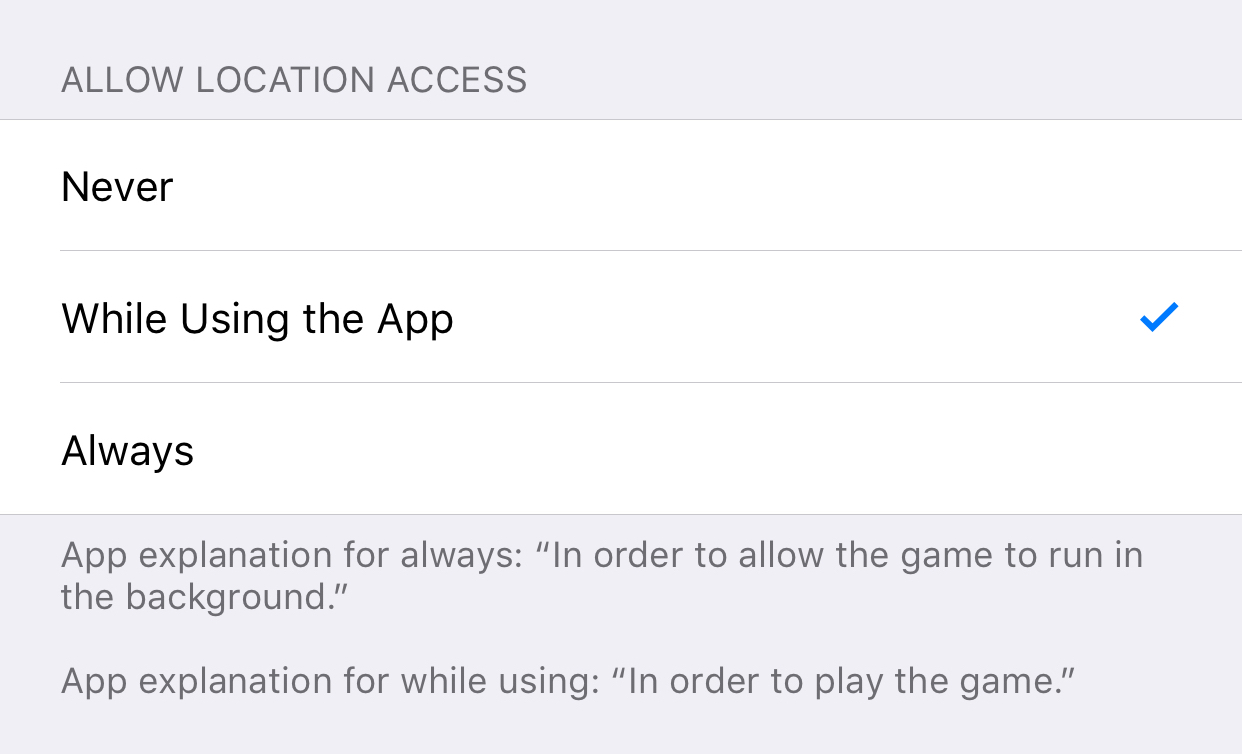
iOS 11 brought a welcomed change to the way Apps can access your location, and also gave users better control of application location access. Now, any application can be restricted to only accessing your location when the application is in use (and in front). This prevents applications like Facebook or Uber from snooping on your whereabouts without your knowledge.
In addition to better control, iOS 11 also gives very clear notice to a user if an application is using their location in the background. Any application that is using full location access will display a blue banner over the status bar, indicating that the application is tracking you. GPS and many fitness apps already did this in iOS, but now other, less honest apps will be shamed as well.
- Settings.
- Scroll down to your apps, and select Facebook.
- Tap Location.
- Select While Using the App.
2 Use Safari
Safari is the built-in browser on iOS, but that doesn’t stop many people from using alternatives like Chrome. In iOS 11, Apple made Safari a lot more compelling by adding several user privacy and security settings to their browser.
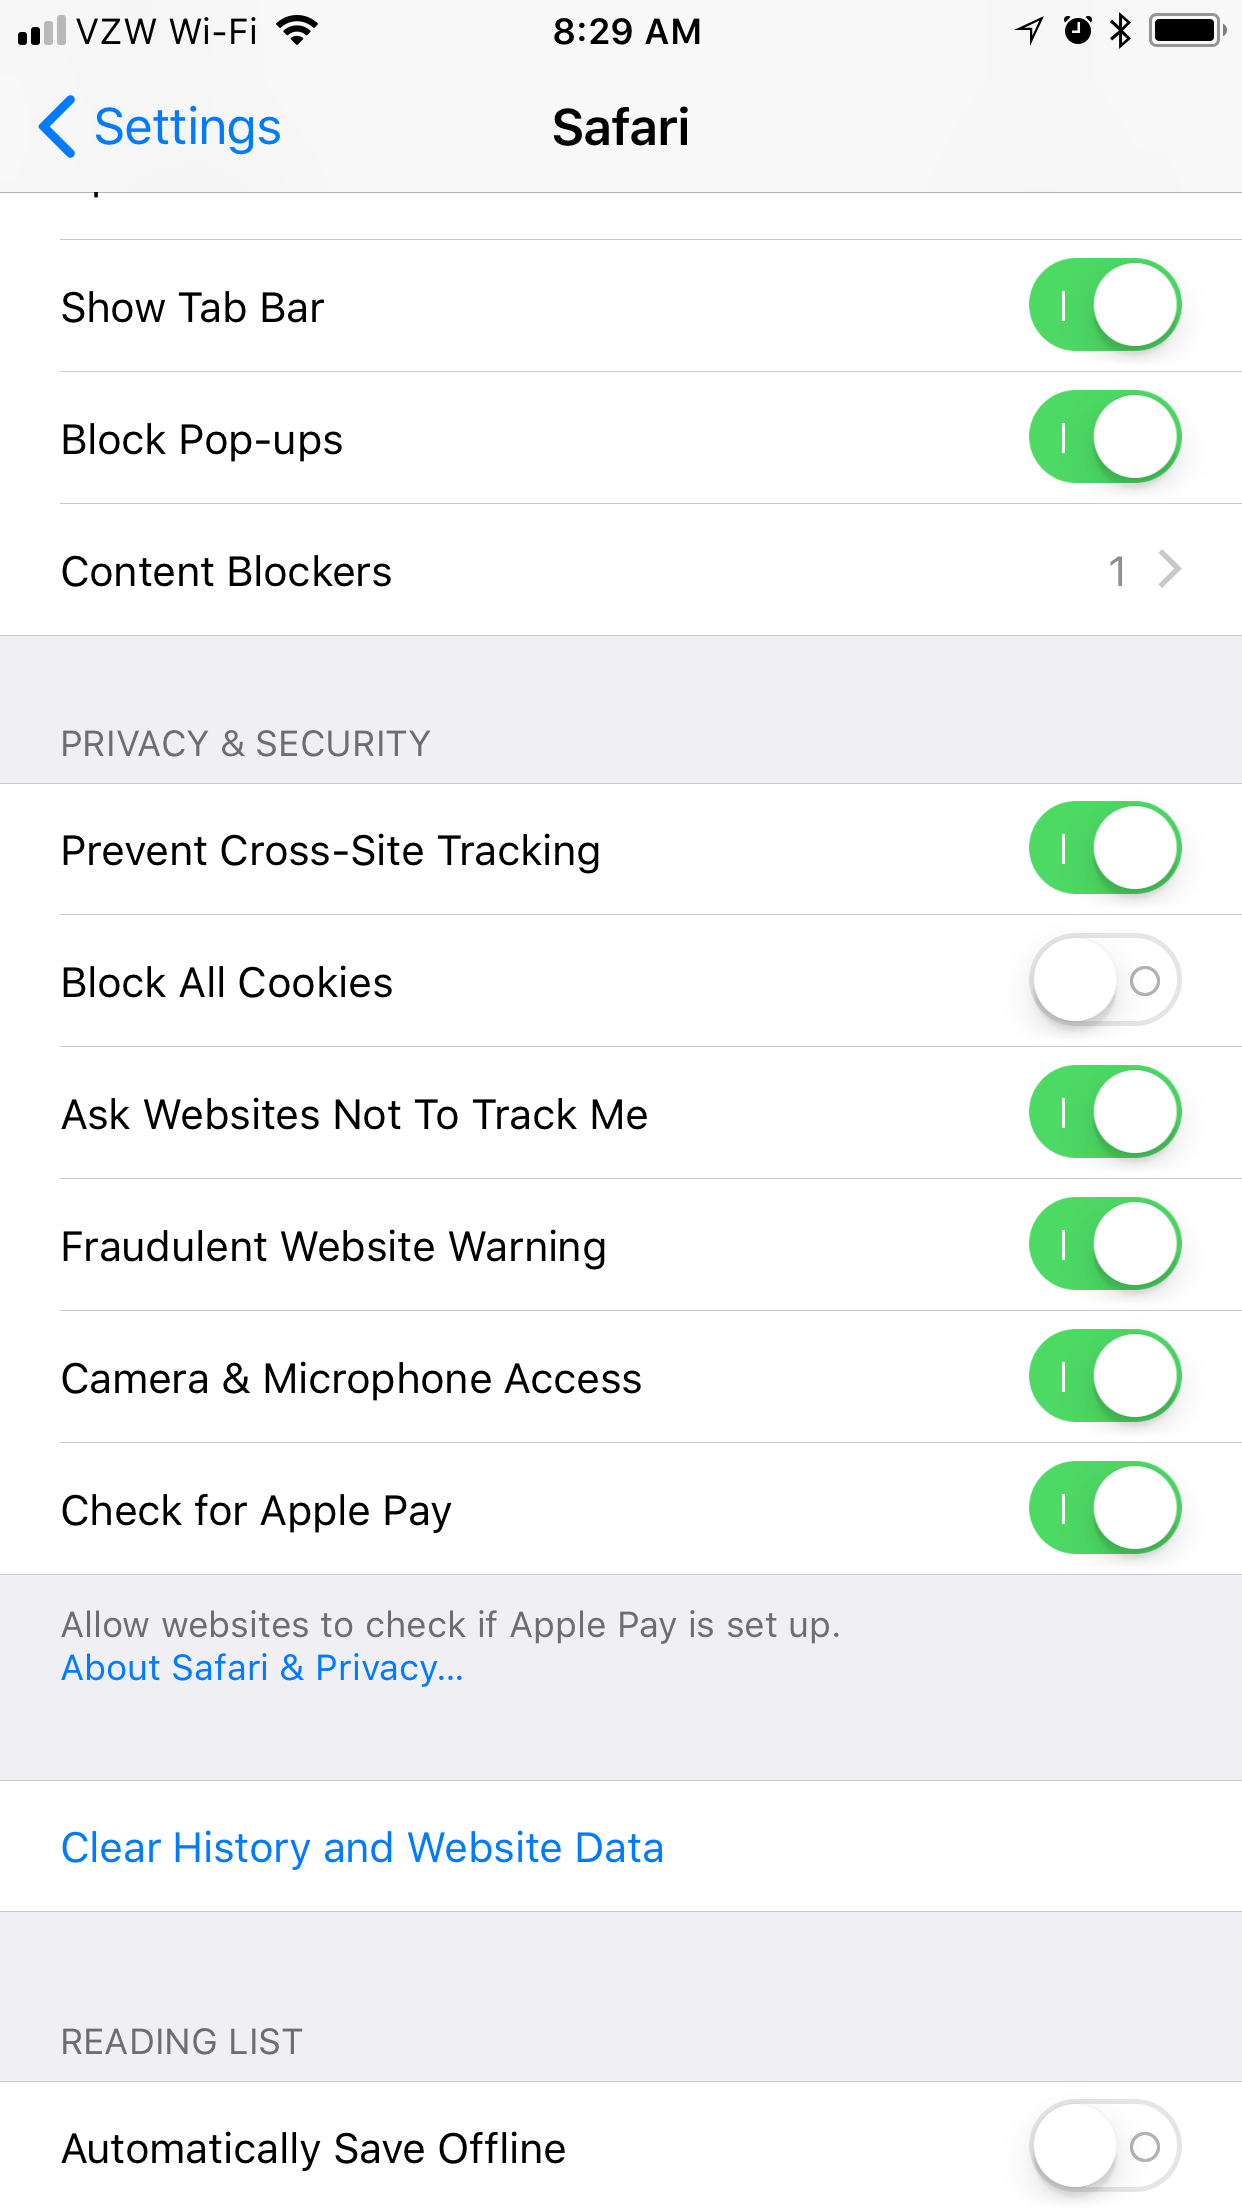
Now Safari includes cross-site tracking prevention, which will reduce sites like Amazon or Google from using your browsing history to suggest products in advertisements (which can be a good thing depending on your point of view). Additionally, Safari can integrate with third-party content blockers from the App Store to further reduce the advertisements you see while surfing the web.
1 Use VPN on Public Wi-Fi
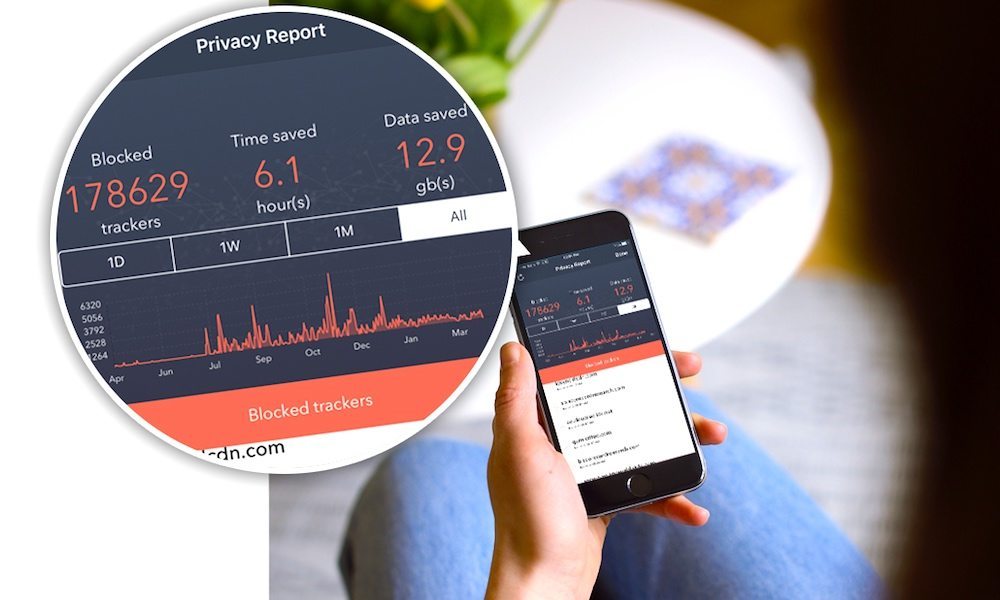
While all of these built-in features found in iOS 11 are great for keeping your device safe, they don’t prevent malicious parties from snooping on your internet usage when on unfamiliar Wi-Fi networks. When you’re out in public, if you connect to a Wi-Fi network, it’s best to also use a VPN for any kind of internet usage. This will encrypt your data and send it securely to a trusted server to handle all your activities, preventing someone from committing a man-in-the-middle attack on your personal information.
There are many great VPNs available for iOS, depending on your needs and budget, but they all offer added security when you’re using your device for any sensitive work, and we highly recommend having one. It’s good practice for security and privacy. Here are three highly rated VPNs.

