
5 Important FaceTime Tips and Tricks for Your Mac
 GaudiLab / Shutterstock
FaceTime is the famous, built-in app from Apple that’s mostly known for video chats. It’s easier to get started on FaceTime than Skype, and unlike Zoom it’s built right in as a native app for Apple computers, which makes FaceTime a popular option for Mac users. But if you haven’t used the app on a Mac much before, there are a few important tips that you should know about. Continue reading to browse 5 Important FaceTime Tips and Tricks for Your Mac.
Take Live Photos
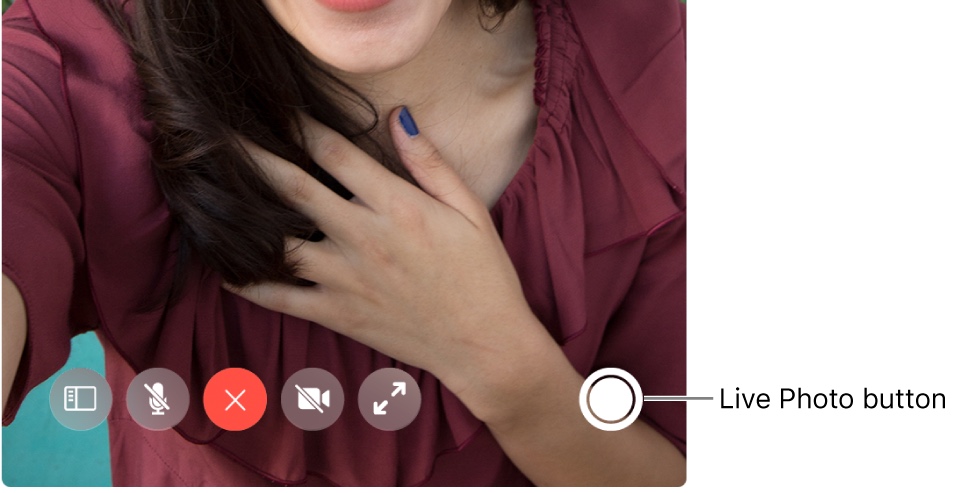
FaceTime allows for quick GIF-like Live Photos that will capture a short section of your meeting.
Check out the shutter icon at the bottom of the app while on a video call, and click it. This will immediately screenshot your current FaceTime screen, and save it to your Photos app. You should get a notification when this process is complete.
Note that the Live Photos option in FaceTime settings needs to be on for this to work, and it may not work if the other person doesn’t also have Live Photos enabled.
Check out Different Viewing Options
With the larger Mac display, it’s important to know the different FaceTime viewing options that Mac supports, especially if you’re having a conversation with only one or two people.
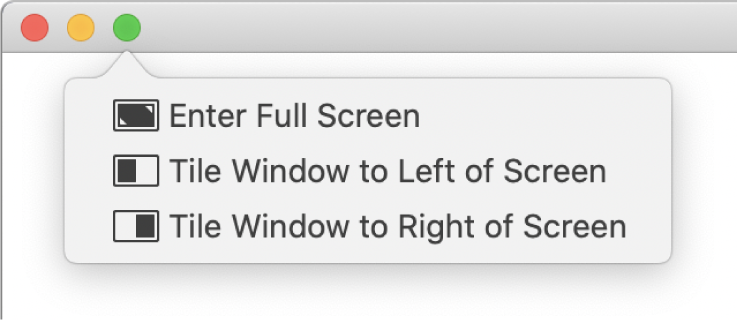
- First, remember that the traditional Mac window buttons in the top left will work for FaceTime, too. The green button will turn the window to a full-screen call with a click.
- If you hold down the green button, you will be able to make a tile window on the left or right for using FaceTime in Split View – which is also great for working on another app at the same time.
- Likewise, minimizing or moving the window around with the other buttons will also work without any danger of disrupting your call.
Keep Video at the Forefront

If you are in a more complicated call (especially for training, following a guide, tutorials, etc.), then you may be switching between several apps and windows during your FaceTime chat. This can make it difficult to keep up with the chat window itself, but there’s a built-in solution.
- Look at the FaceTime menu screen in the upper left.
- Choose Video.
- Then select the option that says Always on Top.
Now FaceTime’s window will always float to the top no matter what other windows you are working with.
Chat with 31 Other People

FaceTime can support up to 32 people at one time in its current iteration, making it a great choice for team meetings and other group calls, especially on the Mac where there’s enough room to manage large calls properly.
Here, the default setting is a score of tiles for each person in the chat. The tiles will automatically snap front and center and get larger or smaller depending on who is currently talking. Once everyone on the chat understands this system, it’s effective for fast, efficient meetings that get things done.
You can also send silent invitations to others in your contacts to add more people as the meeting goes on, up to the 32-person limit.
Group FaceTimes should be no trouble on Mac. But for those in your call using iPhones or iPads, there are limits. Older models from several years ago will only support audio calling for group meetings.
FaceTime Isn't Just for Video
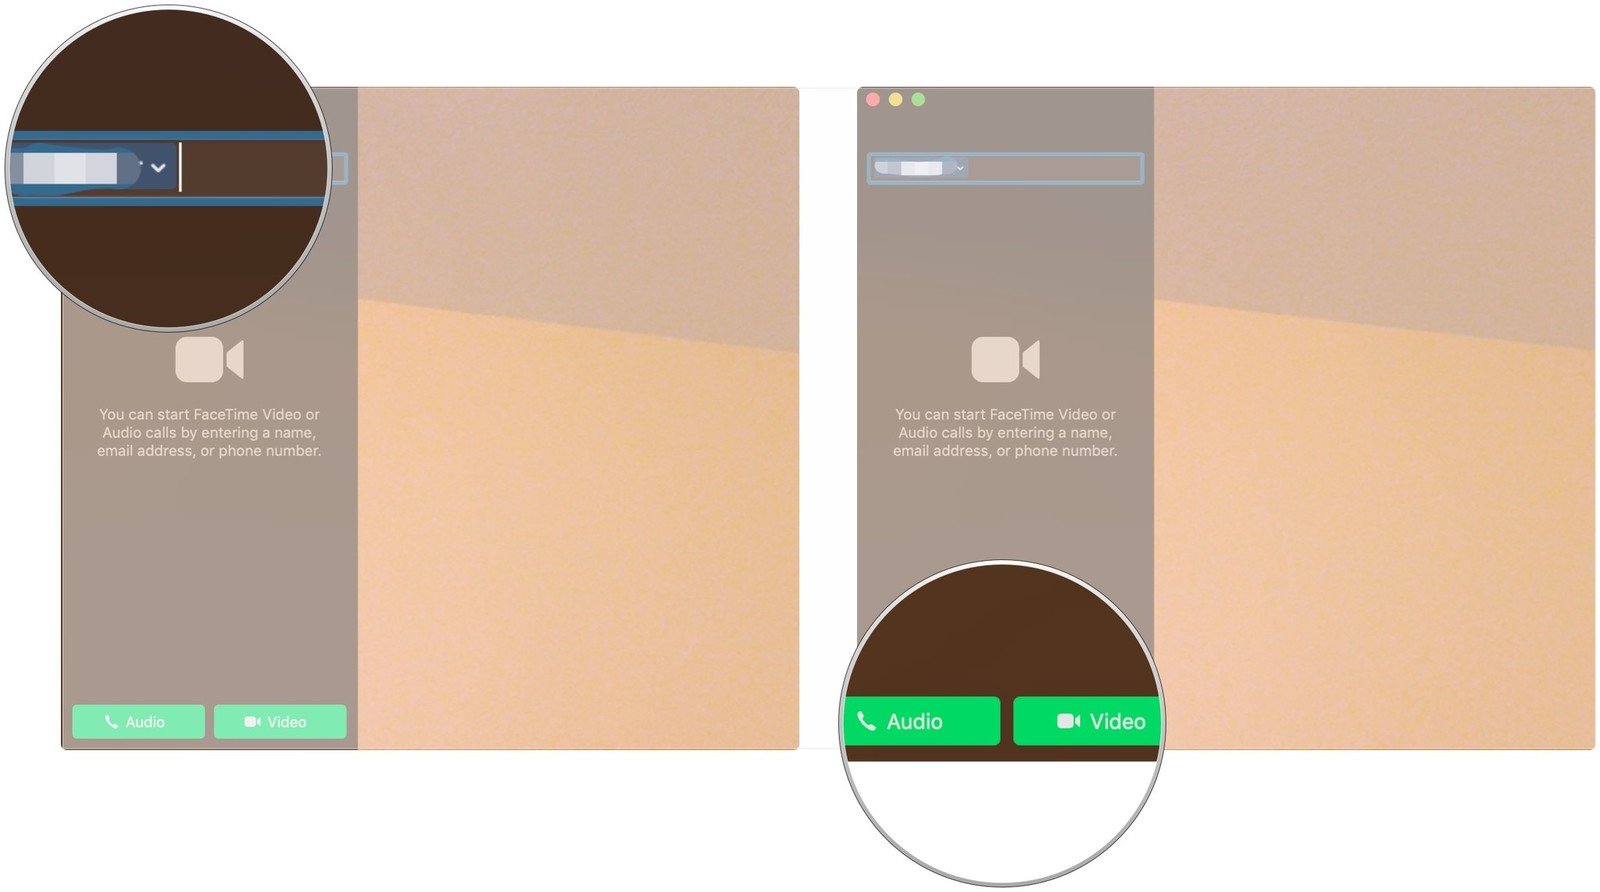
If you don’t need a video call but still want a fast conversation over your Mac, audio calls work great. Just head into FaceTime, choose a person to contact, and select Audio instead of Video. This can help save data for low bandwidth situations, and FaceTime has a great audio codec, so sound quality should be superb no matter who you are calling. You can also switch an audio call to a video call whenever you want to.