
Stop Fighting Your Mac: 10 Tips For Windows Switchers

If you’ve just made the switch from Windows to a Mac, welcome. You’re going to love it here, but it will take some time to get used to everything.
Switching from Windows to a Mac can feel a little like moving into a well-designed house where all your most-used stuff, like light switches, are in slightly different places.
Sure, you still have apps, files, folders, and a browser. You can still install software from anywhere, multitask, and get work done (maybe even faster than on Windows). But macOS has its own logic for how windows behave, where settings live, and how you should move around the system.
The fastest way to feel comfortable isn’t relearning everything from scratch, but getting started by learning a handful of Mac habits to replace your Windows habits. Once those clicks, shortcuts, and window behaviors start feeling natural, the whole system stops feeling confusing and starts feeling easy.
To help you get started with your new operating system, we’ve gathered 10 of the most useful features for new macOS users. Read on...
The Menu Bar Is Always at the Top
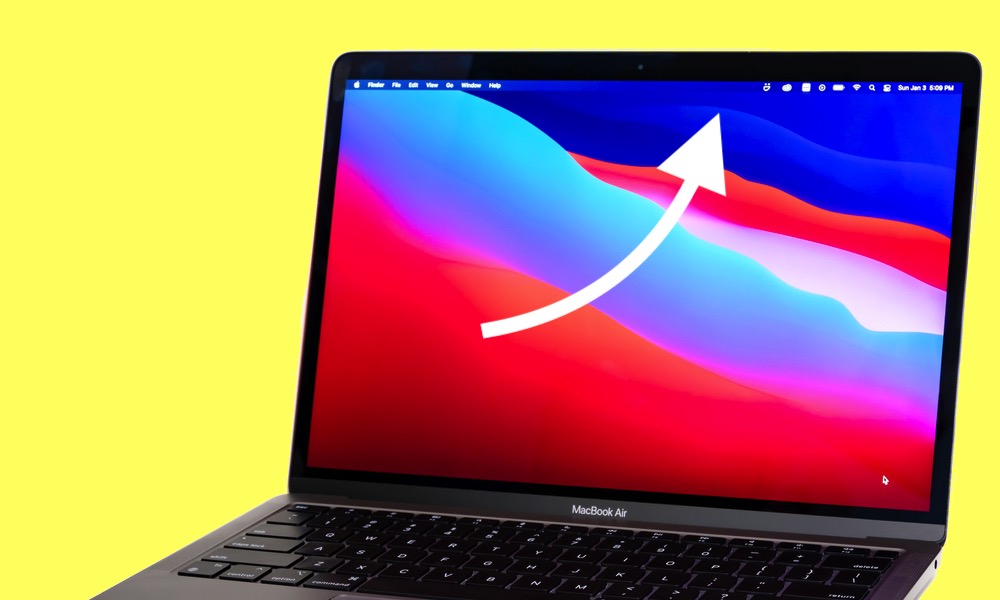
If you're coming from Windows, it’s normal to look for File, Edit, View, and Tools inside the app window the first time you open an app on a Mac. On macOS, however, those menus don’t live inside the window; they live in the menu bar at the very top of the screen, which changes depending on the currently active app.
This is one of those things that feels odd for about a day before it suddenly feels cleaner. The menu bar becomes a consistent place for controls — you'll always know where to find them — and your windows can stay focused on content instead of being stuffed with menus.
To make it work, you just need to remember one rule: the menu bar reflects the app you most recently clicked. So just click inside the app window that you want to control and look at the top to see all of the app’s menus and options.
Command Replaces Control
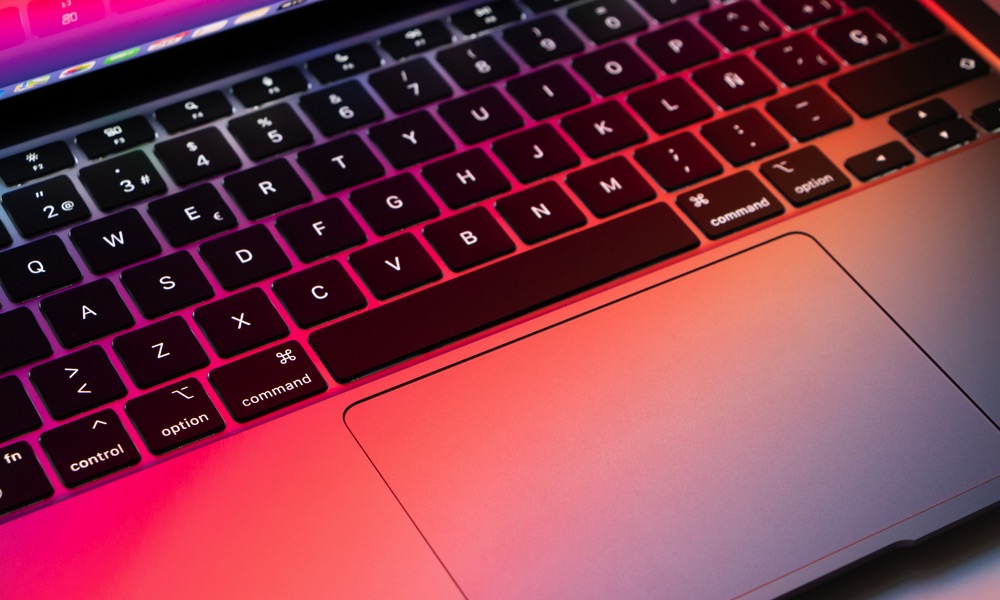
If your hands know Windows shortcuts by muscle memory, this will probably be the biggest adjustment. While you still have a Control (CTRL) key, on a Mac, most of the shortcuts that used that key on Windows now work with the Command (CMD) key. The good news is that the actual shortcuts are basically the same pattern, just with a different key.
Once you stop fighting it, this becomes second nature. Copy, paste, save, and undo all feel familiar again. It’s just that the CMD key is doing the heavy lifting now. Here are some examples:
- Copy: CMD + C
- Paste: CMD + V
- Undo: CMD + Z
- Save: CMD + S
- Switch Apps: CMD + TAB
As you can see, these are basically the same letter shortcuts you're already familiar with on Windows; only the modifier key is different.
Closing a Window Doesn’t (Usually) Quit the App
This one is the classic Mac confusion moment, and it does take a while to get used to. In Windows, closing the last window typically quits the app. On macOS, clicking the red close button closes that window, but most apps will still stay open in the background.
That’s not a bug; it’s how macOS is designed. Many apps are meant to stay active even without an open window, and macOS treats the window as a separate thing from the app itself.
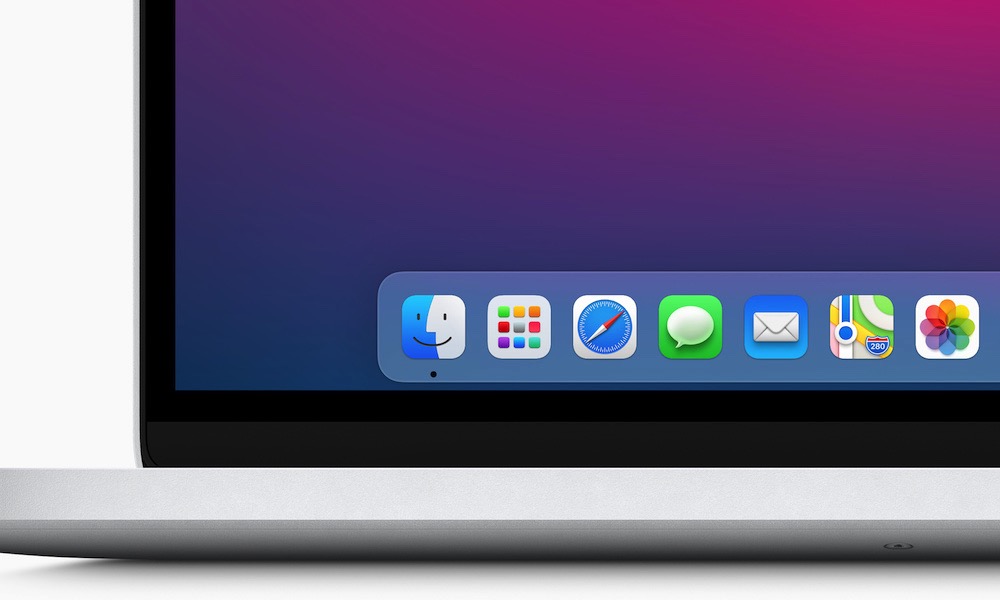
You’ll know an app is still open because it has a small white dot below the app’s icon in the Dock (the tray of icons at the bottom of your screen), which lets you know if you actually closed it or not.
If you close a window and the app still shows as running, don’t panic. You didn’t do anything wrong. You just need to follow the Mac way of quitting an app:
- Press Command + Q to quit the active app.
- Or right-click the app icon in the Dock and choose Quit.
It will definitely take a few tries to remember this. But once you get used to this, you’ll stop assuming an app is gone just because the window disappeared.
Finder Is File Explorer With Its Own Superpowers
Finder is the Mac version of Windows' File Explorer, but the layout and navigation style can feel a bit jarring at first. The sidebar is your friend here, as it can show your most-used locations like Downloads, Applications, iCloud Drive, external drives, and network locations.
Where Finder really shines is in how flexible the views are. List view will feel familiar, but Column view is where Windows users often have an “aha moment.” You can drill through folders quickly without opening a stack of separate windows.
If you feel lost, start by learning a few Finder basics and customizing the sidebar so it matches your workflow.
For instance, start by opening Finder, which you can do by clicking the smiling face icon in the Dock. Next, use the sidebar to jump to common locations like Downloads and Applications.
Also, try the view buttons at the top to switch between List, Column, and Grid. You can further customize your Finder experience by changing the way the toolbar looks. Simply click on View > Customize Toolbar. Play around with the settings to find your perfect layout.
Use Spotlight Instead of the Start Menu

Spotlight is one of the easiest ways to get around a Mac. Think of it as a quick way to search, launch apps, search files, do quick calculations, and a lightweight system search all rolled into one.
Instead of clicking around looking for an app, you can just bring Spotlight up and type the first few letters. It’s also great when you can’t remember where a file is. If it’s on your Mac, Spotlight will usually find it faster than you can.
Once you start using it, you’ll wonder why you ever clicked through folders to open things.
Here's how to start using Spotlight Search:
- Press Command + Space.
- Type an app name, file name, setting, or even a quick math problem.
- Press Enter to open the top result.
Spotlight has a couple of other neat tricks up its sleeve. For instance, it can even help you do quick Google searches without opening Safari first, or search for specific pictures based on the location or a person’s name. So play around with it to learn everything it can do for you.
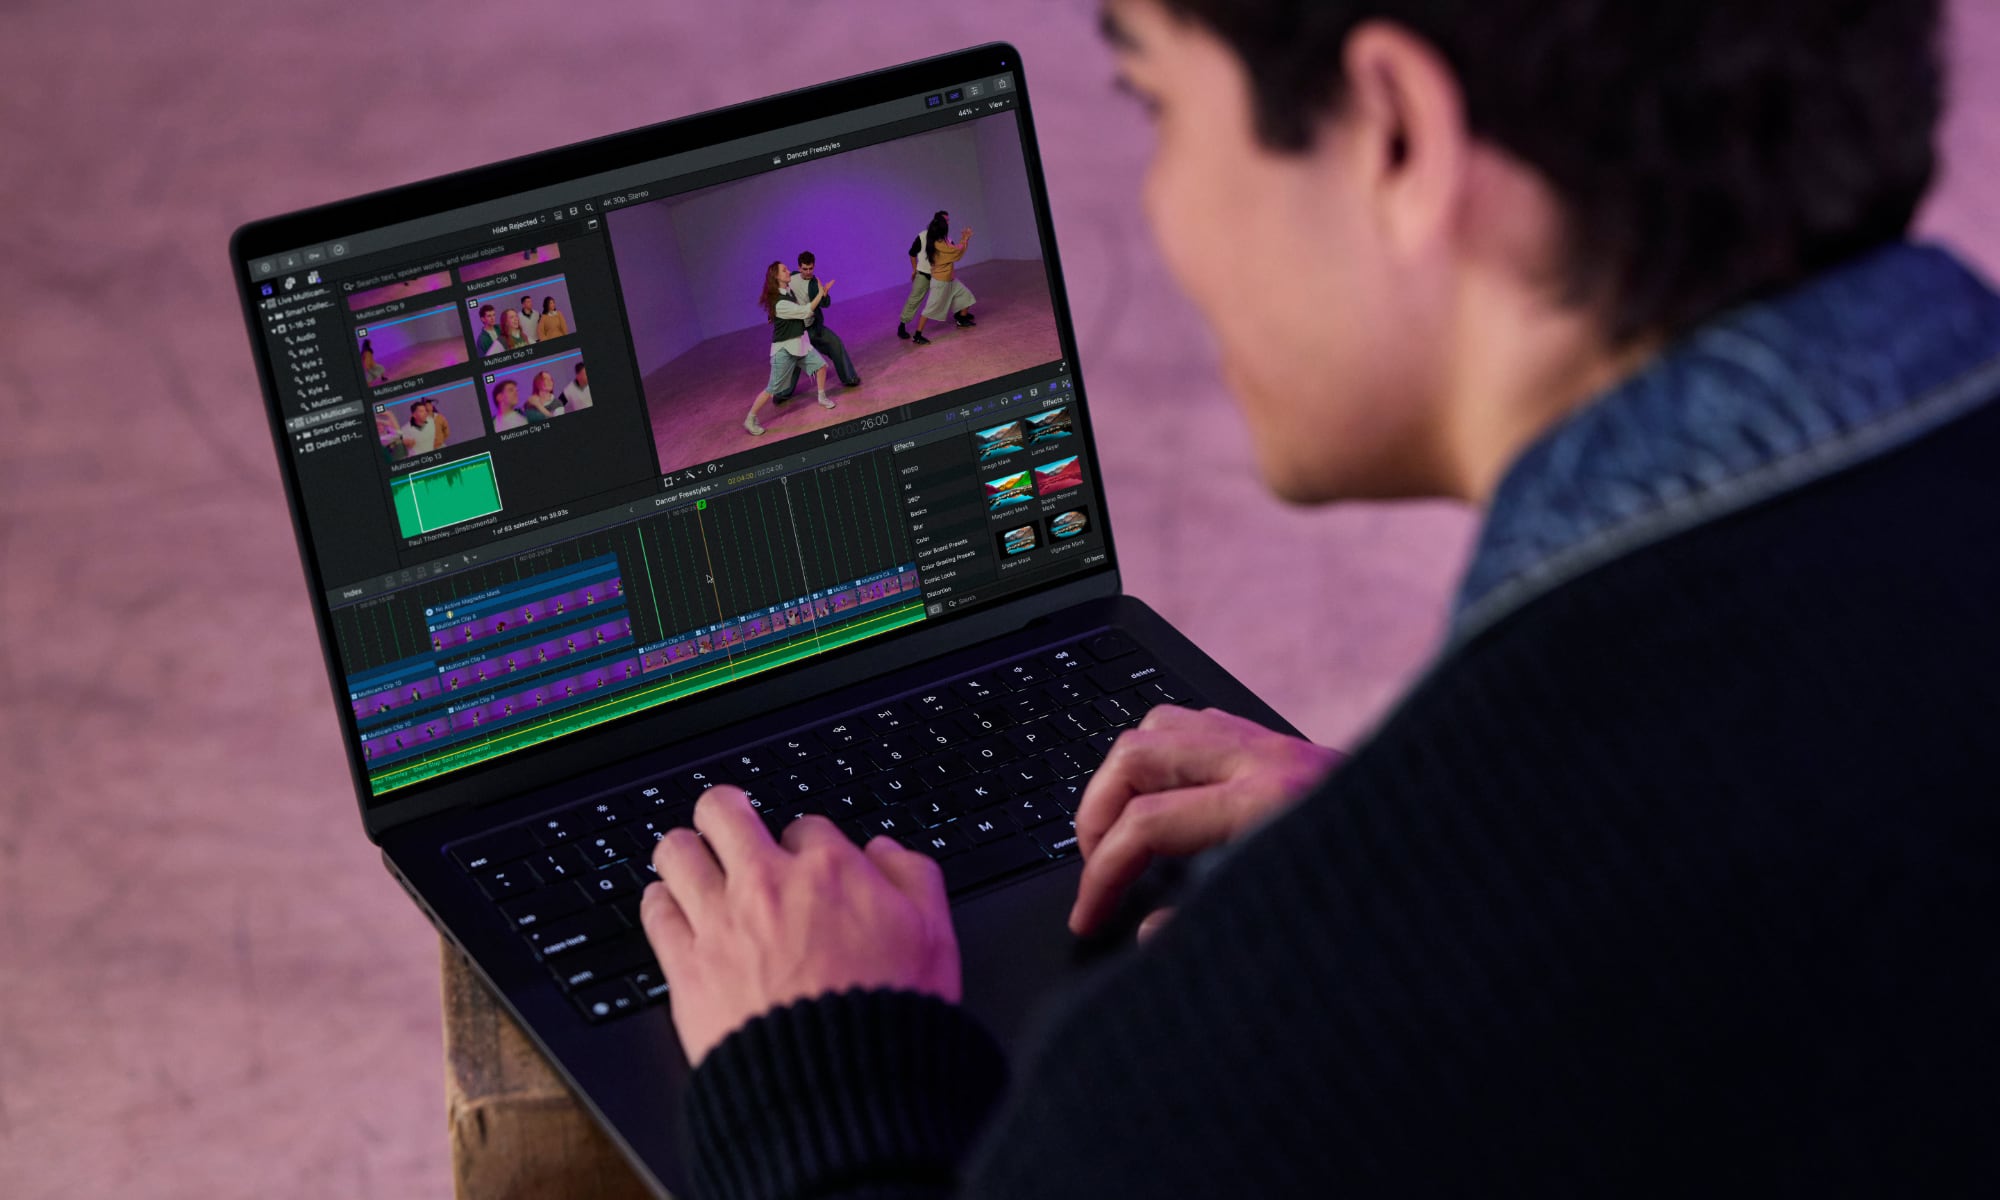
Trackpad Gestures Are a Bigger Deal on Mac
MacBooks are built around the trackpad in a way most Windows laptops aren’t. Gestures aren’t just nice extras; they’re the normal way macOS expects you to move between apps, desktops, and windows.
If you’re coming from a mouse-heavy Windows workflow, you can still use a mouse on Mac. But if you’re on a MacBook or you also have an Apple Magic Trackpad, learning a few gestures will make everything feel smoother.
There are more than a handful of gestures you can try, but to get started, the most basic ones are:
- Scroll up or down: Drag two fingers up or down the trackpad.
- Switch between apps (only works with apps that are in full screen): Swipe with three fingers to the left or right.
- See all your open apps at once: Swipe up from the bottom of the trackpad with three fingers.
- See all your installed apps: Do a pinching gesture on the trackpad with four fingers or with your thumb and three fingers.
The best part is that you can check and even customize some trackpad gestures by clicking the Apple menu (the Apple logo in the top left corner of your screen), going to System Settings, scrolling down on the left sidebar, and selecting Trackpad.
From there, you can explore and change the gestures available. We recommend you start by toggling on Tap to Click, which lets you gently tap the trackpad instead of having to press it all the time.
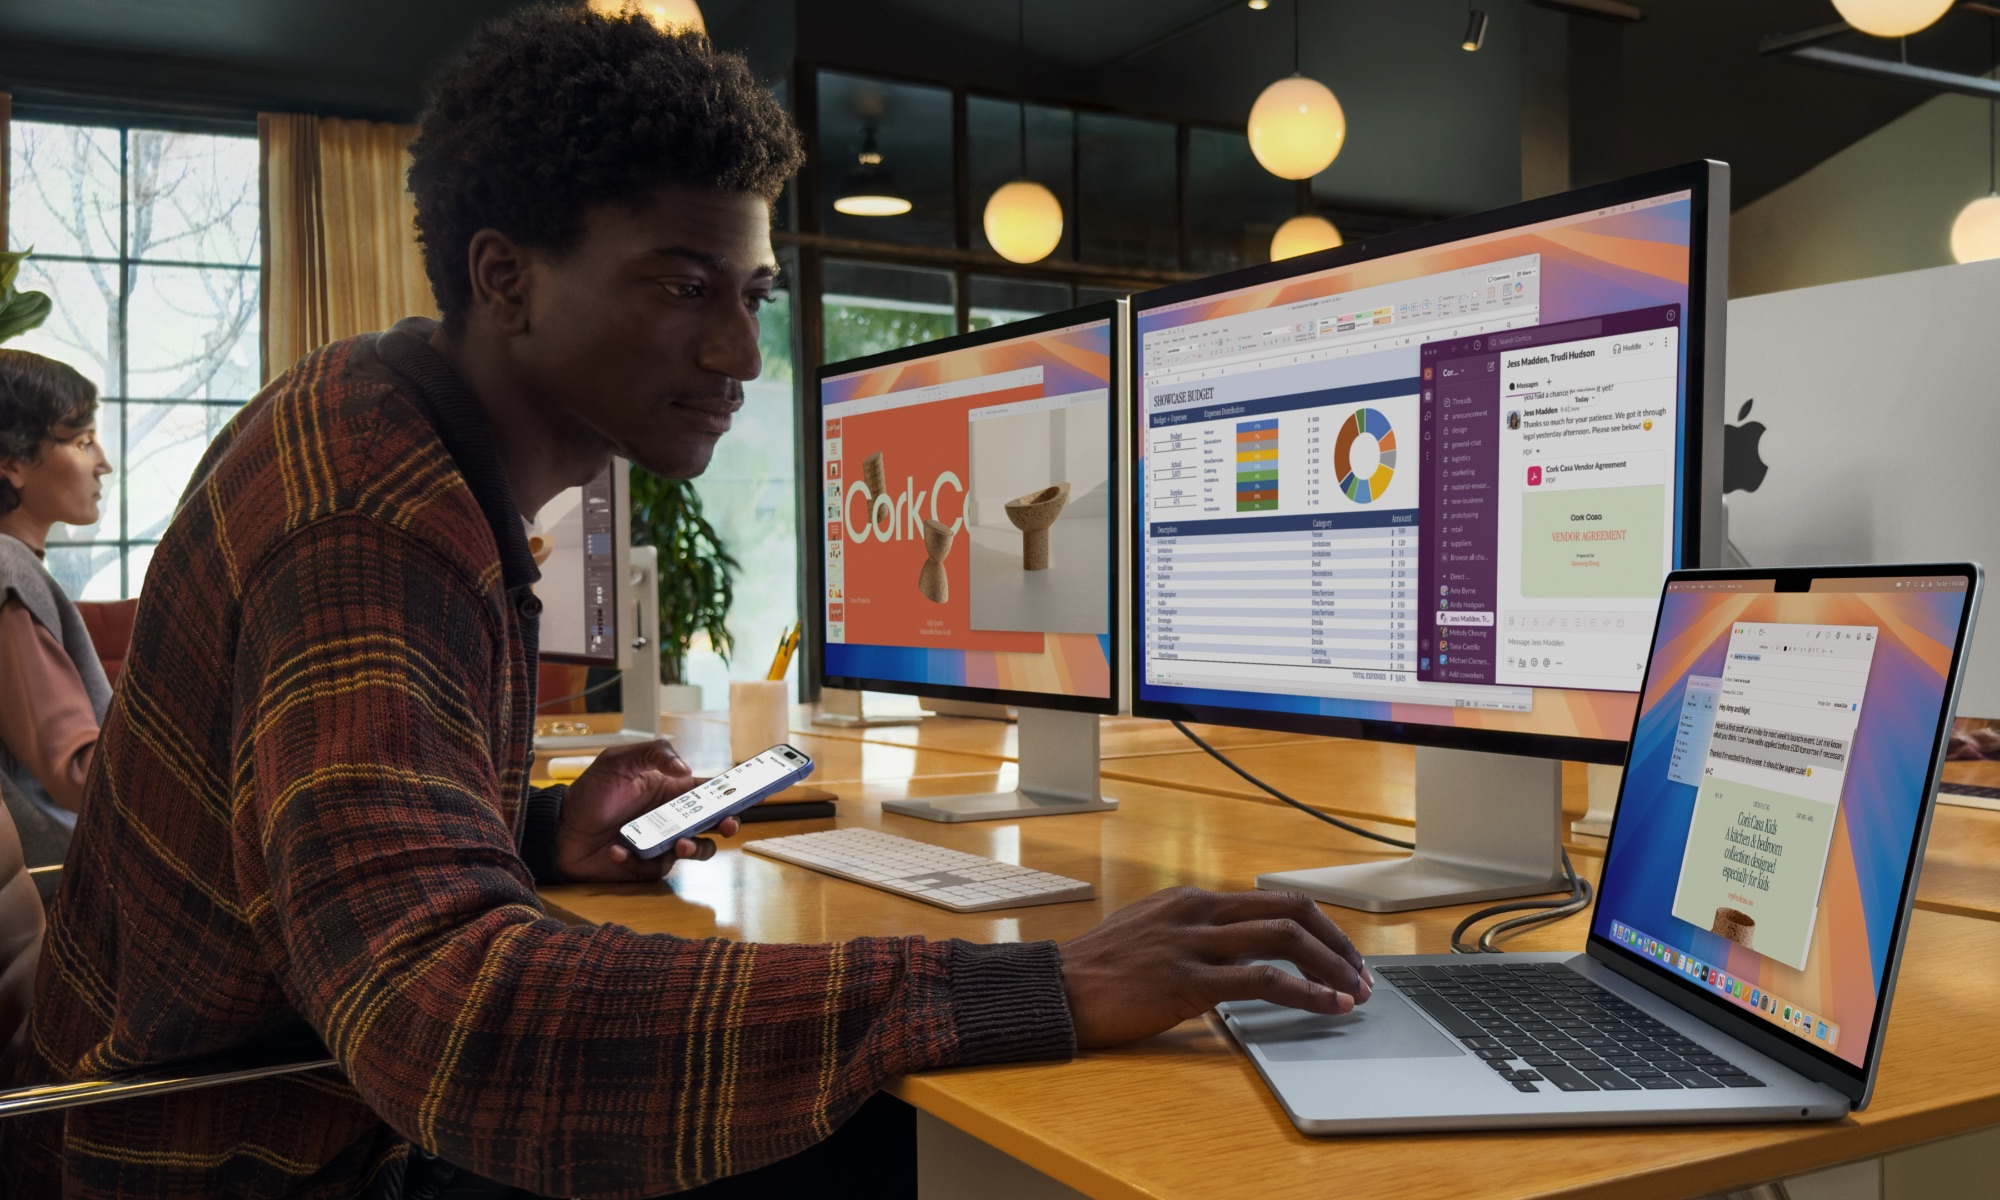
Use The Dock Like A Taskbar, But Don’t Treat It The Same
The Dock is part taskbar, part launcher. It shows apps you’ve pinned and apps that are currently running.
The Dock is best when you keep it clean. Pin your daily apps, remove clutter, and let it serve as your quick-access strip rather than a dumping ground.
You can also tweak the Dock’s behavior so it fits your style. Some people like it big. Some keep it tiny and out of the way, and some prefer to stick it on the left or right side of the screen.
First, if you want to pin an app, you need to right-click its app icon and then go to Options > Keep In Dock.
On the other hand, if you want to change the size and position of the dock, simply go to the Apple menu (Apple logo) in the top left corner and then click on System Settings. Scroll down on the left sidebar and go to Desktop & Dock. From there, customize the Dock however you want.
Right-Click Exists, It Just Might Not Be Obvious

A surprising number of new Mac users assume right-click is missing because the trackpad looks like one big button. But right-click is absolutely there. On a Mac trackpad, the default right-click is a two-finger click. And instead of “right-click,” it’s often called “Control-click.”
That's not just because Apple wants to be different; it comes from the early days of the company's single-button mice, when a right-click required holding down the CTRL key on your keyboard while clicking the mouse button. That still works, but you'll likely find it easier to use the two-finger gesture or a two-button mouse.
So, if someone tells you to control-click on your Mac, it means they want to right-click, which, again, is done by pressing your trackpad with two fingers.
But if that doesn’t work for you, it might mean that you have the “secondary click” feature disabled. You can turn it on by doing the following:
- Click on the Apple menu (Apple logo) in the top left corner of your screen.
- Go to System Settings.
- Scroll down on the left sidebar and go to Trackpad.
- Look for Secondary Click.
- Choose Click With Two Fingers or your preferred option.
Installing Apps Is Often Drag-and-Drop
Windows installers have probably trained you to expect an EXE file with a step-by-step installation wizard. While some apps still work that way on macOS, many apps simply come as a DMG (disk image) file that opens like a temporary disk, showing the app icon front-and-center.
If that’s the case, all you need to do is click and drag the app into the Applications folder and you’re done. It’s simpler, but it also means you need to remember one thing: after installing, eject the disk image. Otherwise, it sits there like a mounted drive.
Uninstalling can also be surprisingly simple for many apps. If it’s a normal Mac app, you often need only drag it to the Trash. Again, some apps include extra components, but most everyday apps don’t require a formal uninstaller. As a rule of thumb, apps that use an installer also require an uninstaller, but if you dragged it to your Applications folder, then you can also drag it to the trash.
Preview Can Replace A Bunch Of Extra Utilities
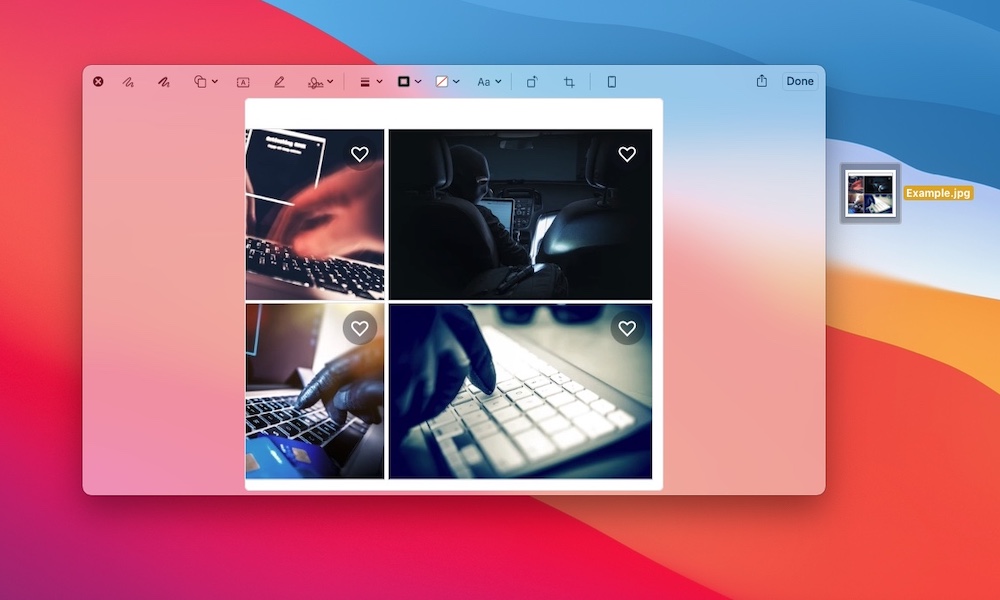
Windows users often install extra tools like Adobe's Acrobat to handle PDFs and basic image edits. However, the Mac includes Preview, an app that handles most of that out of the box. It opens PDFs instantly, lets you sign documents, highlight text, add notes, crop images, and do quick markup without needing a separate app.
If you’re used to downloading a PDF editor the second you need to fill something out, try Preview first. There's a very good chance it already does what you need — and it’s lightweight and fast.
Preview is also perfect for quick tasks like combining PDFs — simply drag one PDF into the sidebar of another — exporting images to different formats, and adding a signature to a document in seconds.
Another useful feature that macOS brings to the table is the ability to preview a file or image directly from Finder. Simply select the file you want to preview and press the space bar. That will let you see the whole document without having to open it. If it’s a PDF file, you can press the Markup button (the icon that looks like a pencil), and then you can do things like add your signature instantly.
Start to Master Your Mac
Switching from Windows to macOS isn’t about proving one platform is better than the other. It’s about learning the Mac way of doing everyday things so you stop fighting the system.
Once you get comfortable with Command shortcuts, Spotlight, the Dock, and the idea that apps and windows aren’t always the same thing, then your Mac starts to feel less like an alien machine and more like a tool that stays out of your way and can even help you boost your productivity. Give yourself a week of using these tips on purpose, and you’ll hit that point where you stop thinking about the differences and just start moving faster.