
Turn On Time Machine Backups
This is a big tip people often regret not doing. Your Mac has an excellent built-in backup system called Time Machine. If you plug in an external drive with enough storage, your Mac can back up your entire system on a regular schedule. That way, if your Mac ever fails or you delete the wrong thing, you can revert to a previous backup. This can be used to quickly recover a single file or even restore your whole system to how it was before a catastrophic crash.
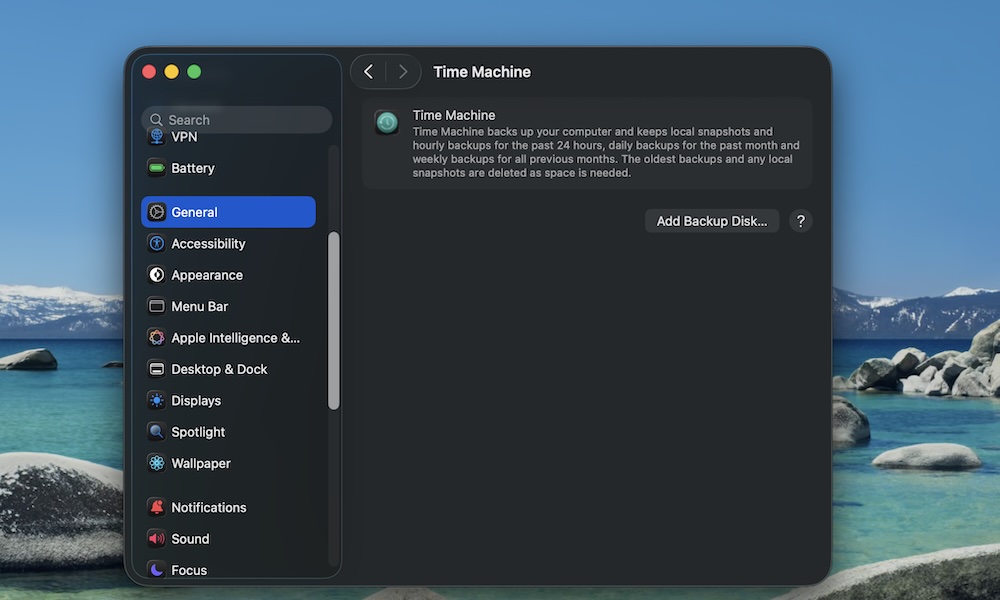
To start using Time Machine on your Mac, you’ll need to plug in an external drive or have a compatible network storage (NAS) device available. Then, go to Apple menu > System Settings > General > Time Machine and select the disk you want to use for backups. Be sure to tick Back Up Automatically, so your Mac does the backups for you. By default, this will keep hourly backups for the past 24 hours, daily backups for the past 30 days, and weekly backups until your storage is full. You can reduce the frequency of these in the Time Machine settings.
Of course, you’ll need to keep your external drive or NAS connected for this to work. If you don’t want that, you can always back it up manually. Also, keep in mind that the first backup can take several hours, as it has to capture everything on your Mac — and the more data you’ve moved over from your old computer, the longer it will take. Later backups will typically be much faster as they only back up what’s changed since the last one.