7 New AirPods Tricks You Need to Know About
 Credit: Vulp
AirPods are amazing. Since their debut, they have become one of Apple’s best-selling and most well-reviewed products — and for good reason. They’re convenient, lightweight, pump out excellent audio, and offer a slew of other features.
But there are a variety of tips and tricks you should know to get the most out of your own AirPods. We previously covered five such tips, but here are seven more you can use to maximize your AirPods experience! Continue reading to learn 7 New AirPods Tricks You Need to Know About.
7 Live Listen
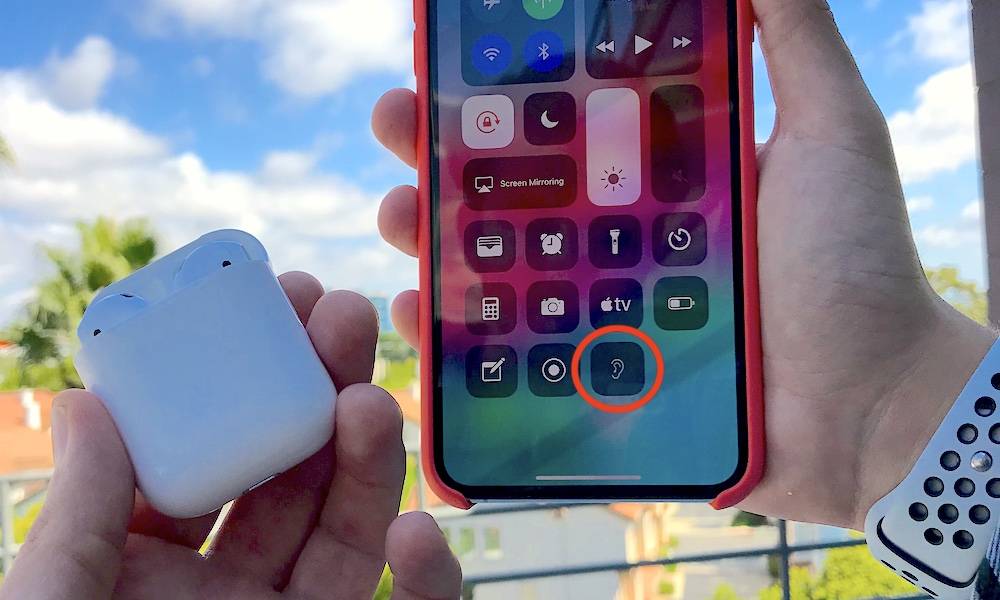
With Apple’s iOS 12 update, AirPods got a big upgrade by way of a feature called Live Listen. Basically, Live Listen uses a connected iOS device as a type of microphone — piping live audio from the surrounding environment directly to your ears in real time.
First and foremost, Live Listen is an Accessibility feature that can help users hear conversations or speakers in noisy environments or from far away. But it can have additional uses. You can add it to Control Center on iOS, where it’ll be readily accessible, by going to Settings > Control Center > Customize Controls and tapping the Hearing icon.
6 Use This Charging Trick
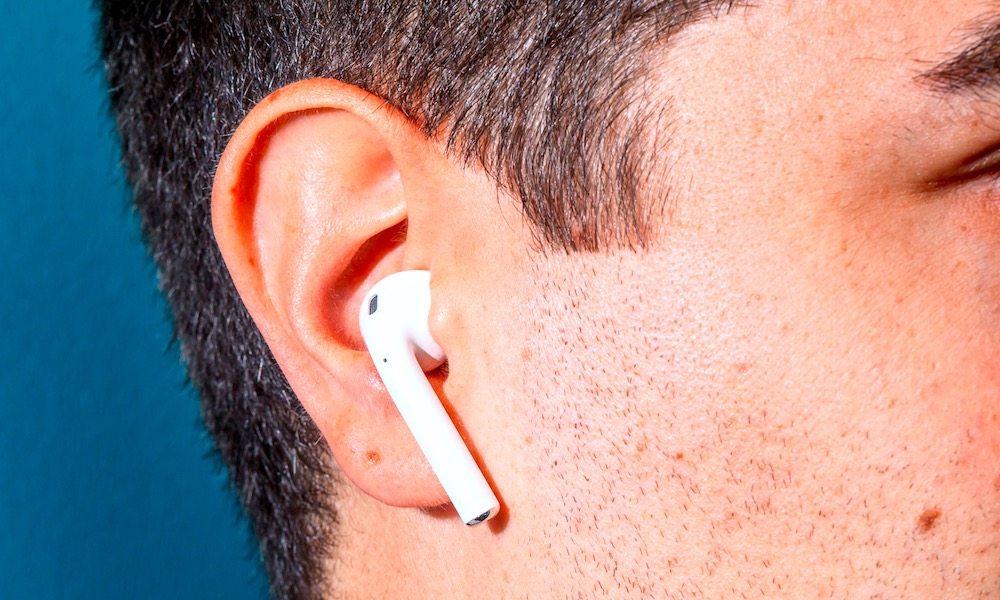
If there’s one downfall to wireless headphones, it’s that they have a limited battery life. But you can double the listening time of your AirPods with a simple but easily overlooked trick: simply use one while the other is charging. It’s that easy. Better yet, AirPods are specifically designed to work this way.
For example, if you place one AirPod in the charging case and use the other, you’ll still be able to hear both the left and right channels when playing stereo audio.
5 Get a Better Grip and Prevent Theft

Despite their appearance, AirPods are thankfully not as vulnerable to falling out of your ear as they look. That is not the case for everyone’s ear shape or day-to-day activities, however. That’s why a pair of earhooks (like these or these) are a must-have accessory.
On a different note, the small size and lack of security features on AirPods can make them an attractive target for thieves. Luckily, you can help deter would-be bandits by disguising your AirPods case as a pack of mints, bandages, or dental floss with these humorous but practical decals.
4 Let Your AirPods Announce Calls

You can obviously use AirPods for phone calls — but the EarPods obviously don’t have a screen to see caller information. However, thanks to a handy call-announcing feature built into iOS, you don’t even need to glance down at your iPhone to see who is calling you.
- Simply go to Settings > Phone and tap on Announce Calls.
- If you select Headphones Only, your iPhone will automatically announce to you via AirPods who is calling when you’re using them. Selecting Headphones & Car works similarly, but adds call announcement when you’re in a vehicle.
3 Find Missing AirPods
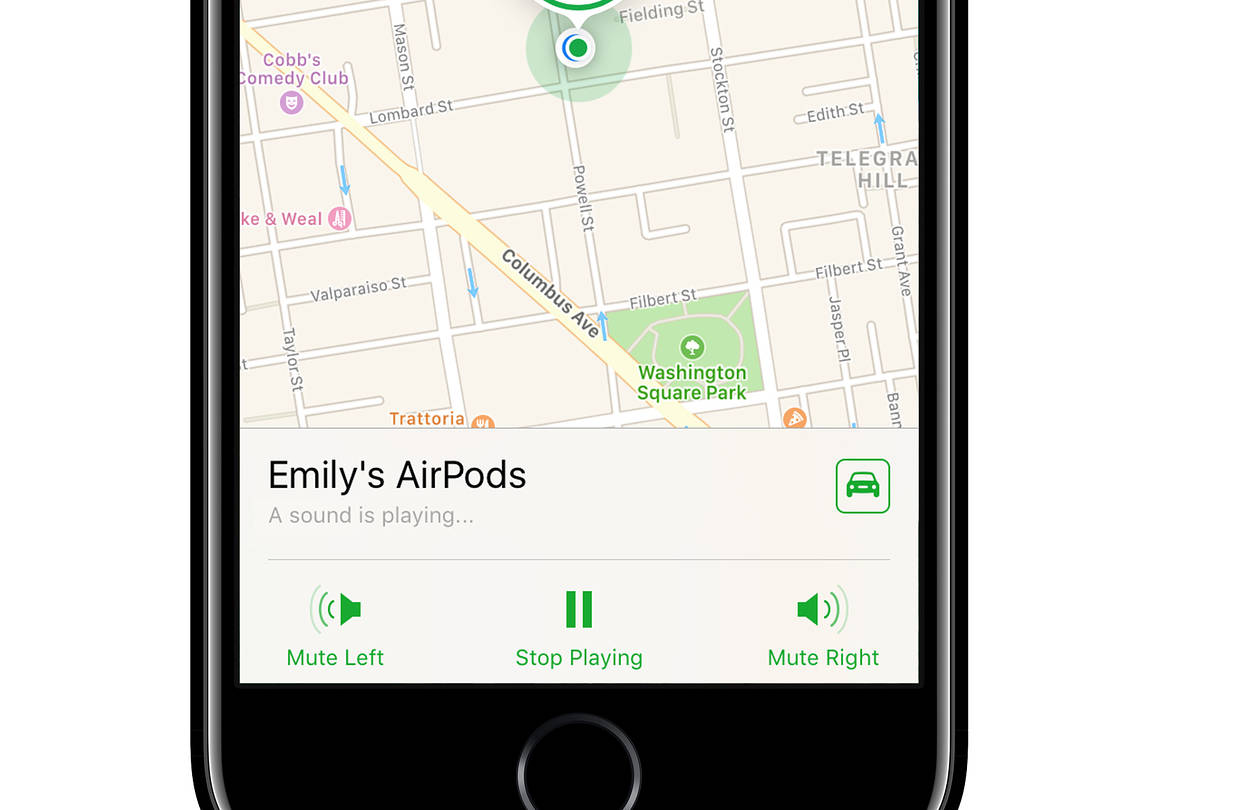
You may not know this, but you can actually find your AirPods using the standard Find My iPhone app included on iOS devices. That’s especially useful because AirPods are small devices and are rather prone to getting lost — no matter how well you keep track of them.
As long as you’re AirPods are connected to your iCloud account, you can sign into your account on Find My iPhone and have your AirPods play a sound.
If only one AirPod is missing, you can also Mute Left or Mute Right to help you identify and find the individual missing earpod.
2 Use Siri to Control Music Hands-Free
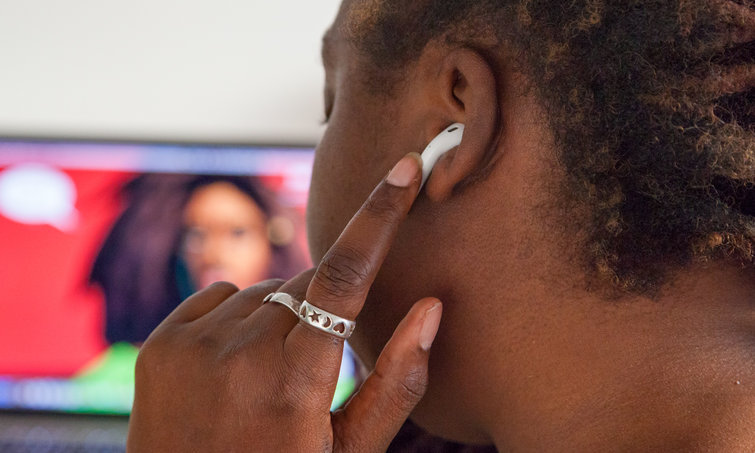
Setting the AirPods’ double-tap feature to Siri — as we covered in our last tips and ticks — unlocks a variety of additional capabilities for the wireless earphones. Some of the most useful abilities relate to hands-free music listening.
Instead of using your iPhone to change the song or volume, you can simply use Siri to save time.
- Just double-tap the side of your AirPods to activate Siri, and use a voice command to control playback.
- As examples, you can say “skip this song” or “turn up the volume by 25 percent.”
1 Specify Your AirPod Microphone

AirPods can automatically detect whether they’re in your ears or not. Similarly, they can also determine which individual AirPod you’re using (if you’re only using one). Similarly, by default, the system detects which AirPod to use as the microphone by the input strength.
But you can also set this manually, which is great for people using the aforementioned charging trick, using a single AirPod while multitasking, or if one of your AirPod's microphone's becomes damaged.
- Just go to Settings > Bluetooth and tap the “i” icon next to AirPods.
- You’ll find options to select the left or right AirPod as your fixed microphone input.
