

Apple’s latest iPhones and iPads use HEIC, high-efficiency image codec, for storing photos. This file format keeps the quality high and the file size low, but it causes a problem when you try to share these files.
HEIC is not widely supported, so not every device can open the photo when you try to share it or upload it to a website.
Before you send along an HEIC, you might need to convert it. It can take some time to convert photos from HEIC to JPEG. But, if you’re on a Mac, there’s a handy method using Automator that lets you convert your photos with a single click.
Fastest Way to Convert HEIC and PNG to JPEG
The trick to this one-step conversion is Automator, an automation assistant for creating handy workflows in macOS.
In this example, we will be creating a Quick Action that will pop up when you right-click on the image file you want to convert.
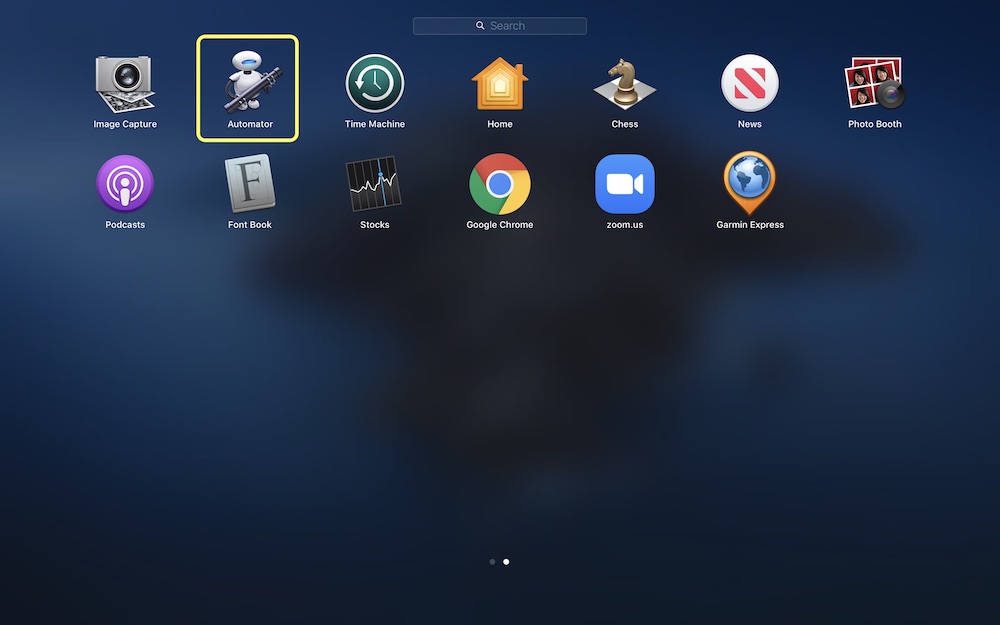
Start by opening the Automator app in macOS.

Select Quick Action for the type of document you want to create.

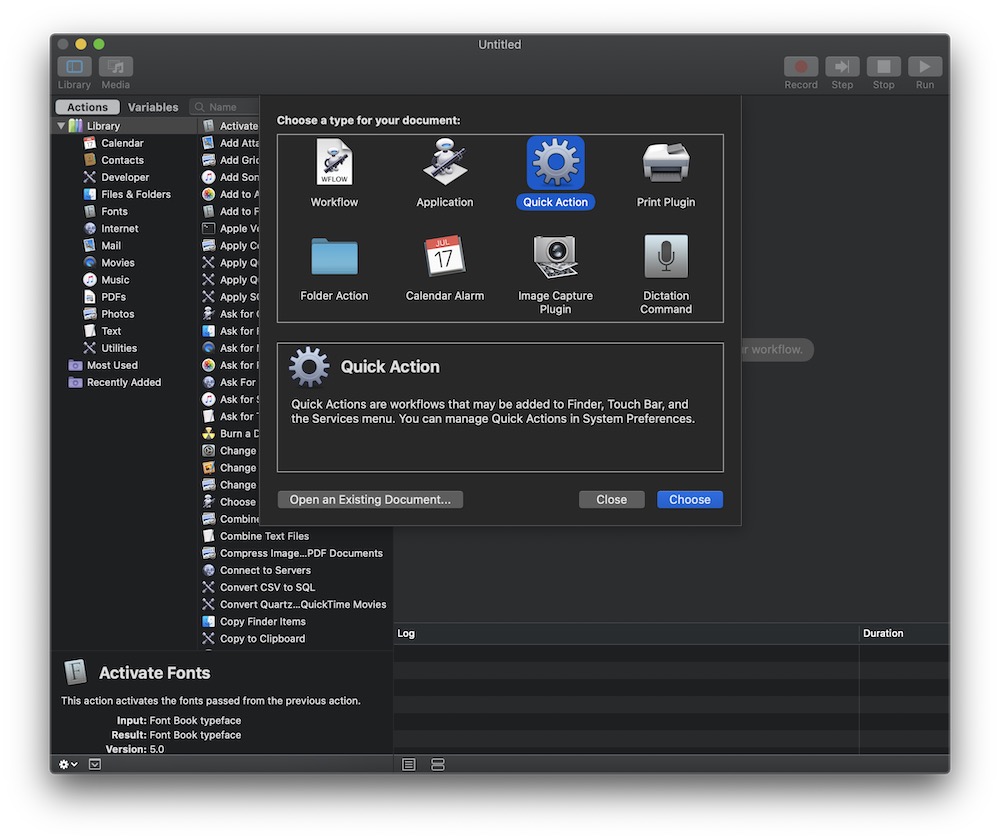
Select the Choose button.
On the left is a panel with a library containing all the available actions. On the right is the panel where you’ll build the workflow.
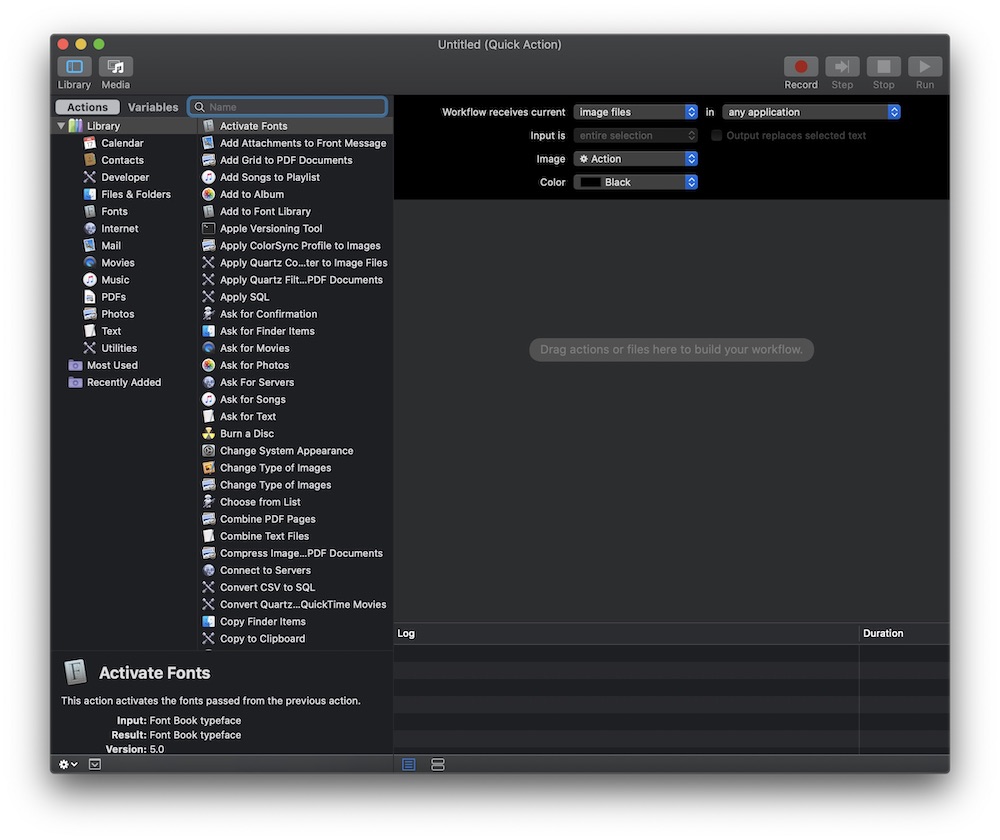
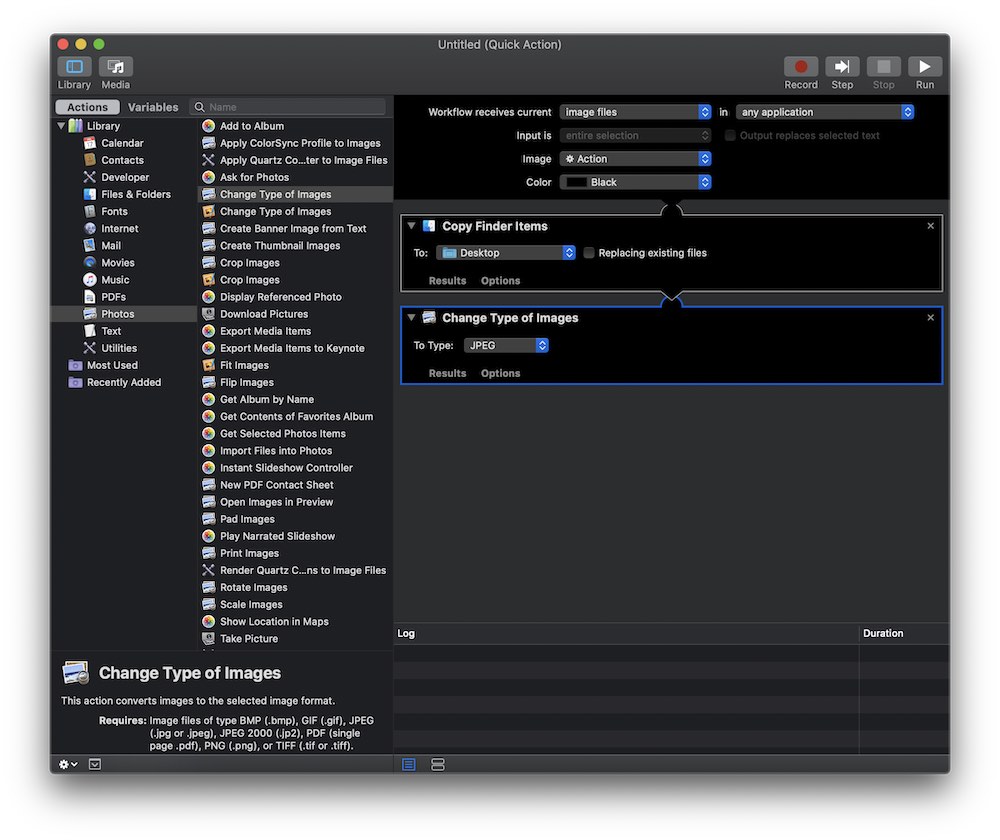
At the top, find Workflow receives current and select the image files option. Leave the rest with the default settings.
In the leftmost panel under Library, click on Photos to view only those actions that are available for manipulating image files in the Preview app.

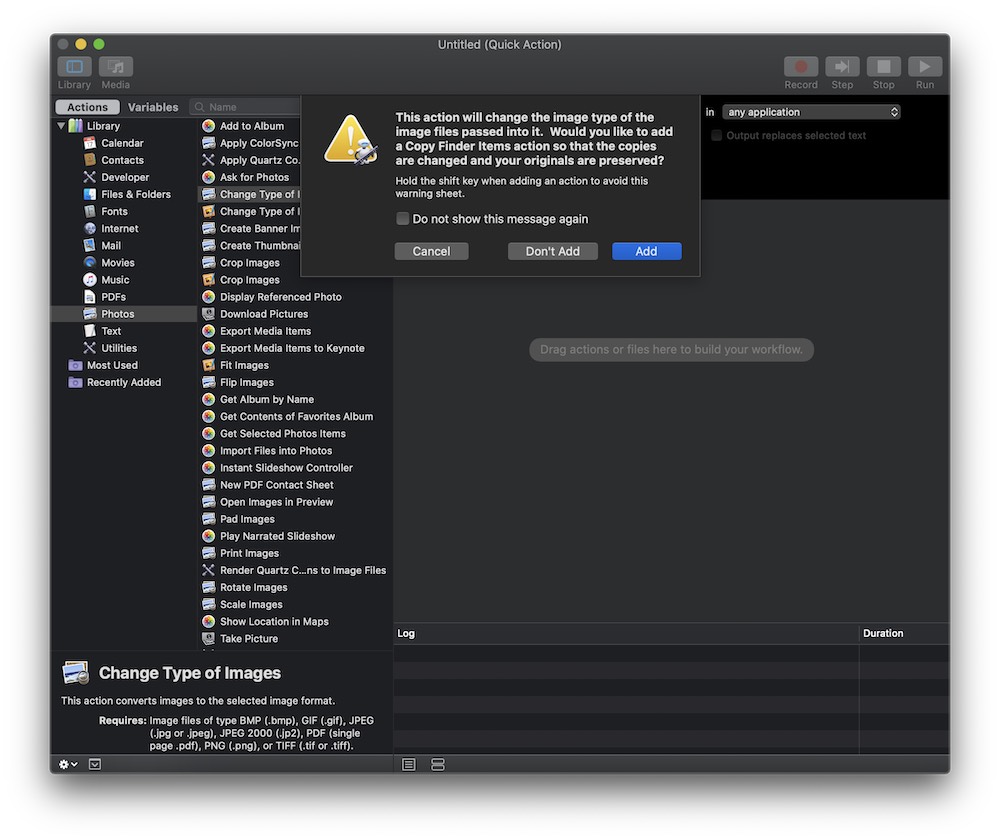
In the next panel where the actions are listed, scroll down, and look for Change Type of Images. Make sure you select the one with the icon for Preview. If you have another app like Pixelmator installed, you can choose the third-party one instead. Just look at the app’s icon next to the Change Type of Images text string.
Click on Change Type of Images and drag it to the workflow pane on the right. Click Add to confirm the addition. The action is now in your workflow.
Change the file type from the default format TIFF to JPEG and change the folder location from the default Desktop to another folder if you want.
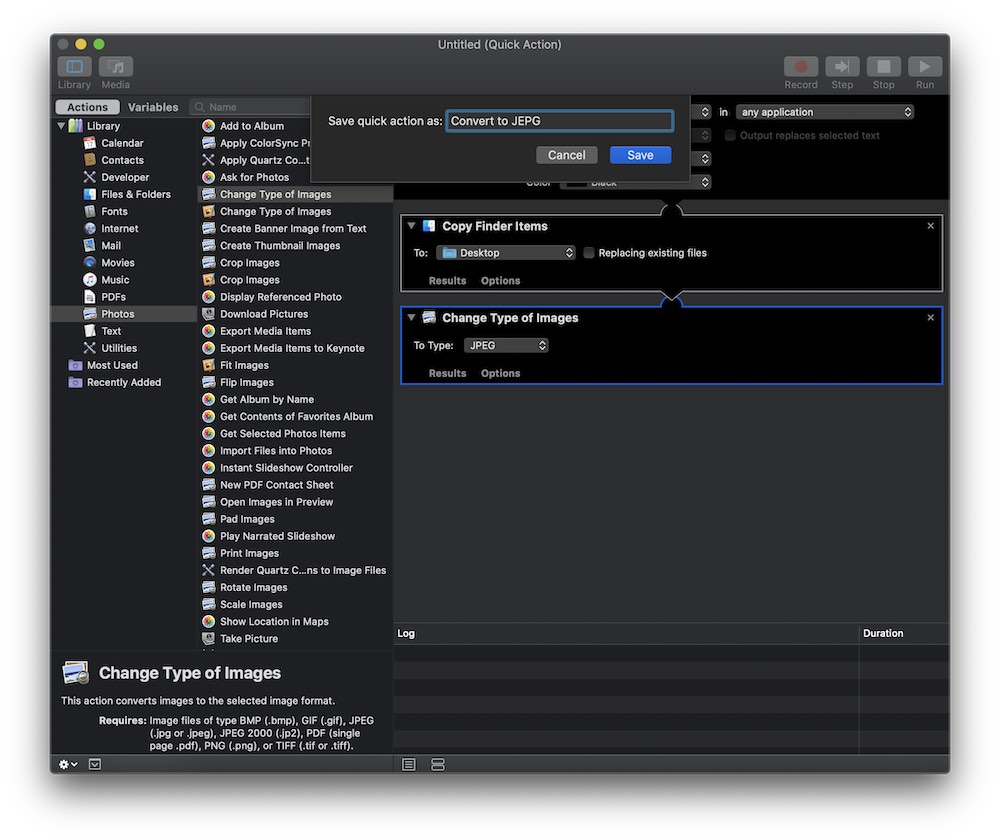
To start using the Automator script, all you need to do is click File and then Save – give it a name that identifies what it does, such as “Convert to JPEG.”
Once you have saved the script, you can open Finder, right-click on an image file, and you will see the Quick Actions folder. Click Convert to JPEG.

